
Ghost Kitchen Equipment List: Checklist & Buying Guide for Delivery-Only Kitchens
08/02/2026
Estimated reading time: 2 minutes
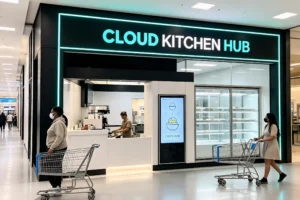
Whether you call it a ghost kitchen, a cloud kitchen, or a dark kitchen, the job is the same: set up a small, delivery-only cooking space from zero without burning through cash or time. This guide walks you through a proven sequence — lock in your menu first, pick equipment second, buy in three rounds, go new on the core gear and secondhand on the rest. Follow it, and you’ll skip 90% of the selection and compliance mistakes that cost first-timers weeks and thousands of dollars.
IN THIS ARTICLE
- How a Delivery-Only Kitchen Is Different from a Regular Restaurant
- Decide What You Sell Before You Decide What You Buy
- What Equipment Does a Ghost Kitchen Actually Need?
- How Much Should You Spend on Ghost Kitchen Equipment?
- Should You Buy New or Used Equipment?
- How to Handle Ventilation and Fire Safety Compliance
- 5 Mistakes Beginners Make When Buying Equipment
- Common Questions People Ask
How a Delivery-Only Kitchen Is Different from a Regular Restaurant
A delivery-only kitchen stall is typically 10–30 m². Peak hours hit hard — about two hours for lunch, two for dinner. Property managers enforce strict rules on open flames and gas hookups. There’s no dining room to spread costs across; every dollar goes straight into the production line.
That’s why a delivery only kitchen equipment list looks nothing like a restaurant’s. The whole selection logic comes down to three things: tight space, fast output, strict compliance. Each one shapes every equipment decision you’ll make — here’s how.
Decide What You Sell Before You Decide What You Buy
Your menu drives 70% of your equipment spending. Delivery stalls usually run 15–25 SKUs, and different food types need completely different gear. A fried-chicken shop needs a fryer and a holding cabinet. A salad-and-light-meals concept just needs a refrigerated prep table and basic tools. Figure out what you’re selling first, and you’ll cut out most wasted purchases.
Here’s a quick breakdown by food category:
| Food Category | Core Equipment |
|---|---|
| Fast-casual stir-fry | Stove + wok + refrigerated prep station |
| Fried chicken / fried skewers | Fryer + holding cabinet |
| Malatang / maocai (spicy hot pot) | Cooking pot + stock barrel + prep station |
| Salads & light meals | Refrigerated work table + food-processing tools |
The pattern is obvious. A salad stall doesn’t need a high-powered burner. A fried-chicken stall doesn’t need a wok.
Keep your SKU count low. Fewer items mean less equipment, lower upfront cost, and a simpler operation. Get your core category running first. You can always add menu items later once you have real order data to guide you.
What Equipment Does a Ghost Kitchen Actually Need?
A complete ghost kitchen equipment checklist breaks into four groups: cooking equipment (stoves, fryers, steamers), refrigeration (cabinets, refrigerated work tables), prep and dispatch (work tables, holding cabinets, sealing machines), and cleaning and drainage (double-basin sinks, grease traps). Cooking equipment alone eats 35–45% of your budget — it’s the single biggest line item.
Here’s the full checklist at a glance — what to buy, when to buy it, and what to skip:
| Category | Must-Have (Round 1) | Add Later (Round 2–3) | Skip Entirely | Budget Share |
|---|---|---|---|---|
| Cooking | Commercial induction cooker or gas stove, fryer (if menu requires) | Steamer, higher-powered cooker upgrade | Charbroiler, salamander (unless menu-specific) | 35–45% |
| Refrigeration | Refrigerated work table, upright fridge or freezer (one unit) | Additional undercounter freezer | Large walk-in cooler, display refrigerator | 20–25% |
| Prep & dispatch | Stainless steel work table, sealing machine, packing station | Holding cabinet, automatic sealer | Plating line, pass-through warmer | 10–15% |
| Cleaning & drainage | Double-basin sink, floor drain, grease trap | — | Commercial dishwasher (hand-wash is enough for most stalls) | 15–20% |
The “Skip” column matters as much as the “Must-Have” column. A ghost kitchen has no dining room, no bar, no display case. That means no front-of-house furniture, no beverage station, no decorative display refrigerator. If a piece of equipment doesn’t directly produce, store, or dispatch food for delivery, it doesn’t belong in your stall. Every dollar spent on non-essential gear is a dollar not available for the cooking and refrigeration equipment that actually drives your output.
Now let’s go through each group in detail.
Cooking Equipment: Gas Stove or Commercial Induction Cooker?
This is the biggest spend and the biggest impact on how fast you get orders out the door. Your main options are gas stoves, commercial induction cookers, fryers, and steamers. Which ones you need depends on your menu and what your property manager allows.
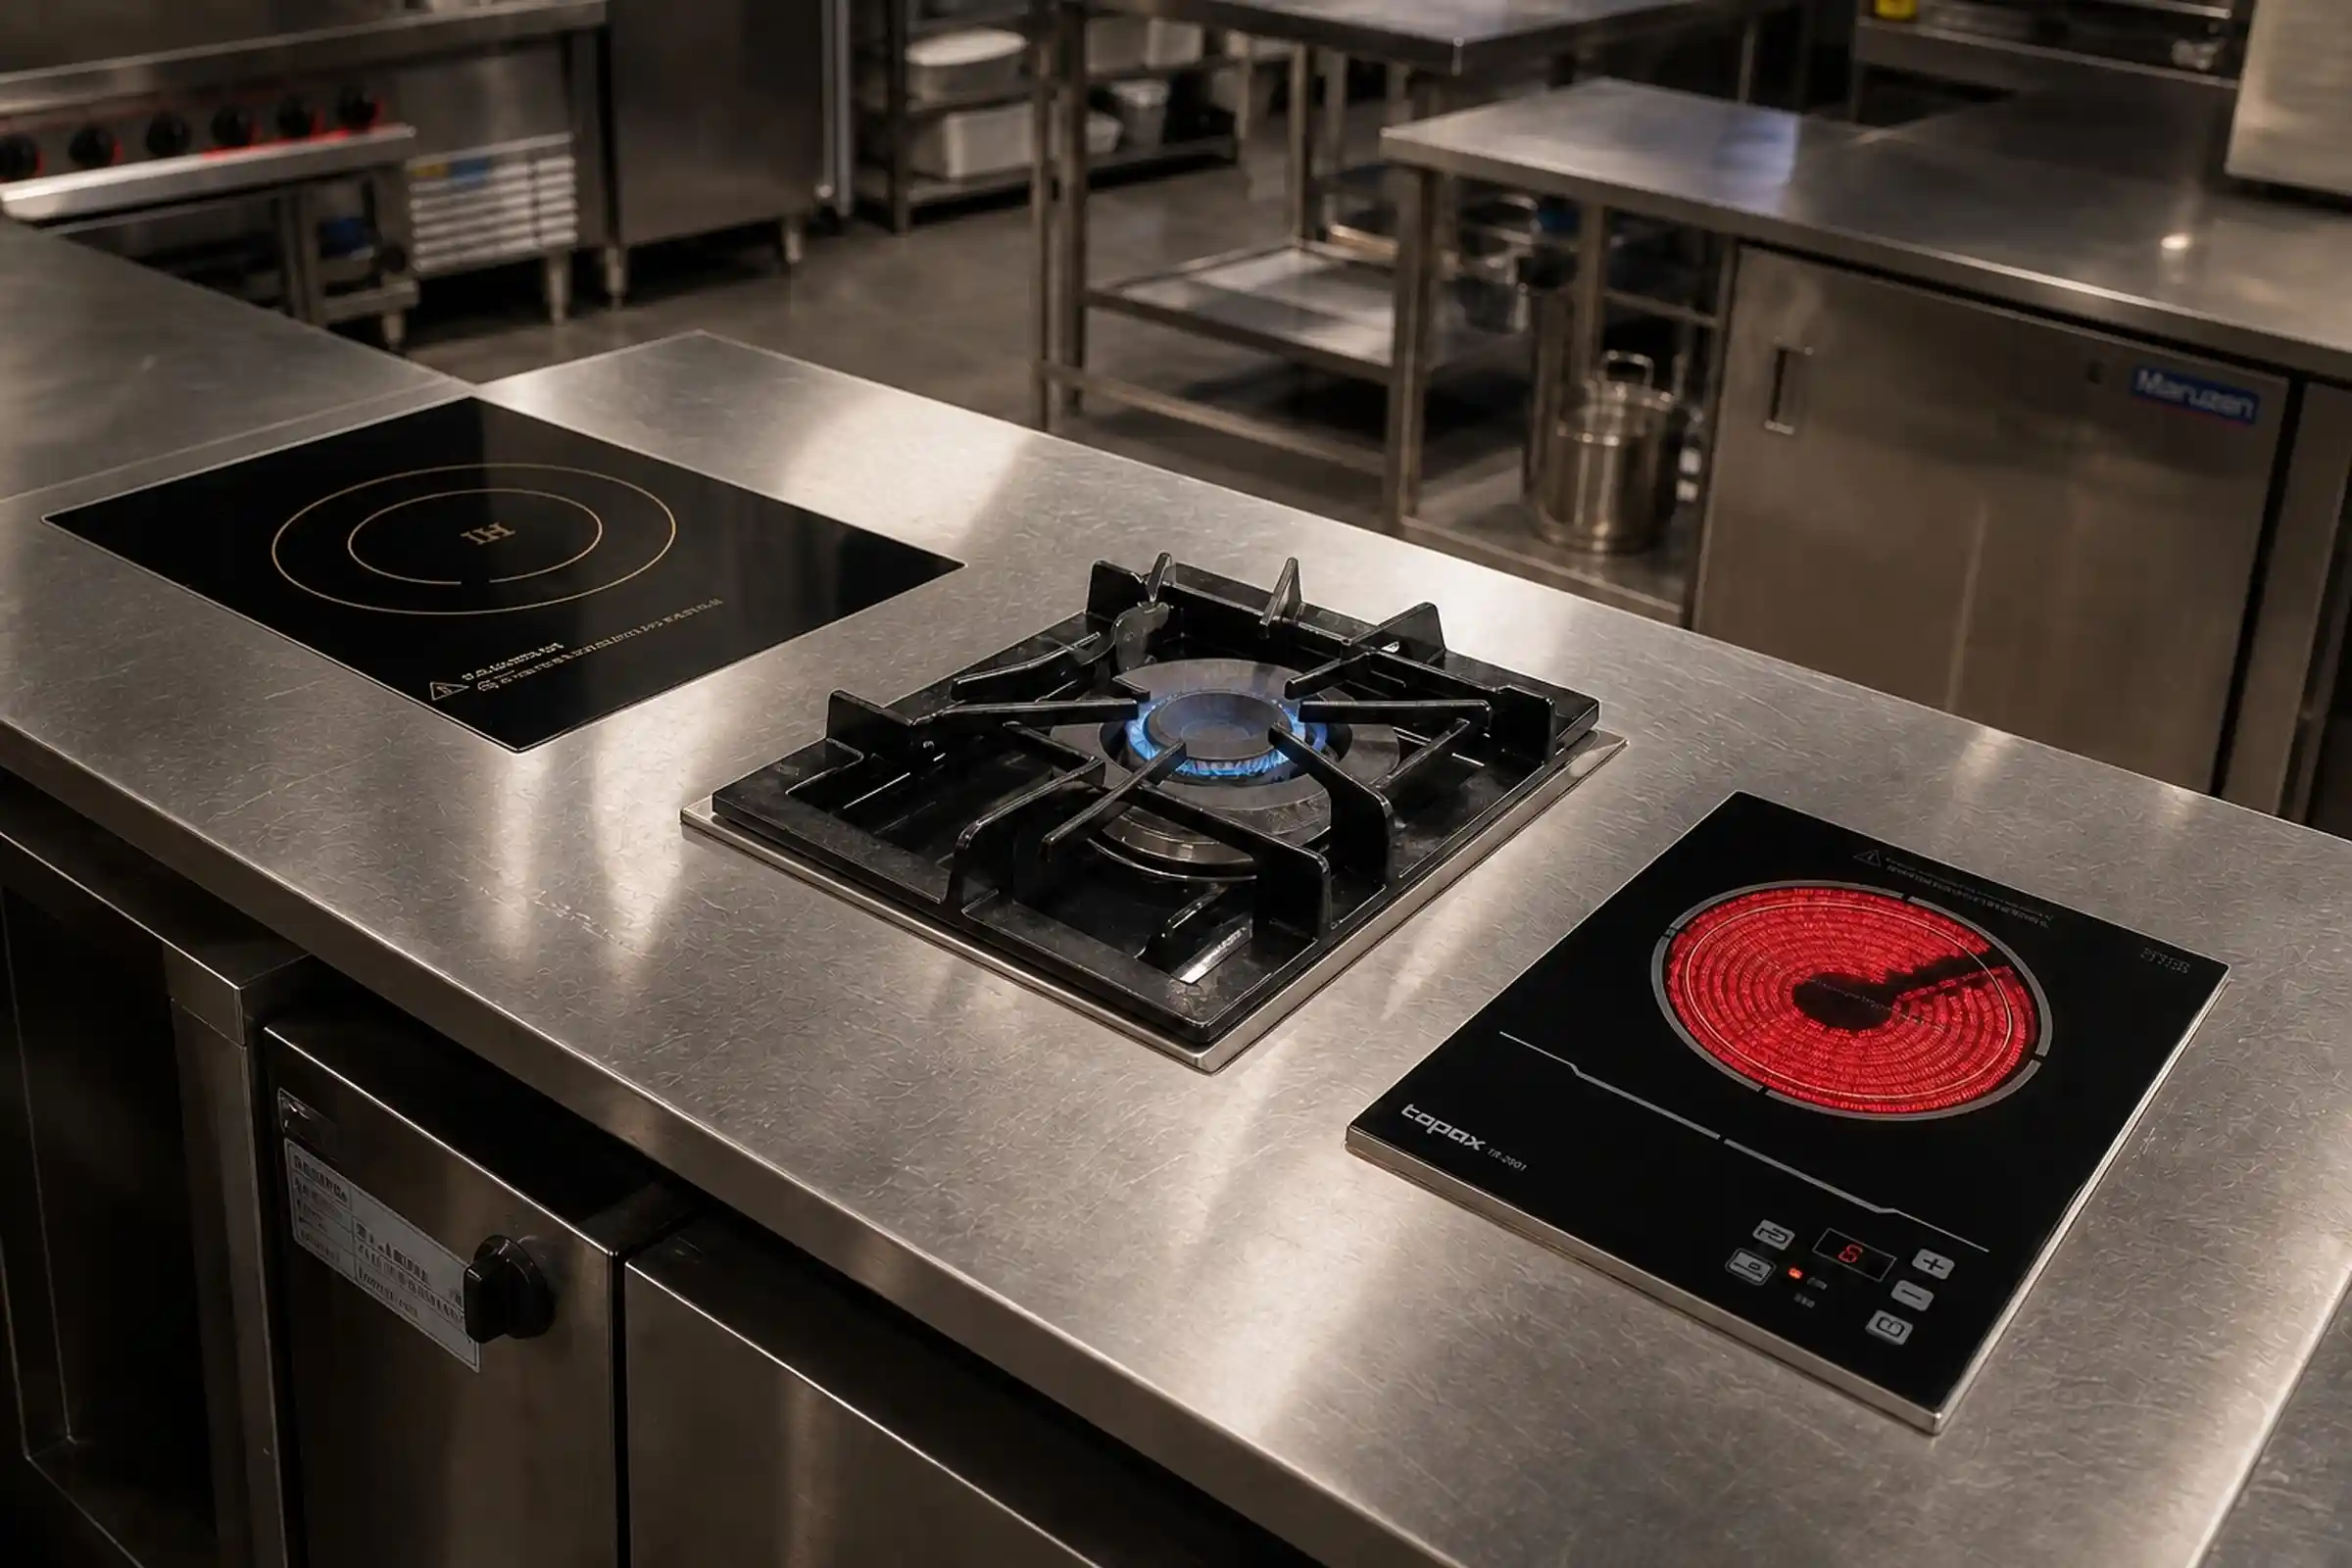
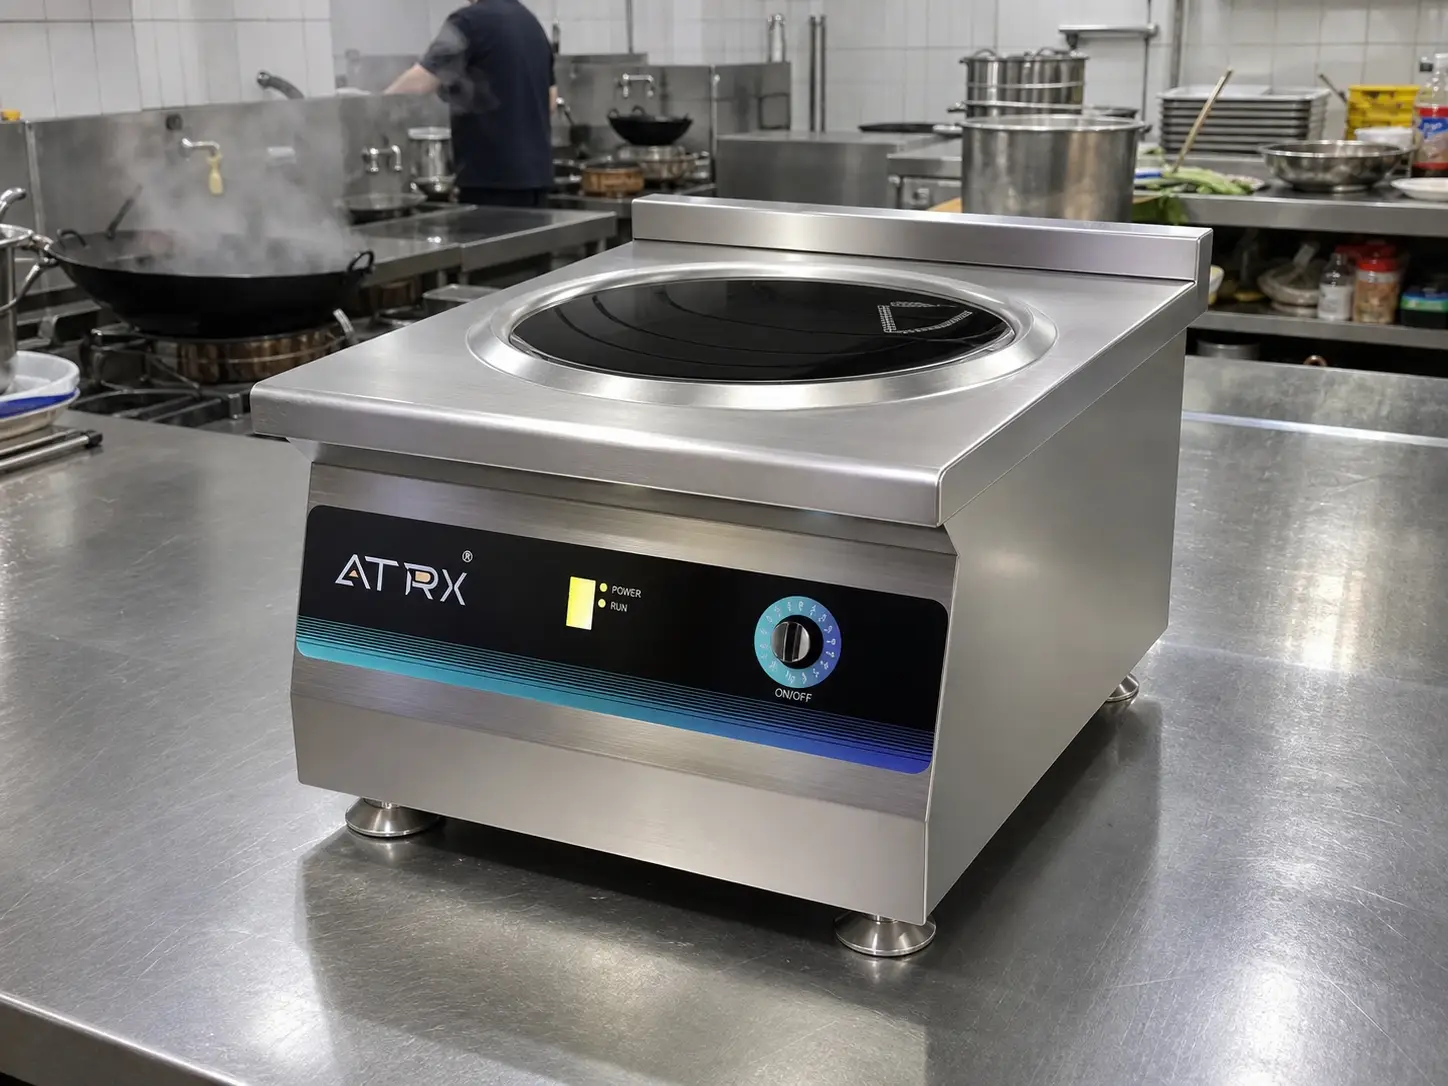
The gas-vs-induction question comes up in almost every stall setup. Here’s how they compare side by side:
| Factor | Gas Stove | Commercial Induction Cooker |
|---|---|---|
| Space | Needs room for gas piping | Builds into the countertop; smaller footprint |
| Compliance | Banned in many malls and food courts | No open flame — much higher approval rate |
| Energy cost | ~40–55% thermal efficiency | 90%+ thermal efficiency |
| Ventilation | Heavy fumes; expensive exhaust engineering | Less fume; lower ventilation cost |
| Speed | Slower heat-up | Fast heat-up, precise temp control; built for peak-hour volume |
If your stall is inside a mall or food court, you’ll almost certainly end up with induction — not because it’s always the better tool, but because property management won’t let you connect gas. One of our clients signed a lease in a Malaysia mall without confirming the energy policy first. They bought a double-burner gas stove for about $550, got turned away at move-in, had to sell it at a loss, and then bought an induction cooker on top of that. Total extra cost: roughly $400, plus a five-day delay to their opening.
The “90%+ thermal efficiency” figure isn’t ours. The U.S. Department of Energy reports that induction can be up to three times more efficient than gas and boils water 20–40% faster than both gas and conventional electric stoves (source: U.S. DOE — Making the Switch to Induction). In a stall, that efficiency gap shows up directly in peak-hour speed and monthly utility bills.
What to look for: Three things matter most — rated power (can it sustain continuous output during rush hour?), panel durability (cheap glass cracks within months), and after-sales response time (a broken cooker sitting idle for a day costs more in lost revenue than the unit itself).
Refrigeration: Upright Cabinet or Refrigerated Work Table?
Refrigeration is the second-biggest investment. You’ll need two things at minimum: an upright fridge/freezer and a refrigerated work table.
The refrigerated work table is worth highlighting. You prep on top and store underneath — one piece of equipment does two jobs. In a space where every centimeter counts, that’s a big deal.
One clear rule here: go with under-counter or built-in units instead of tall upright cabinets. A full-height cabinet in a 10 m² stall eats 20–30 cm of aisle width. That makes it hard for one person to move, let alone two during a lunch rush.
In our past two years of stall projects, over 35% of clients who bought tall upright cabinets first ended up swapping them for under-counter refrigerated work tables. The reason was always the same: the aisle was too tight, and two people couldn’t pass each other during peak hours. We now recommend that any stall under 15 m² skip upright cabinets entirely. Since making that a default recommendation, almost no one has needed to swap.
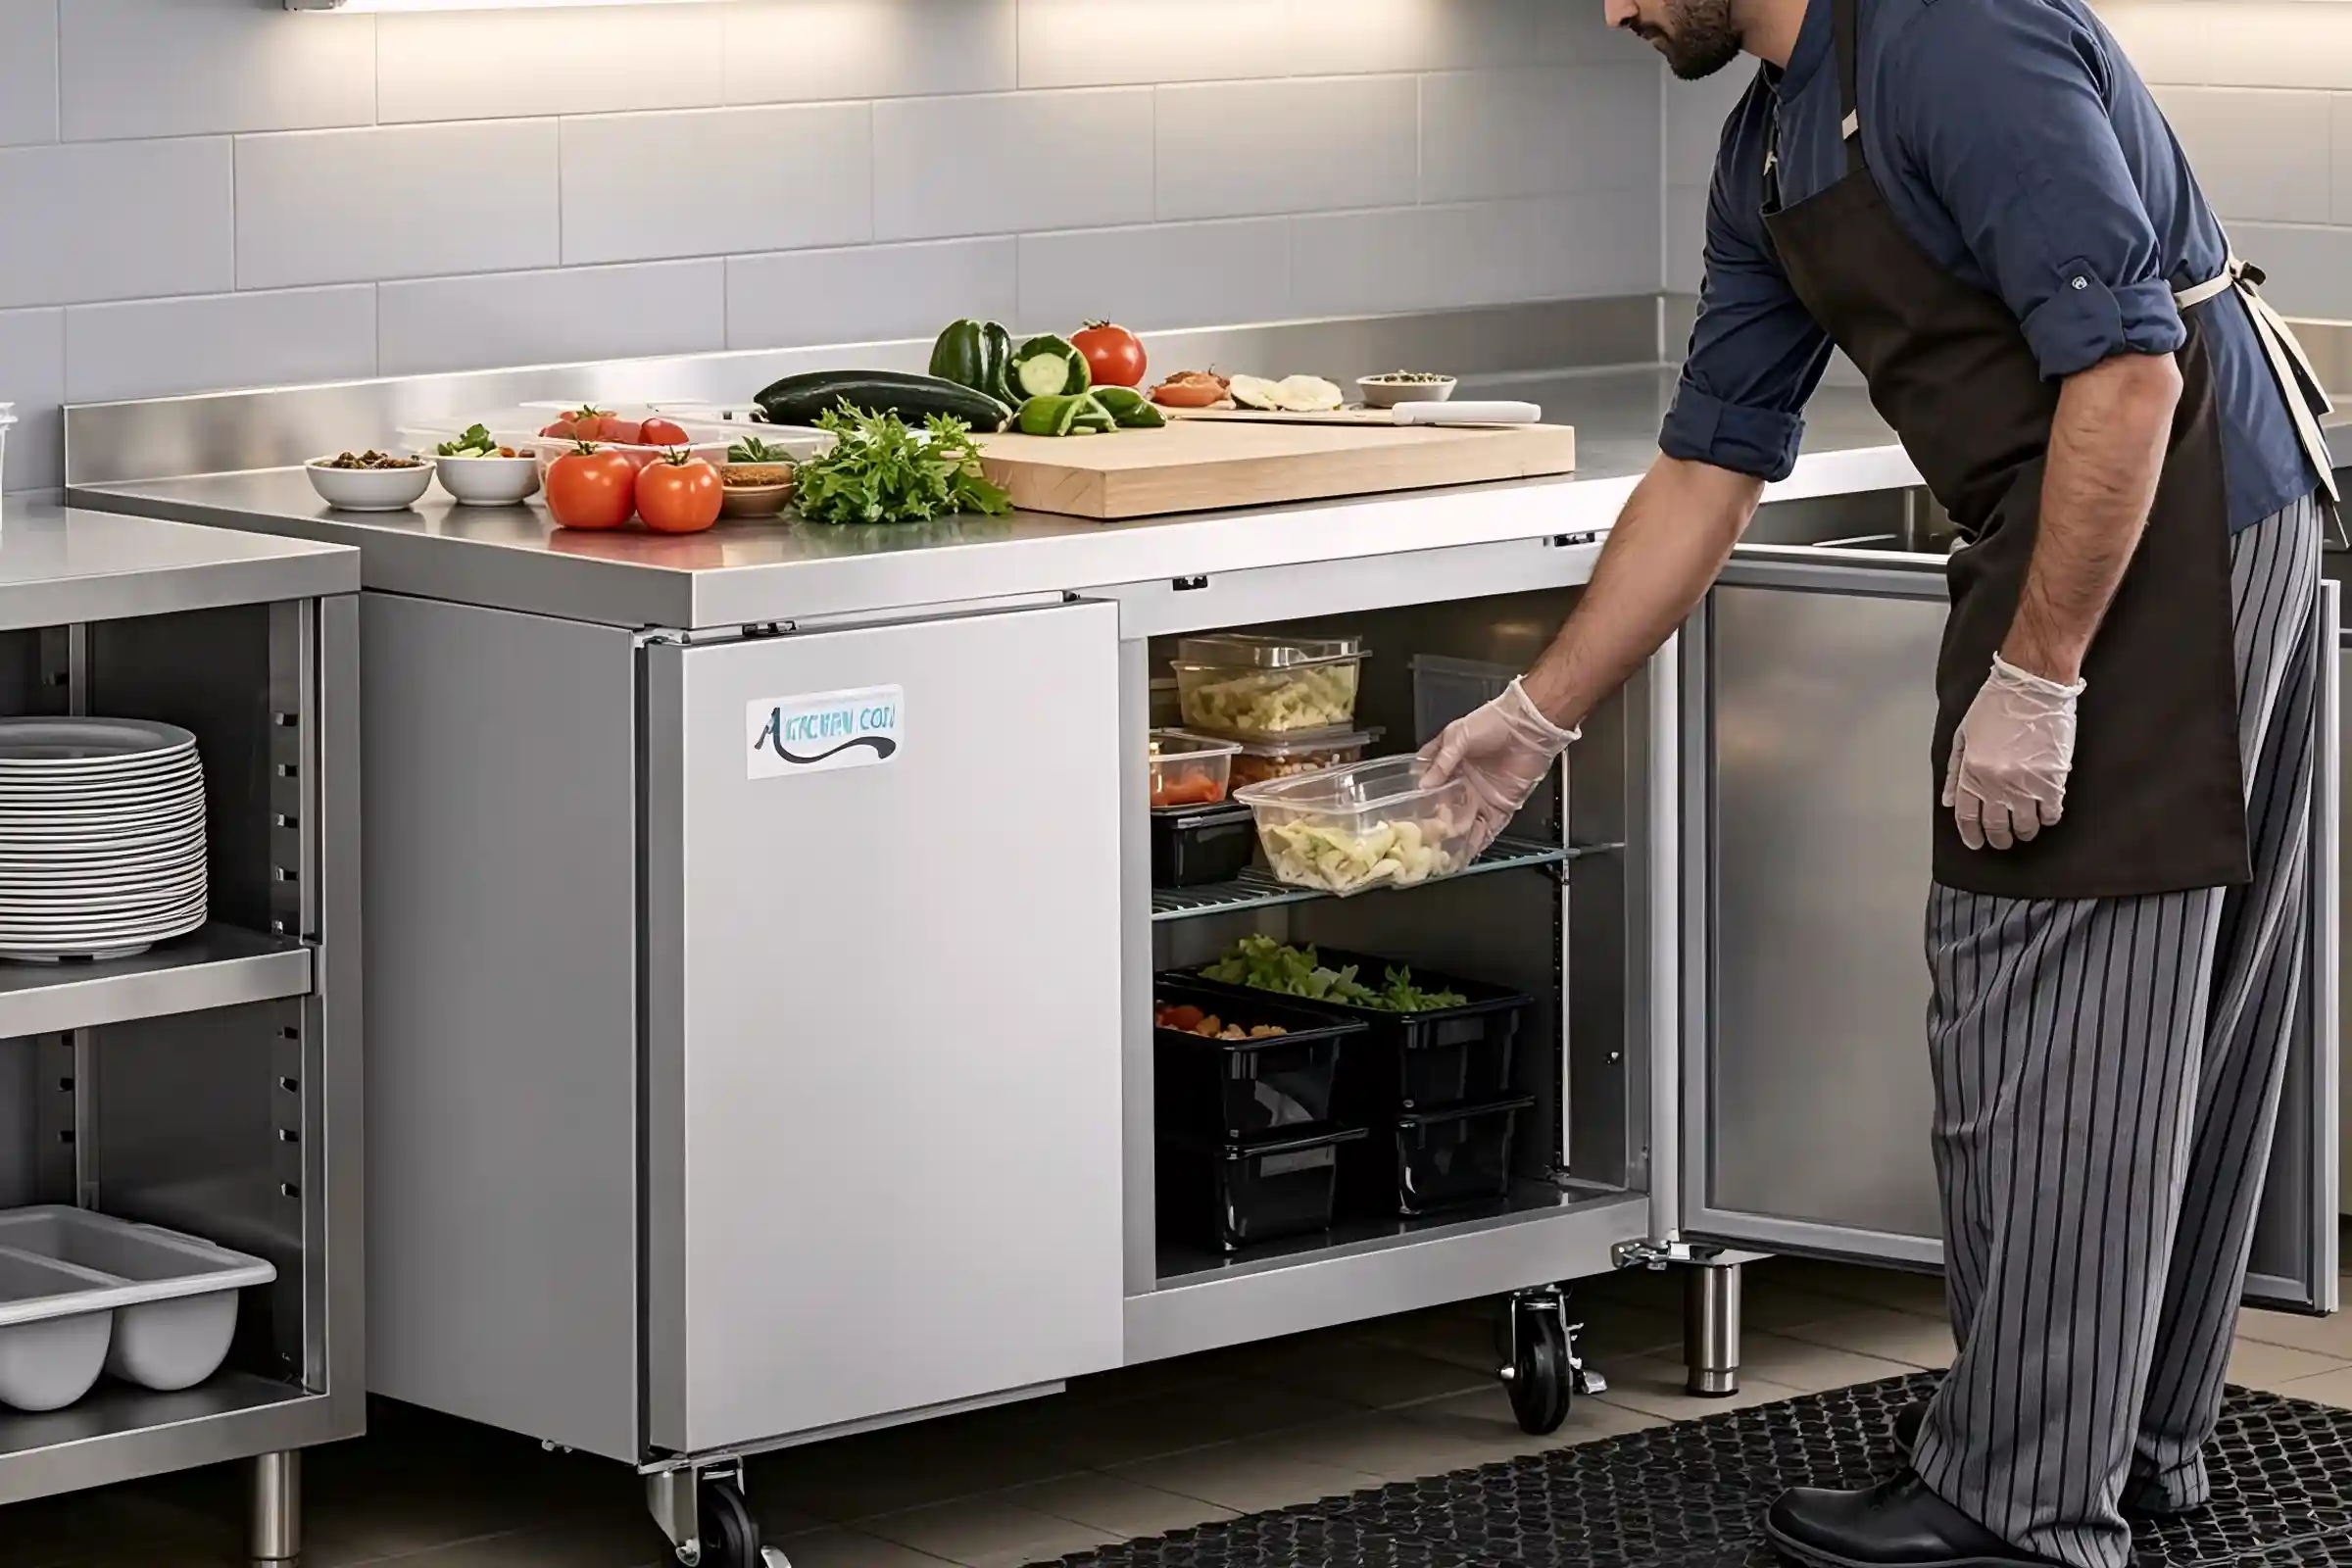
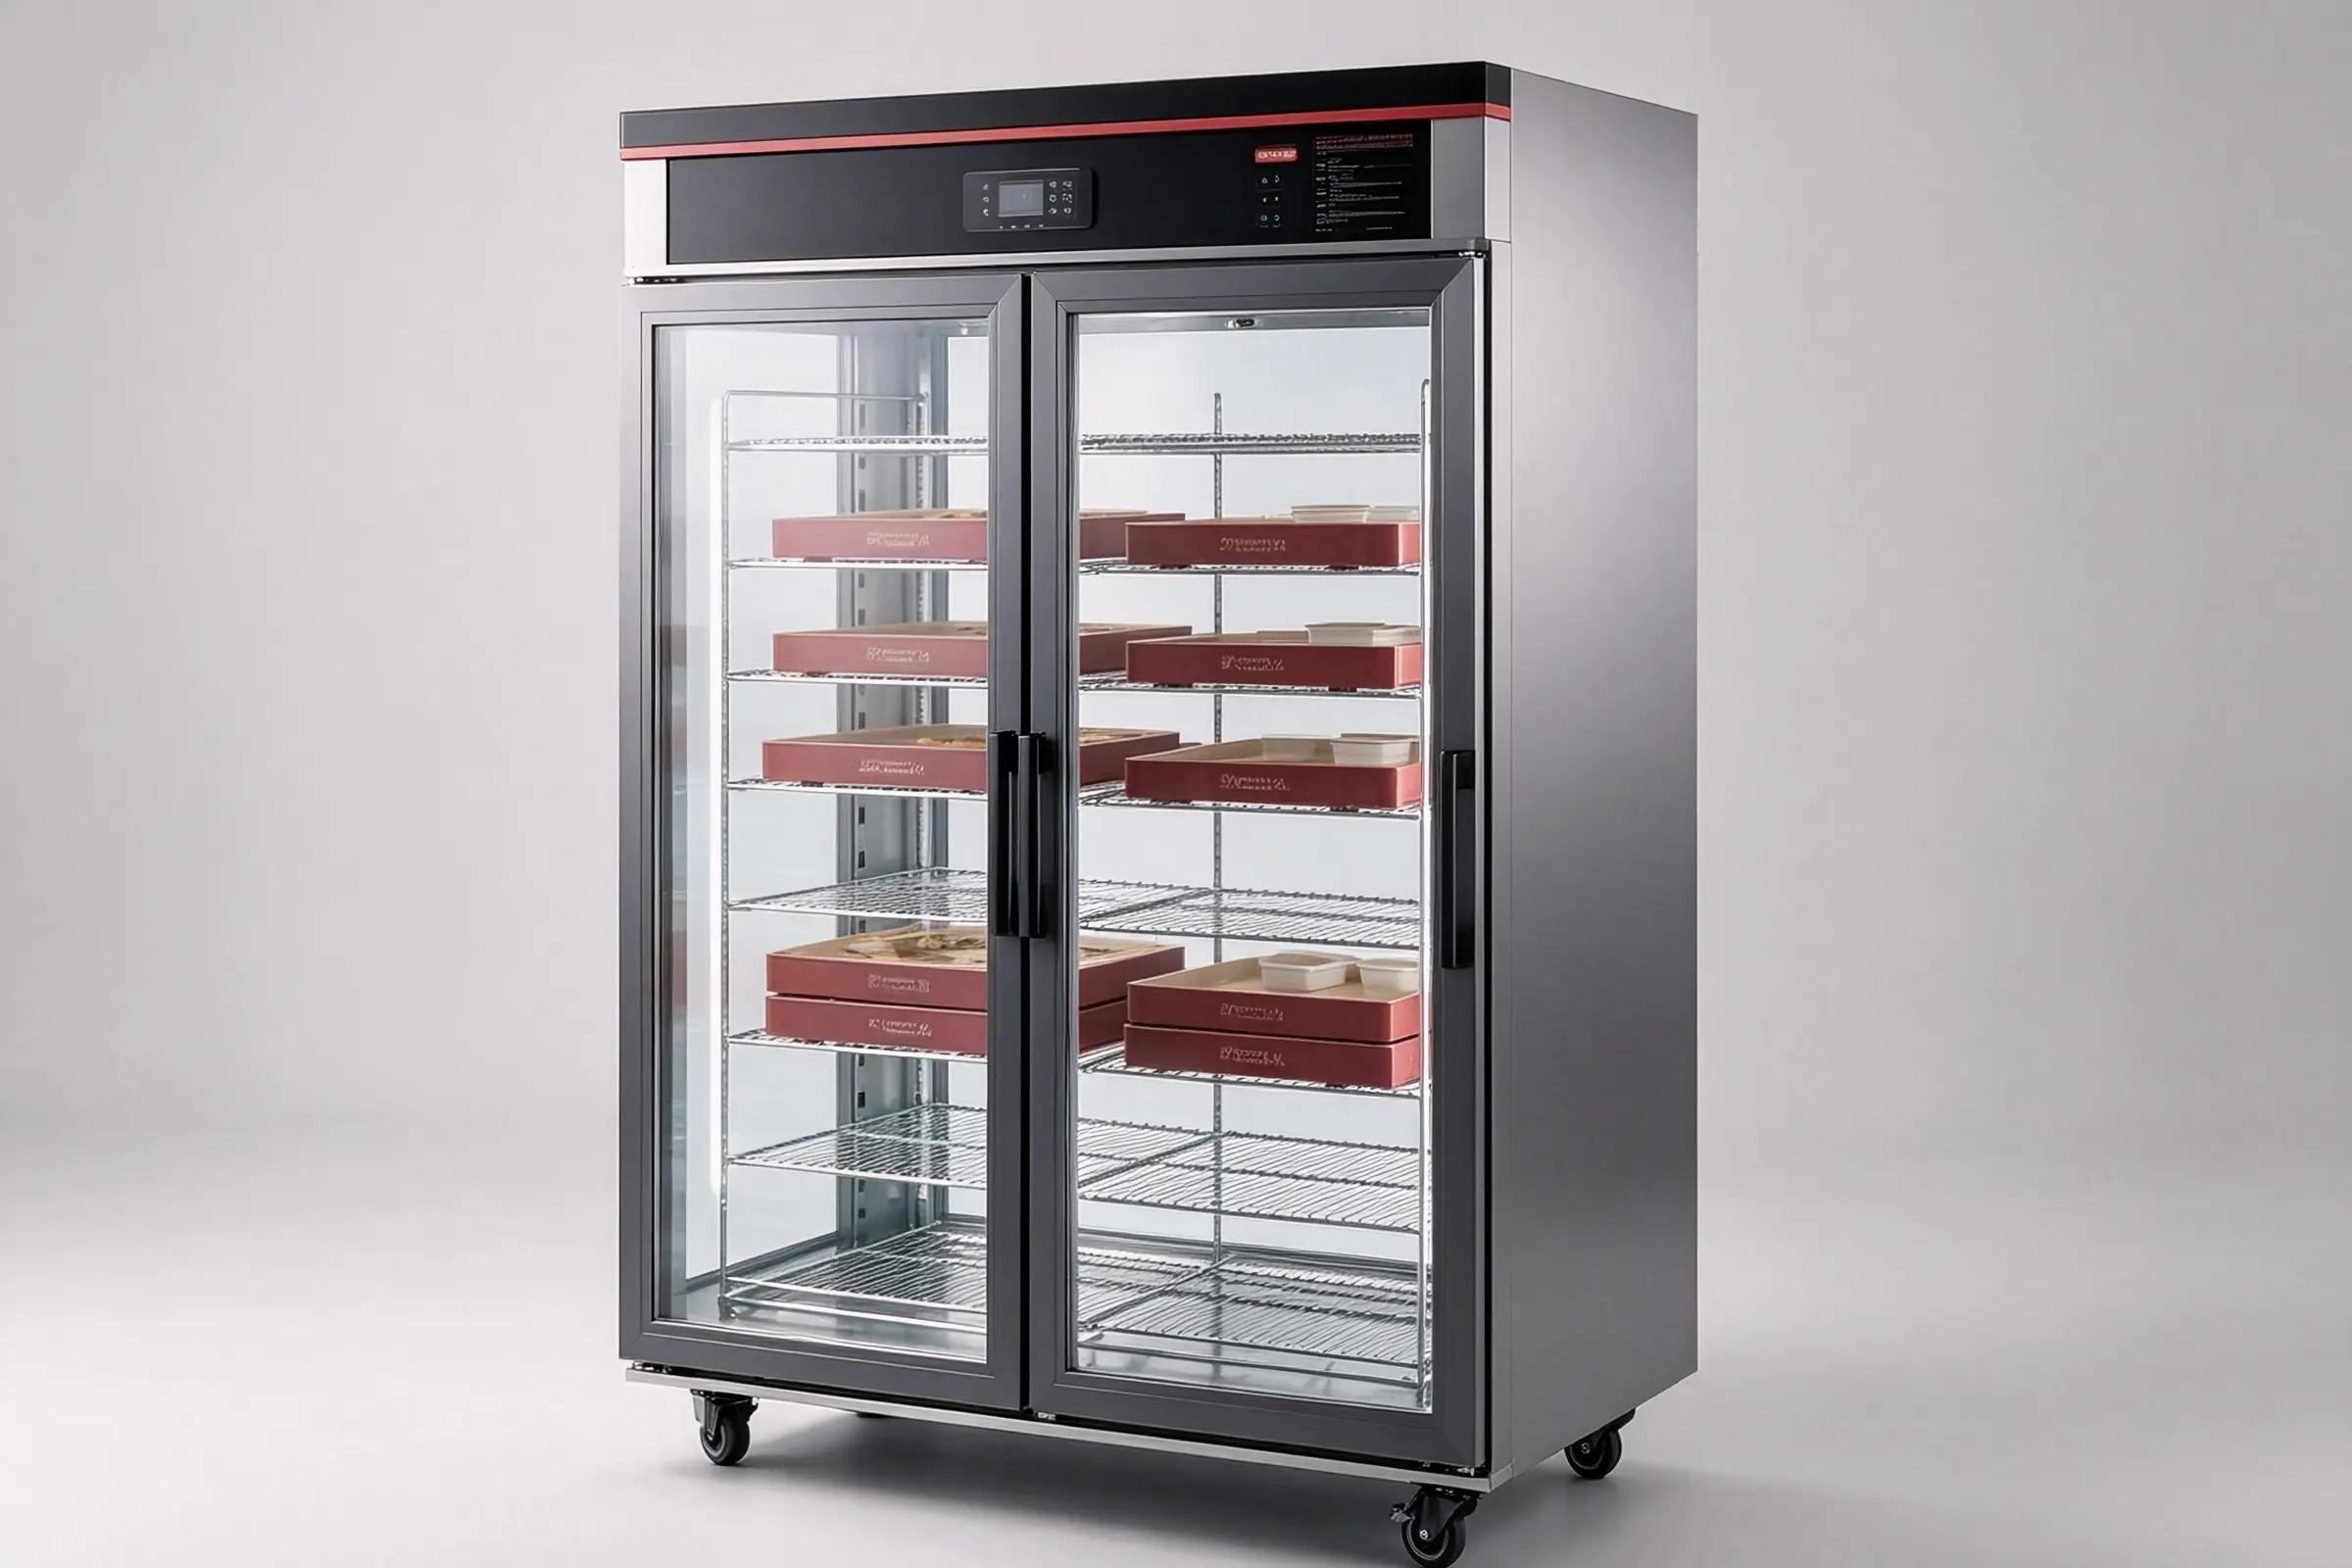
What to look for: Cooling method (air-cooled beats direct-cooled — no frost, more even temperature), energy rating, and whether the interior volume matches your daily prep needs. Too big wastes power and space. Too small leaves you short. Aim for your actual prep volume plus a 20% buffer.
Prep and Dispatch: Work Tables, Holding Cabinets, Sealing Machines
None of these cost much individually, but they directly affect how fast orders go out and how customers rate you.
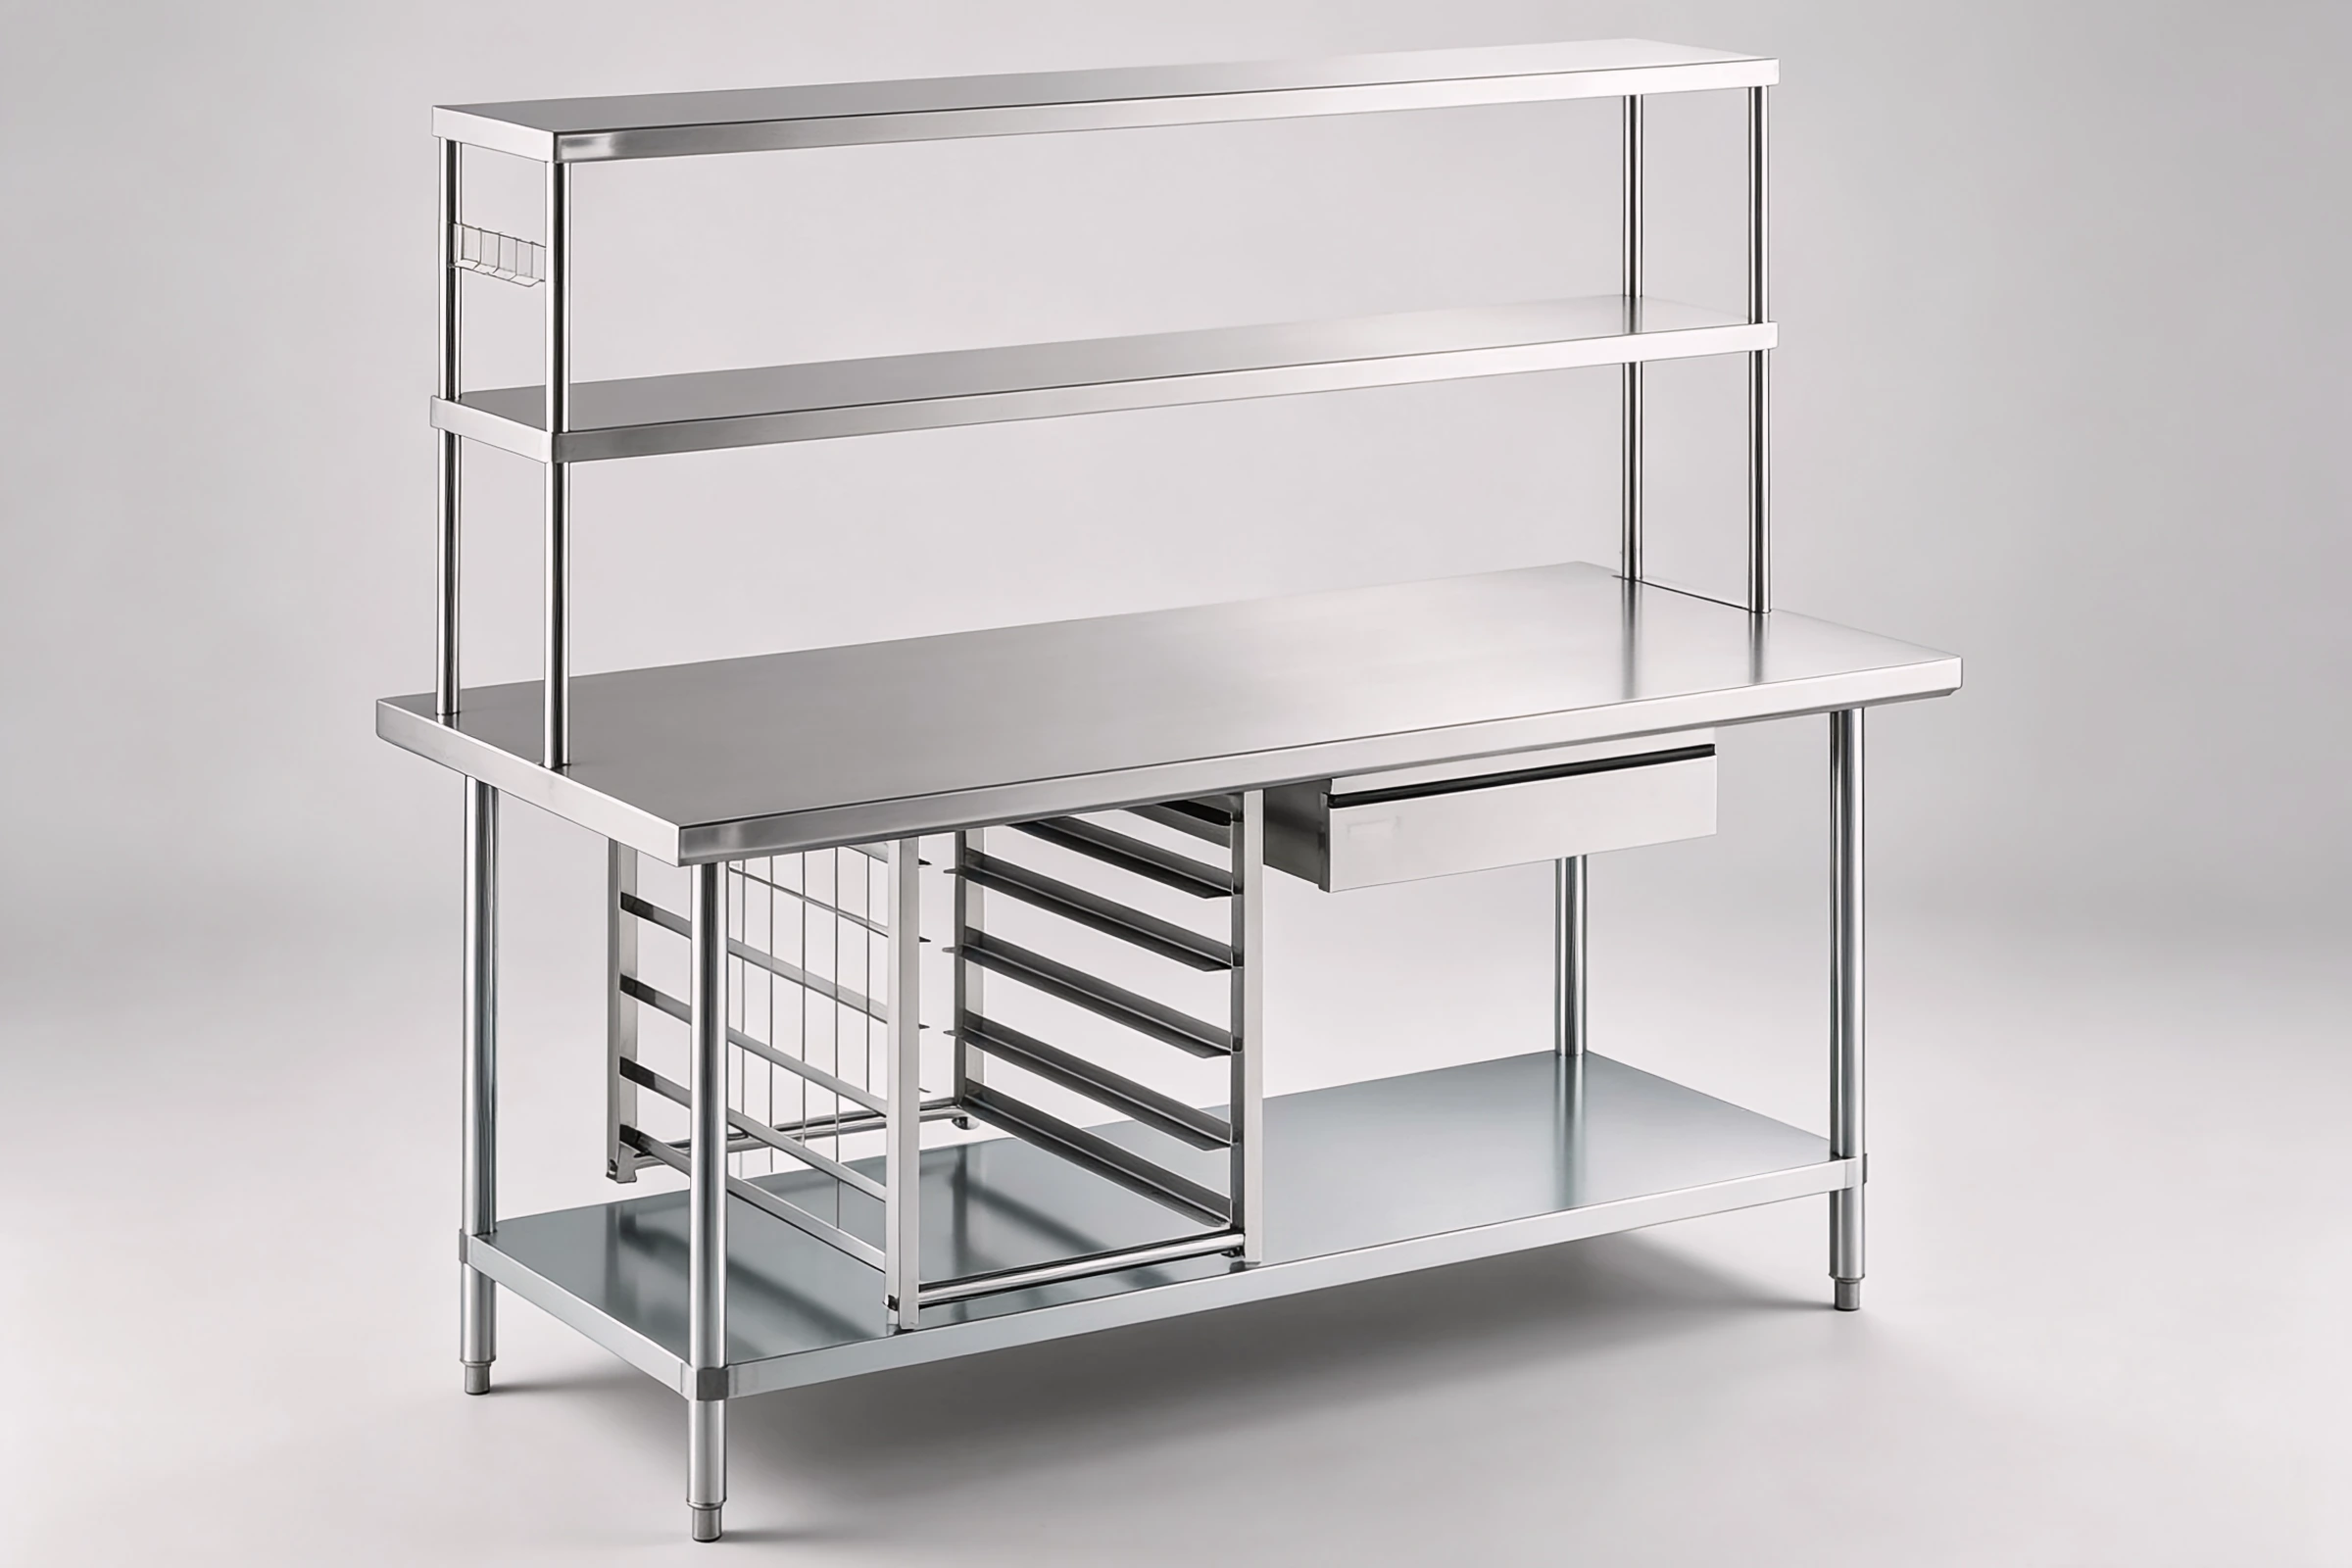
A stainless-steel work table is standard. Pick one with built-in refrigeration if you can — it handles both prep and storage in one footprint. A holding cabinet or heat lamp matters more than most people think. Between plating and rider pickup, there’s usually a 3–8 minute gap. Without holding equipment, food temperature drops fast, and bad reviews follow.
The sealing machine and packing station are the last stop before an order leaves. How efficient your packing area is directly affects rider wait time — and that metric feeds into your platform ranking. Put the packing station as close to the pickup window as possible.
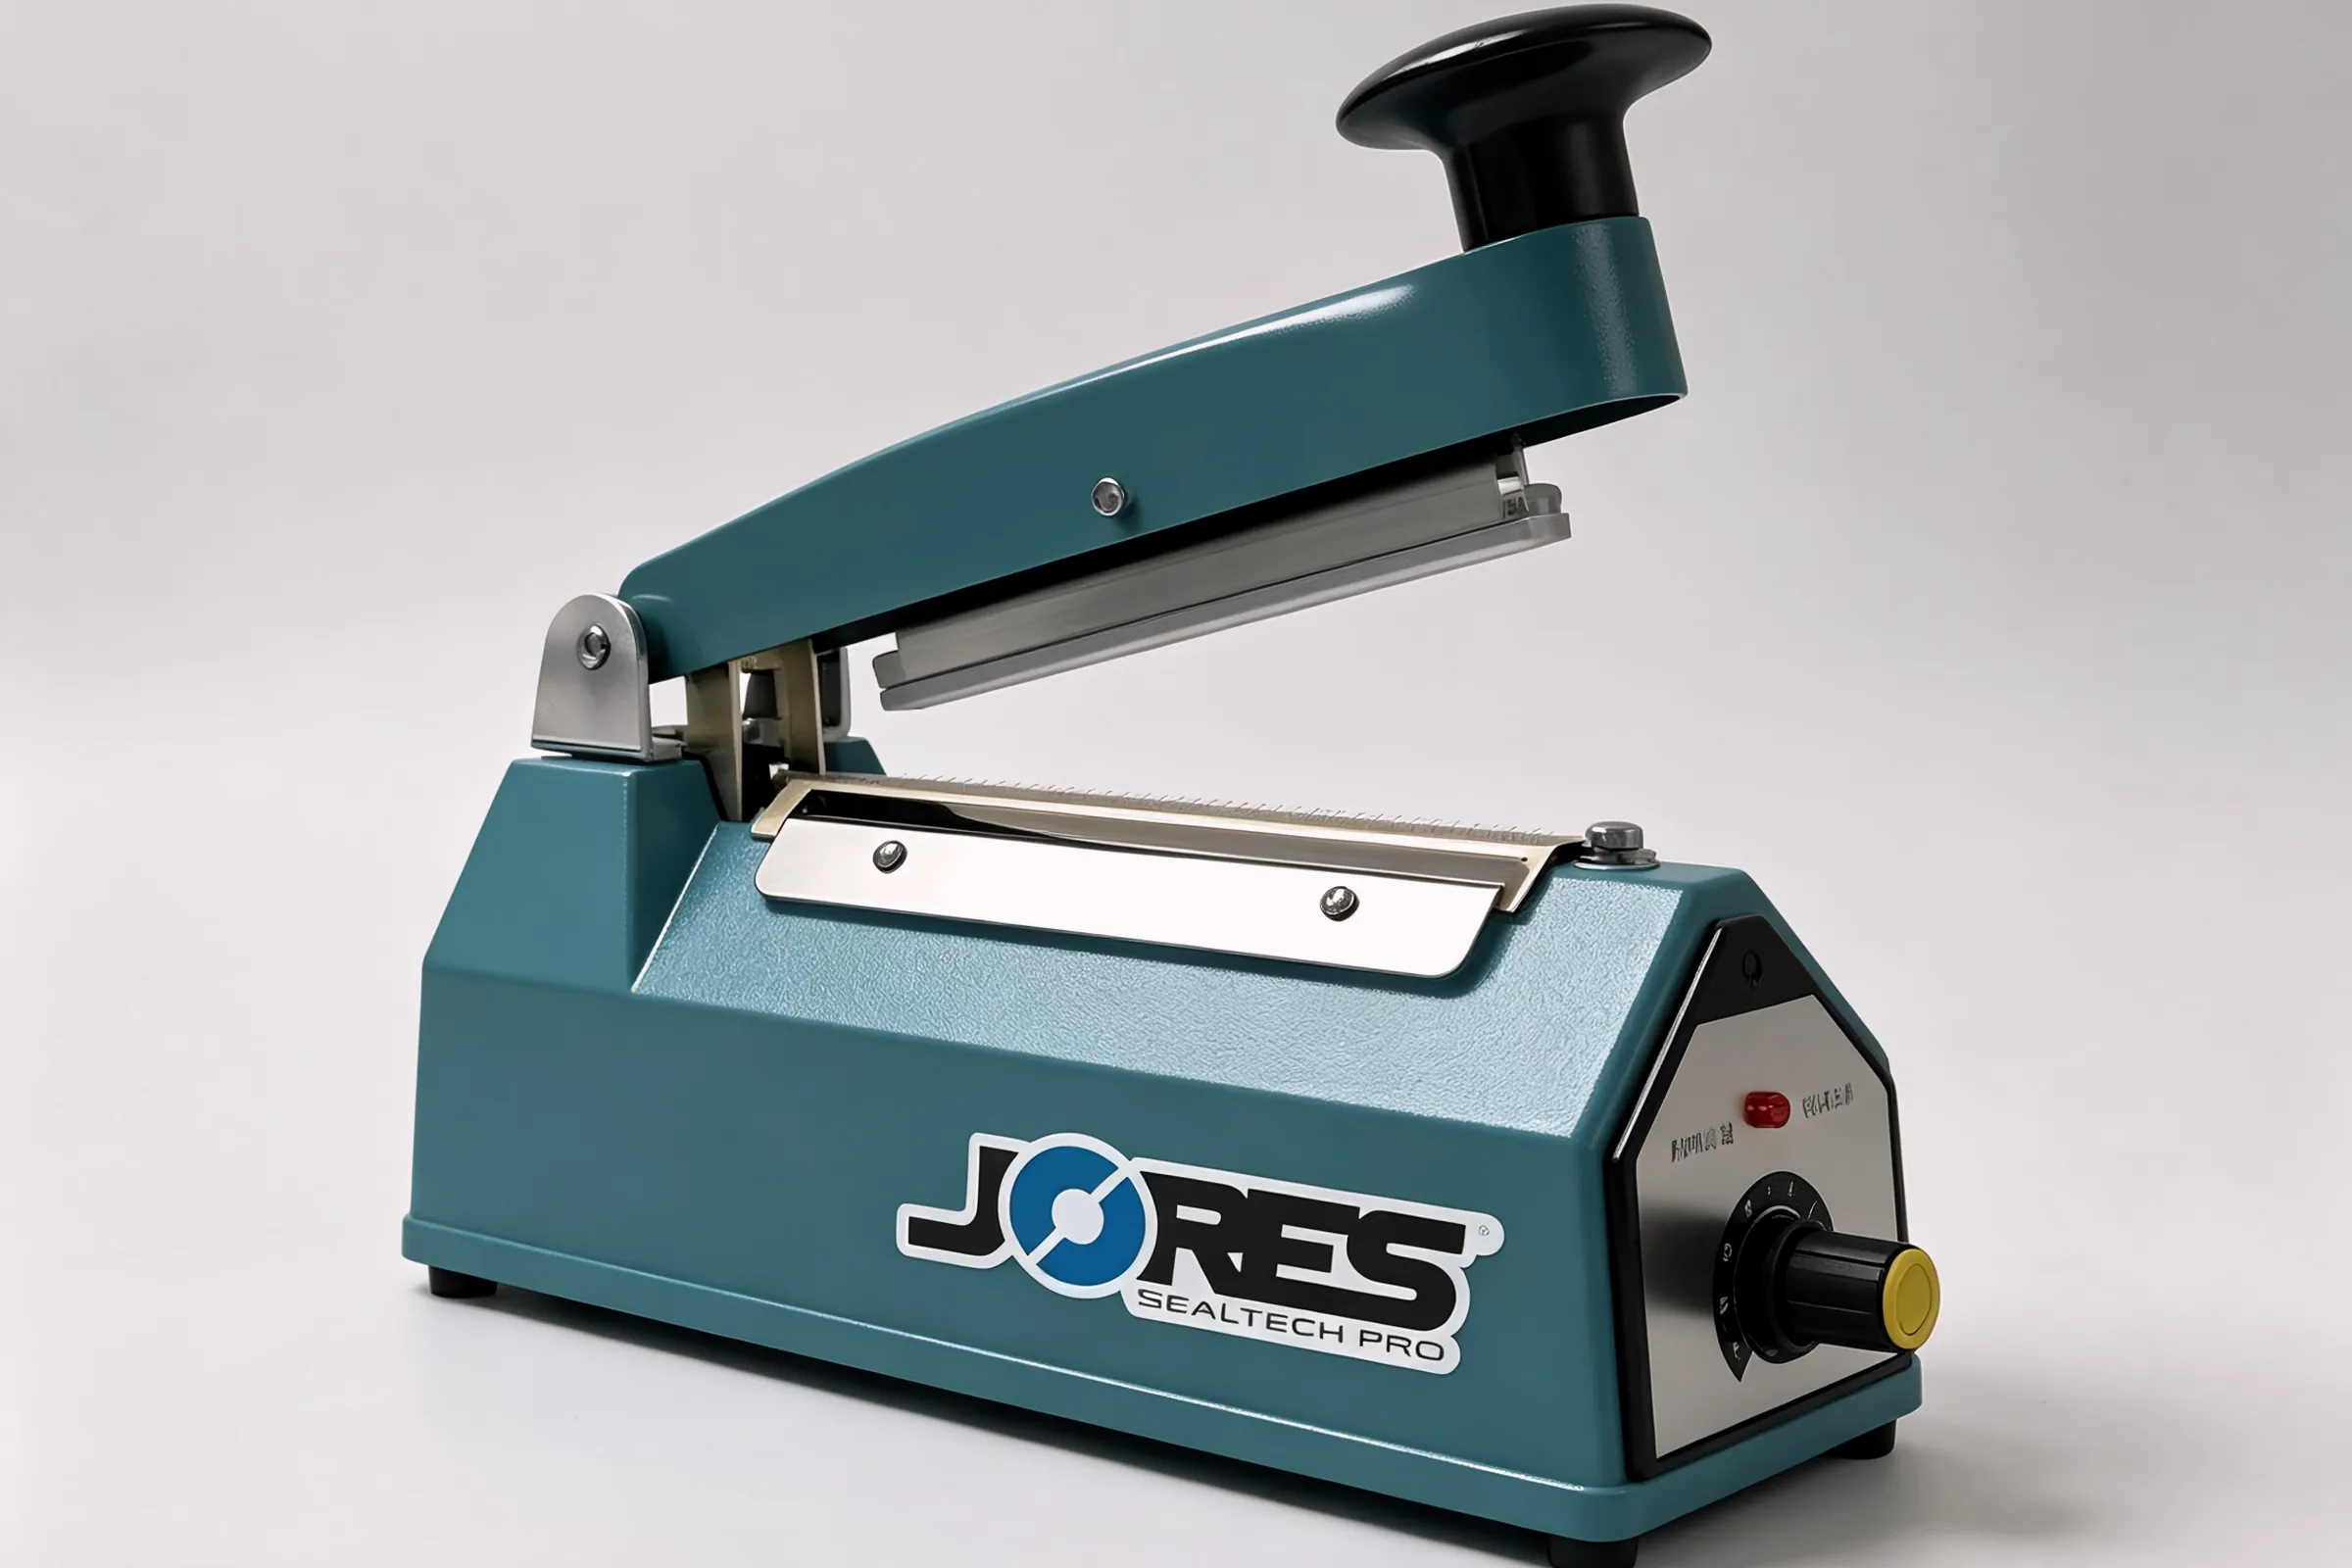
A detail most people overlook: every extra meter between the cooking area and the packing station adds about 8–12 seconds per order during peak hours. Over an 80-order lunch rush, that adds up to more than ten minutes. One of our braised-chicken stall clients timed it himself. After moving his packing station to right next to the pickup window, average rider wait time dropped from over 4 minutes to about 2 minutes 30 seconds.
What to look for: Tabletop thickness (1.2 mm stainless steel minimum — thinner stock warps), built-in refrigeration option, and size fit for your actual stall width. Measure your walls before you order. Don’t skip this step.
Cleaning and Drainage: Sinks, Floor Drains, Grease Traps
A double-basin sink is mandatory for hygiene compliance. One basin washes, one rinses — separate basins are required to pass food-safety inspections. Floor drains and grease traps are non-negotiable too. Dumping grease straight into the sewer might seem like a small thing until property management or an inspector flags it.
Standards differ by city and district. Check with your local food-safety authority before you buy, so you know the exact requirements up front. It’s much cheaper than retrofitting after installation.
Layout matters just as much as the equipment itself. Plan placement before anything arrives — don’t discover things don’t fit after delivery.
For 10–15 m² stalls, use a linear single-aisle layout: everything along one wall, one operator, shortest possible path. This works best for single-category operations like a fried-chicken-only or hot-pot-only stall.
For 15–30 m² stalls, use an L-shaped layout: cooking and prep zones separated so two or three people can work without blocking each other. Better for stalls with a slightly wider menu.
Built-in countertop equipment shines in tight layouts. An induction cooker flush with the counter takes no extra floor space, and you can use the area underneath for storage. Space utilization is significantly higher than with freestanding units.
How Much Should You Spend on Ghost Kitchen Equipment?
Here are rough budget ranges depending on stall type. A basic single-category operation runs about $2,000–$4,000 total. A mid-range fast-casual setup costs $4,000–$8,000. A multi-category, fully loaded stall can reach $8,000–$14,000. Cooking gear takes the biggest slice (35–45%), followed by refrigeration (20–25%).
The smart move is to buy in three rounds — get the essentials first, then add based on real operating data.
Budget Breakdown by Stall Type
Start with the big picture:
| Stall Type | Equipment Budget Range |
|---|---|
| Basic single-category stall | $2,000 – $4,000 |
| Mid-range fast-casual stall | $4,000 – $8,000 |
| Multi-category, fully equipped stall | $8,000 – $14,000 |
And here’s how the budget typically breaks down by function:
| Equipment Category | Budget Share |
|---|---|
| Cooking equipment | 35–45% |
| Refrigeration equipment | 20–25% |
| Prep & dispatch equipment | 10–15% |
| Cleaning / drainage / other | 15–20% |
Cooking gear taking the biggest share makes sense — it’s the engine of your output. Refrigeration comes second. Prep and dispatch gear is relatively cheap.
Buy in Three Rounds: Open First, Upgrade Later
You don’t need everything on day one. A lot of stall owners try to buy it all upfront and choke their cash flow. Split it into three rounds instead:
Round 1 — Opening day essentials: Cooking equipment + basic refrigeration + work table + cleaning setup. These four get you operational. Start taking orders, start making money.
Round 2 — One to three months in: Holding cabinet, extra refrigeration. By now you know your daily volume and where the bottlenecks are. Buy what you actually need, not what you guessed you’d need.
Round 3 — Once things stabilize: Efficiency upgrades and automation. An automatic sealer to replace the manual one. A higher-powered induction cooker to shave seconds off each order. These are profit-margin investments, not survival purchases.
Should You Buy New or Used Equipment?
Core cooking equipment — induction cookers, fryers — buy new. Electrical safety and warranty coverage are too important to gamble on. Auxiliary stuff like work tables and shelving? Secondhand is fine. These are simple, sturdy items where new-vs-used barely matters in daily use.
This mix of new core gear and used supporting gear typically saves 20–30% on the total budget. Here’s how to think about each side.
Buy new: Induction cookers, fryers, and any equipment with complex electrical components. With a used unit, you can’t see how worn the internal wiring is. There’s no warranty. If it breaks, you’re paying for the repair yourself. Energy efficiency may have degraded too, adding to your monthly utility bill over time.
Buy used: Work tables, shelving racks, and some refrigeration. These are mechanically simple and hard to damage. Performance difference between new and secondhand is minimal.
Three things to check on any secondhand purchase: compliance certification labels (confirms it came from a legitimate manufacturer), no unauthorized modifications (modified units are a safety hazard), and parts availability (if spare parts have been discontinued, you’re buying a disposable item). Save the 20–30%, and keep that money as working capital — it’ll serve you better there.
How to Handle Ventilation and Fire Safety Compliance
Compliance boils down to two areas: exhaust ventilation and fire-safety approval. Electrical cooking equipment (like commercial induction cookers) produces far less fume than gas burners, which means lower ventilation costs and faster fire-safety sign-off. Confirm the property’s duct conditions and energy policy before you sign the lease. Finding out after equipment is installed is expensive.
Exhaust System: What You Need to Know
Malls and food courts have hard exhaust-system standards. Miss them, and you don’t open. Details vary by location and property, but the trend is consistent: electric equipment generates much less fume than open-flame gas, so ventilation design is simpler and cheaper.
Practical tip: check the property’s exhaust-duct setup before signing the lease. Some stall locations have no duct connection point, or the duct is too narrow. Retrofitting costs a lot. Asking one question before you sign saves you from a very expensive surprise after.
Fire Safety: How to Get Approved
Many malls and food courts flatly prohibit open flames and gas on-site. This isn’t a guideline — it’s a hard rule. Flameless equipment makes fire-safety approval noticeably faster and simpler.
Get the property’s energy-use policy in writing before you choose between gas and induction. A verbal “gas is fine” means nothing. Staff turnover can change the answer overnight.
Data backs this up. A technical report by the Building Energy Exchange, supported by NYSERDA, found that gas stoves can emit up to twice the PM2.5 particulate matter of electric equipment, with NO₂ levels 50–400% higher (source: Building Energy Exchange — Induction Cooking Tech Primer). Choosing induction doesn’t just smooth out your fire-safety approval — it cuts your exhaust-hardware costs too.
5 Mistakes Beginners Make When Buying Equipment
These five errors come up over and over — whether you’re setting up a ghost kitchen, a cloud kitchen, or a dark kitchen. Each one can waste hundreds of dollars or delay your opening by days.
1. Buying equipment before the menu is set. You walk into a kitchen-supply store, everything looks useful, you load up. Half of it never gets used. Equipment isn’t better when there’s more of it. It’s better when it matches what you actually cook.
2. Ordering without measuring the space. You find a fridge online that’s $150 cheaper, order it, and it shows up 15 cm too wide for the spot you planned. Return shipping is on you.
3. Ignoring property compliance rules. You install a gas stove. Then the notice comes: electric only on this floor. Tear it out, buy again — money and time gone.
4. Buying everything at once. You want six months of equipment ready on day one. Cash flow collapses. Phased buying, as covered above, is the right approach.
5. Going cheap on core gear with secondhand units. You save $300 on a used induction cooker. Three months in, the control board burns out. No warranty. Repair takes a week. One day of downtime may already wipe out whatever you saved.
At the end of the day, equipping a ghost kitchen is five steps in order: lock in the menu → list the equipment → set the budget → buy in rounds → stay compliant. The sequence matters. None of the steps are optional.
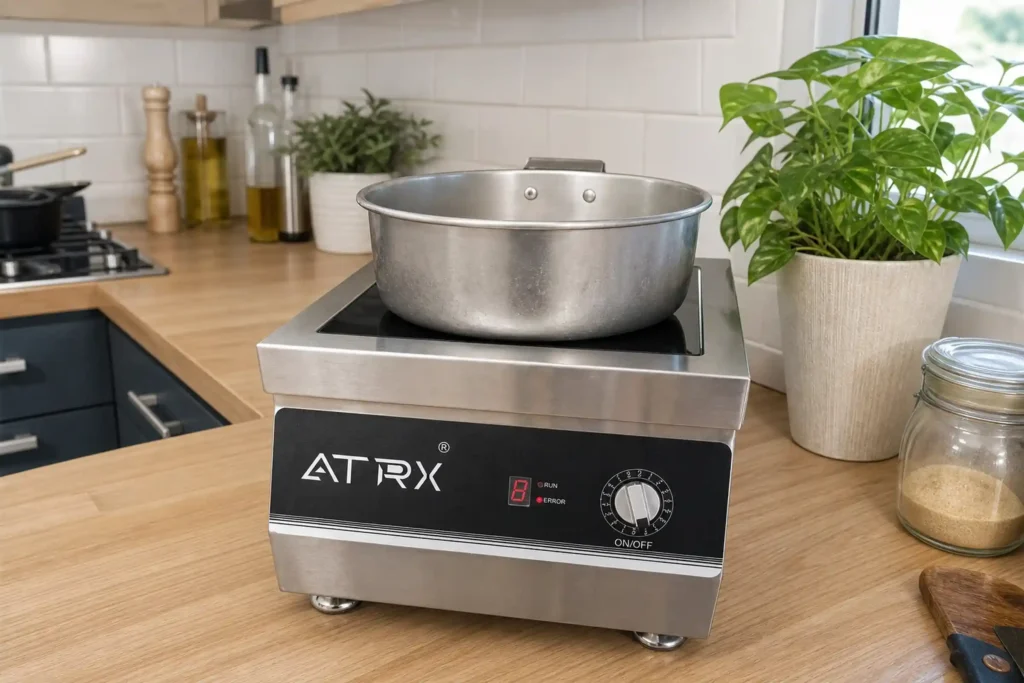
If you’re ready to solve the cooking-equipment piece in one move, ATRX commercial induction cookers are built for exactly this kind of setup — small space, high intensity, all-day output. Power options run from 3.5 kW to 15 kW with built-in installation support to fit any stall layout.
Already know your food category, electrical capacity, and installation style? The next step is comparing specific models. Browse the full ATRX portable commercial induction cooktop range — 3.5 KW to 8 KW, countertop built-in ready, CE-certified, with sample orders and OEM customization available. Pick the model that fits your stall’s actual conditions.
Common Questions People Ask
Q1: Can I buy equipment before I have my business license?
Not recommended. Your equipment choices are shaped by the property’s energy policy and the hygiene rules tied to your food-service permit. Those details only become clear during the licensing process. Sign the lease, apply for permits, measure the space — then order equipment once you have hard specs in hand.
Q2: Two partners, 15 m² stall — how should we split the equipment budget?
Don’t split by headcount. Split by function. A two-person stall needs roughly the same cooking and refrigeration gear as a one-person stall. The difference is whether the work-table width and layout let both people operate at the same time. Put extra budget into a wider prep table and a separate packing station — not a second set of burners.
Q3: Equipment arrived but renovations aren’t done — can I test it at home?
Commercial induction cookers and other high-power units have voltage and wiring requirements that don’t match a residential setup. Running them at home can trip breakers or damage the equipment. Some manufacturers also void the warranty for use outside designated settings. Wait for on-site installation, and have the supplier do commissioning and circuit-load verification on the spot.
Q4: Other stalls on the same street use gas and haven’t been fined — can I do the same?
No. Enforcement has a lag. Not being fined yet doesn’t mean it’s compliant. When a crackdown happens or property management changes hands, non-compliant equipment gets a removal deadline. Base your decisions on your own lease terms and the property’s written energy policy — not on what your neighbors happen to be doing.
About the author
ATRX Team| 18 Years Commercial
Induction Cooker Manufacturer in China
Induction Cooker Manufacturer in China
Related Posts
How to Install a Built-In Induction Cooktop: A Step-by-Step Guide
09/17/2026
How to Clean a Commercial Deep Fryer: A Step-by-Step Guide
09/13/2026
High Quality Commercial Induction Cooker Manufacturer
09/09/2026
Automatic Wok Machine: Types, Specifications, Applications and Buying Guide
08/18/2026
What Is a Commercial Induction Cooker and How Does It Work
08/13/2026
Commercial Induction Range for Hotel Kitchens: How to Choose the Right Model
08/11/2026
China Commercial Induction Cooker Manufacturer
08/09/2026
10 Best Commercial Induction Cooker Manufacturers & Supplier Selection Guide [2026]
08/07/2026
Tilting Skillet & Bratt Pan: How to Choose the Right One for Your Commercial Kitchen
08/06/2026

Commercial Induction Cooker for School Cafeteria: How to Pick the Right High-Power Unit
08/04/2026