

—— PRODUCT HIGHLIGHTS
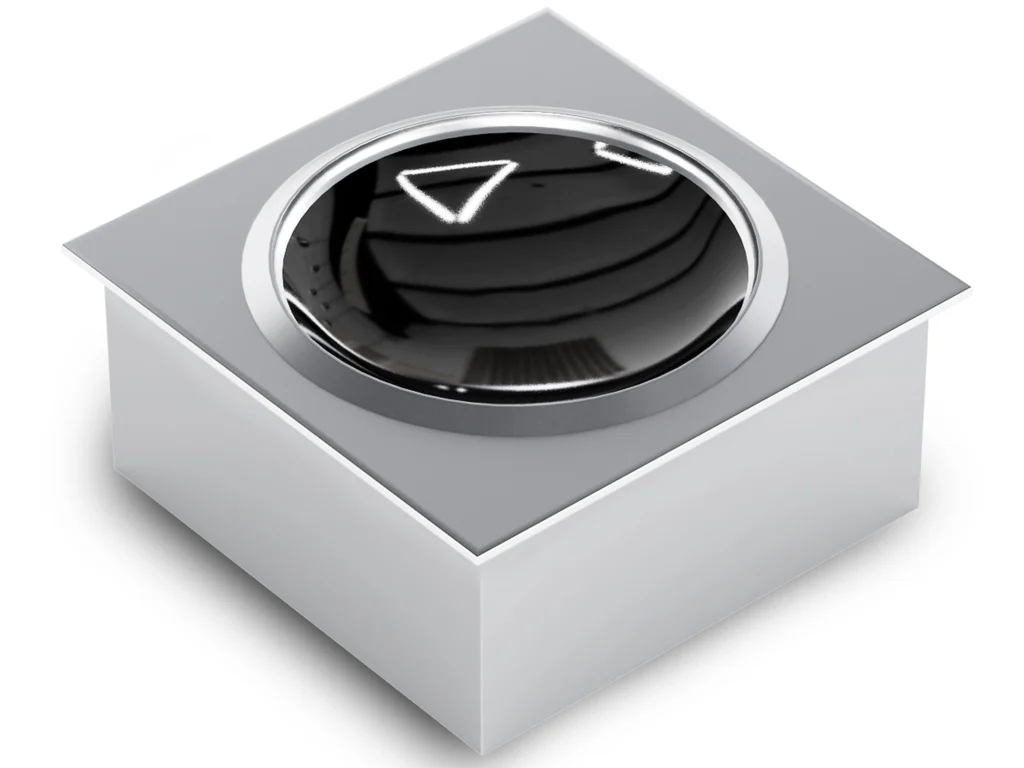
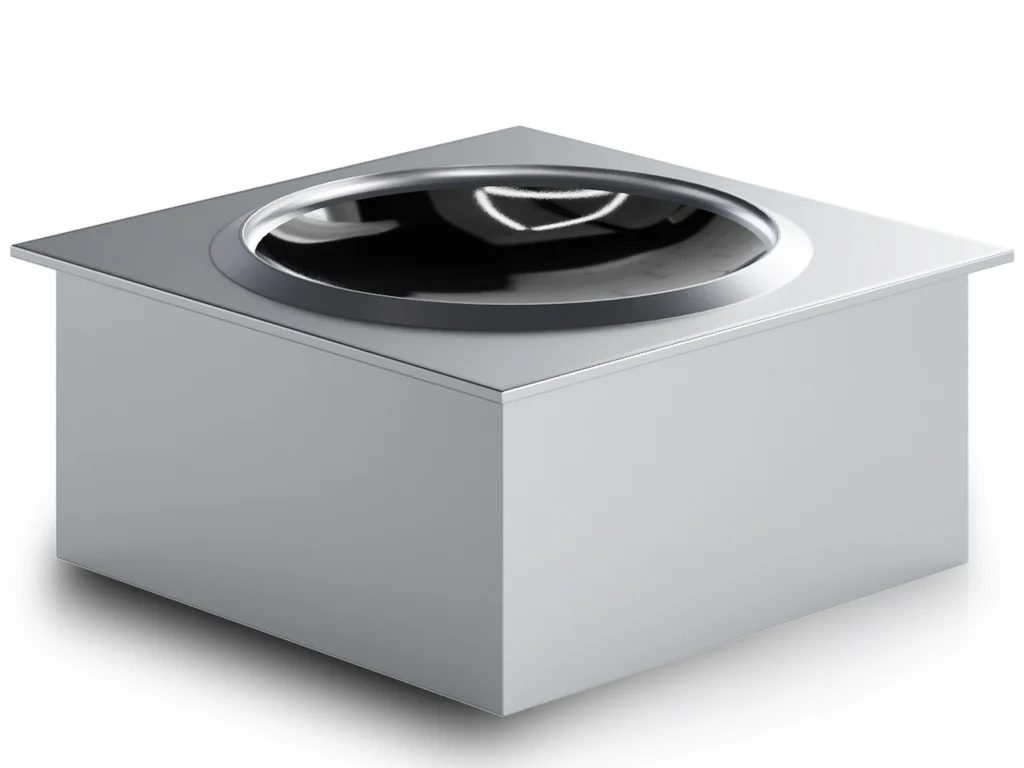
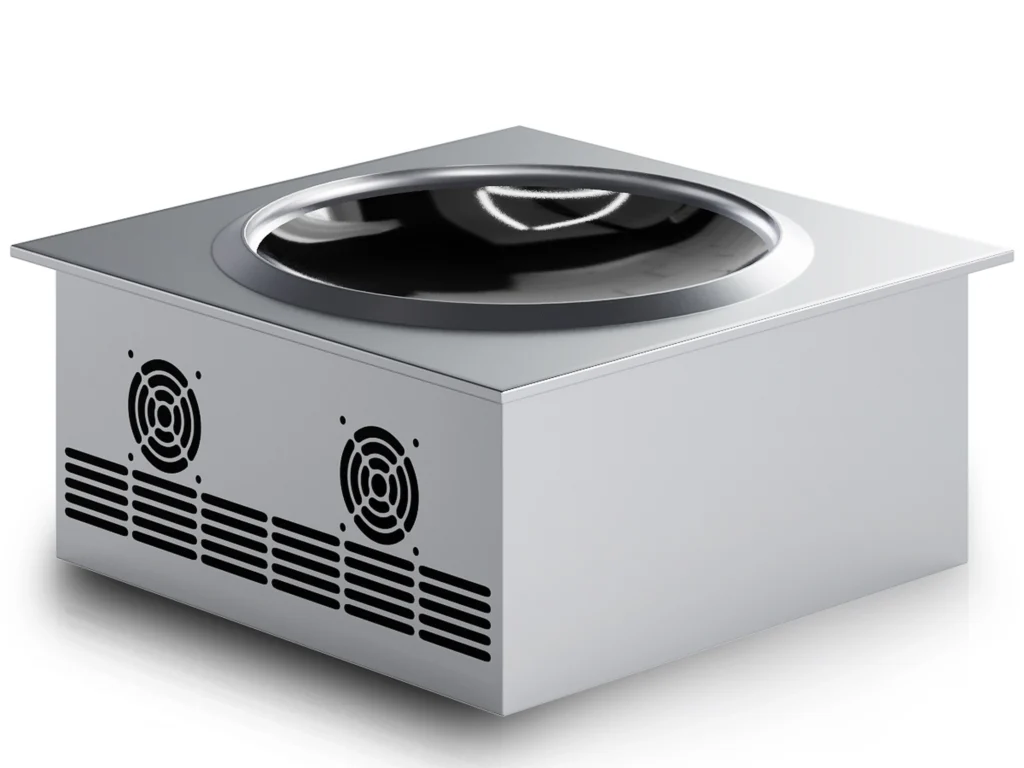
Countertop Induction Built-in Wok Cooker | 3.5KW
Custom Drop-In Sizes for Any Countertop
400×400mm is the standard. Through OEM/ODM, we adjust cutout size, depth, and flange to fit flush into any new or existing kitchen workstation.
Adjustable Power & Control Layout
Wattage, voltage, panel position, and vent direction are all configurable. Each embedded induction wok station ships matched to your cooking line.
SS304 Steel Body with Your Branding
Choose your finish, add your logo, reshape the housing. The result is a private-label drop-in induction wok hob ready for your product line.
Single-Phase, No Rewiring Needed
At 220V/1-phase and 3.5kW, this recessed wok cooker plugs into standard kitchen circuits — works for both new builds and countertop retrofits.
Basic Specification
Product Name
Product Model
Power(Kw)
Voltage(V)
Product Size
Product Material
Hs Code
How To Operate This Machine
Step 1
Place your commercial induction cooker in position and connect the power cable based on the required voltage. Make sure all wiring is done correctly before turning on the unit.
Step 2
Once powered on, place your induction cookware on the commercial induction cooker, prepare your ingredients, and get ready to start cooking.
Step 3
Turn the knob from 0 to your desired setting to begin cooking. During the cooking process, simply adjust the knob between levels 1 to 8 to control the heat output to your needs.
Step 4
Once cooking complete,then turn the knob back to 0 to power off the unit. Wipe down and clean the surface of your commercial induction cooker to keep it in top condition.
6-Step Quality Checking of this Machine | Every Unit
Every testing machine shown below is physically present in our factory — no fabrication.
PERFORMANCE
Dust-free PCB assembly
- Every board built in a sealed cleanroom, no dust or grease particles get trapped under components — eliminates 40% short-circuit failures compare to competitors.
Electric Heating Constant Temperature Drying Oven
- Bakes out all moisture from PCBs before soldering — boards that skip this step blister and crack under high-power heat within months.
Electric Heating Constant Temperature Incubator
- Every board is heat-aged for hours to force weak solder joints to fail in our lab, not in your kitchen after installation.
Constant Temperature and Humidity Test Chamber
- Simulates years of steam and humidity from a real commercial kitchen to verify no board corrosion or short circuits develop over time.
Salt Spray Test Chamber
- Tests every metal part and connector against aggressive corrosive vapor — the same oils, acids, and moisture your cooker faces daily in a commercial kitchen environment.
Thermal Shock Test Chamber
- Mimics the hundreds of rapid heat-up / cool-down cycles your cooker endures every single day, cracking any weak solder joint before it ever ships.
What Food Can You Cook With It?
Stir-Fried Dishes
Fried rice, chow mein, sautéed vegetables. The 3.5kW concave zone heats fast and even, and the flush-mount design keeps wok tossing comfortable.
Soups & Braised Foods
Bone broth, braised pork, curry stews. Stable low-heat control across the embedded wok surface means no hotspots and no babysitting.
Deep-Fried & Pan-Fried Items
Spring rolls, tempura, pan-fried dumplings. Steady oil temperature plus the flush countertop position keeps splatter away from nearby stations.

FAQs
Frequently Asked Questions

Most People Curious
We've gathered the most common questions buyers ask before placing their first order — browse through and find the answers that matter most to you.
Submit Your InquiryWhat custom cutout sizes are available?
The standard size is L400×W400×H230mm. Through OEM/ODM, we modify length, width, depth, flange width, and corner radius to match your countertop opening. Just send your drawing — we engineer the recessed induction wok cooker for a flush fit in stone, steel, or composite surfaces, whether new-build or retrofit.
Can you change the voltage and power rating?
Yes. The base model is 3.5kW at 220V single-phase. We also produce 380V three-phase versions. This way the built-in induction wok cooker matches your electrical system directly — no panel upgrades or extra wiring required.
What is the minimum order quantity?
It depends on what you need changed. Simple updates like logo engraving or branded control panels have lower MOQs. Larger changes to size or electrical specs may require a bigger order. Reach out with your project details and we will quote MOQ, unit price, and lead time.
Can this unit retrofit into an existing countertop?
Yes. The compact size and single-phase power make it easy to add into a working kitchen. We also tailor the flange and recess depth so the concave induction wok cooktop sits level with your current counter surface — no structural changes needed.
Do you offer private-label branding?
We do. Our ODM service covers branded control panels, custom layouts, brushed or mirror or matte steel finishes, and color matching. You get a finished built-in induction wok range that carries your brand and fits your kitchen design language.