

—— PRODUCT HIGHLIGHTS
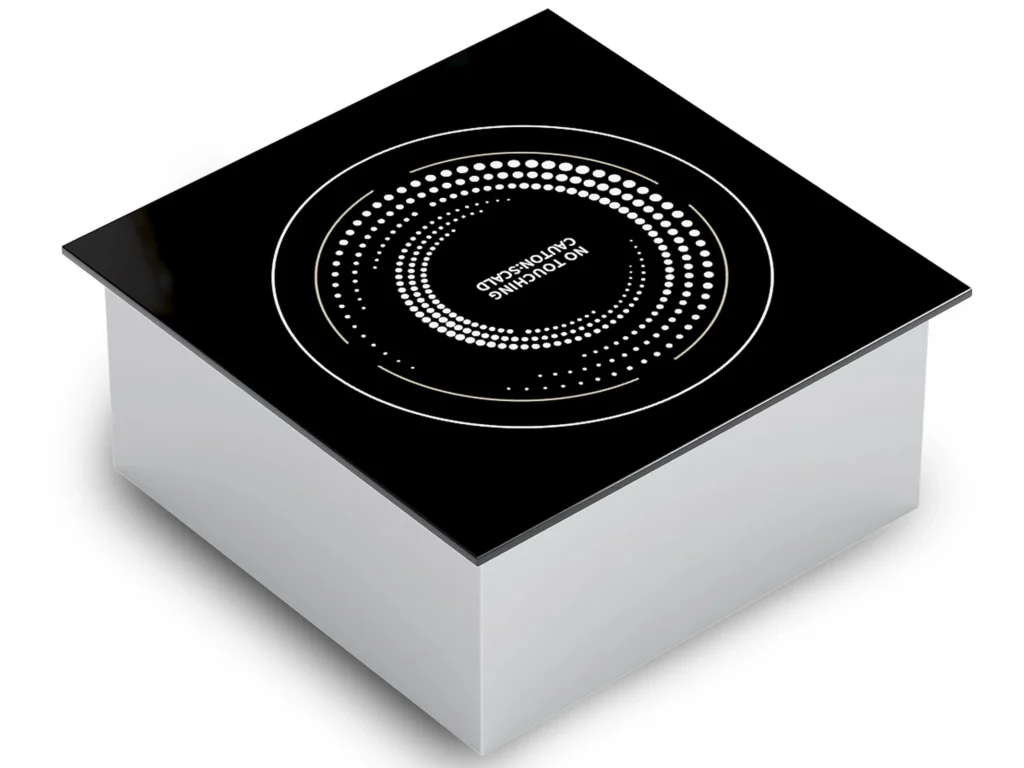
Countertop Induction Built-in Flat Cooker | 5KW
Sits Flush with Your Countertop
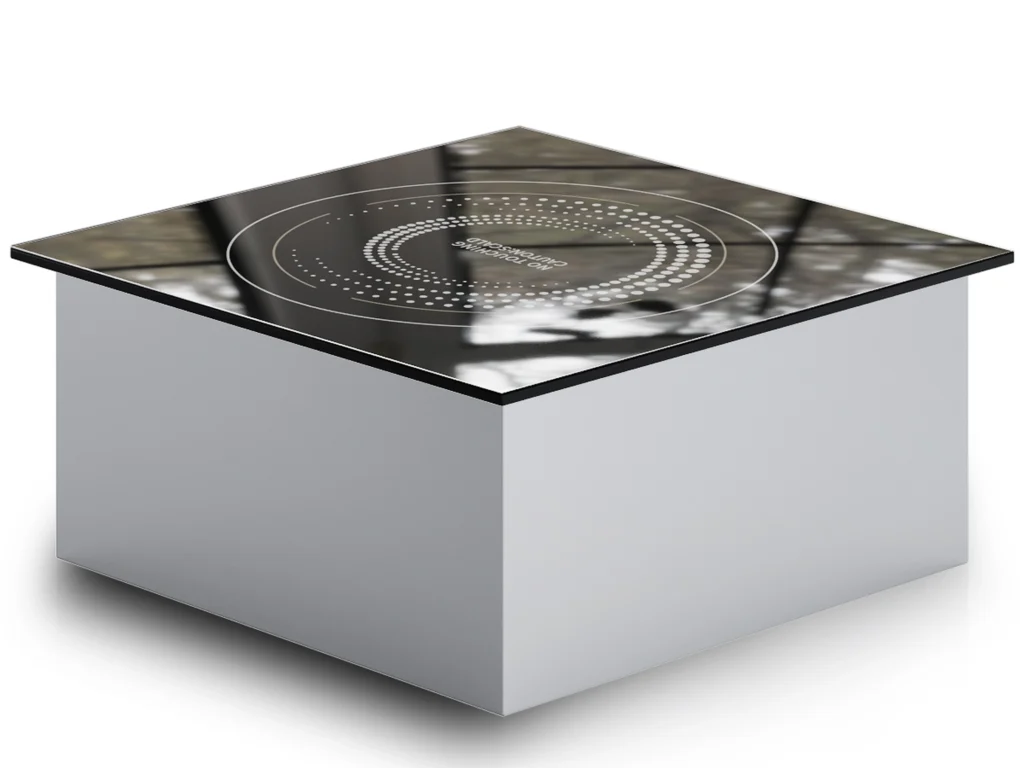
This drop-in induction cooker mounts level with the counter surface — no raised edges, no gaps. One clean, unbroken workspace.
Frees Up Real Counter Space
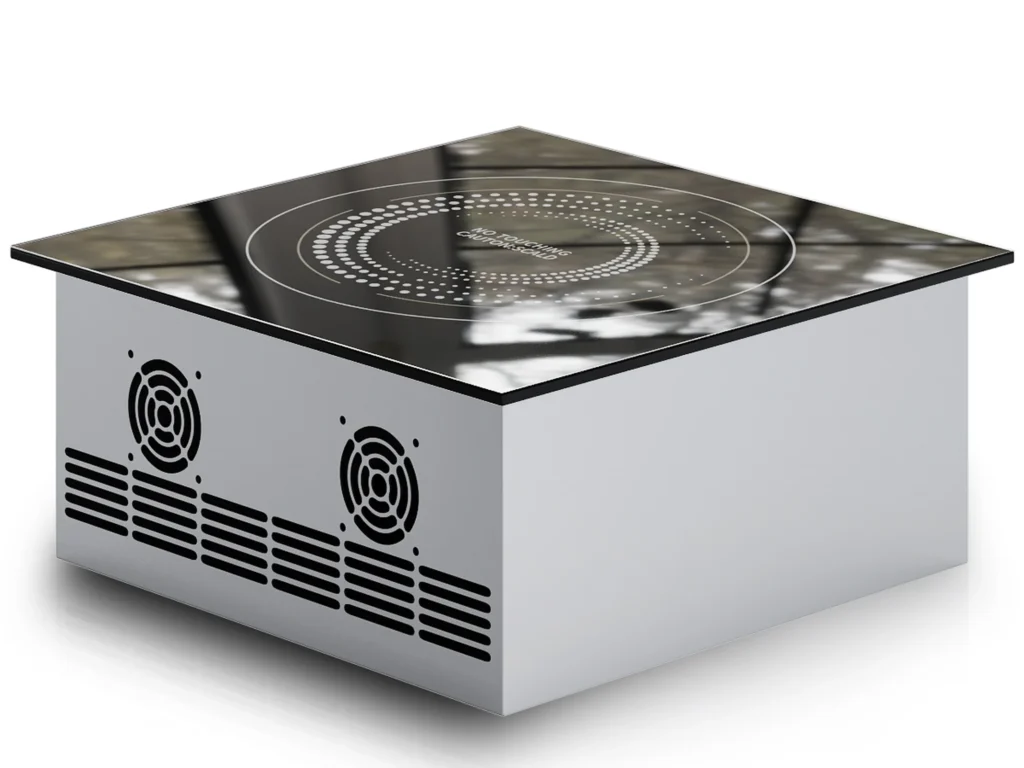
The entire unit recesses below the countertop, giving chefs and guests full use of the surface around the cooking zone.
5KW Output in a Low-Profile Body
A copper double-layer coil delivers 92% efficiency across 9 power levels, all within a slim 150 mm recessed housing.
Built to Handle Commercial Kitchens
SS304 stainless steel body, IPX4 waterproof rating, and auto-shutdown thermal protection — ready for daily heavy use.
Basic Specification
Product Name
Product Model
Power(Kw)
Voltage(V)
Product Size
Product Material
Hs Code
How To Operate This Machine
Step 1
Place your commercial induction cooker in position and connect the power cable based on the required voltage. Make sure all wiring is done correctly before turning on the unit.
Step 2
Once powered on, place your induction cookware on the commercial induction cooker, prepare your ingredients, and get ready to start cooking.
Step 3
Turn the knob from 0 to your desired setting to begin cooking. During the cooking process, simply adjust the knob between levels 1 to 8 to control the heat output to your needs.
Step 4
Once cooking complete,then turn the knob back to 0 to power off the unit. Wipe down and clean the surface of your commercial induction cooker to keep it in top condition.
6-Step Quality Checking of this Machine | Every Unit
Every testing machine shown below is physically present in our factory — no fabrication.
PERFORMANCE
Dust-free PCB assembly
- Every board built in a sealed cleanroom, no dust or grease particles get trapped under components — eliminates 40% short-circuit failures compare to competitors.
Electric Heating Constant Temperature Drying Oven
- Bakes out all moisture from PCBs before soldering — boards that skip this step blister and crack under high-power heat within months.
Electric Heating Constant Temperature Incubator
- Every board is heat-aged for hours to force weak solder joints to fail in our lab, not in your kitchen after installation.
Constant Temperature and Humidity Test Chamber
- Simulates years of steam and humidity from a real commercial kitchen to verify no board corrosion or short circuits develop over time.
Salt Spray Test Chamber
- Tests every metal part and connector against aggressive corrosive vapor — the same oils, acids, and moisture your cooker faces daily in a commercial kitchen environment.
Thermal Shock Test Chamber
- Mimics the hundreds of rapid heat-up / cool-down cycles your cooker endures every single day, cracking any weak solder joint before it ever ships.
What Food Can You Cook With It?
Soups & Broths
Hot pot broth, bone stock, chowder — the 9 power levels hold a steady simmer, and the flush surface keeps heavy pots stable on buffet lines.
Stir-Fries & Sautés
Fried rice, seared meat, stir-fry noodles — 5KW heats fast, and the flat built-in surface suits live cooking at open-kitchen stations.
Braised & Slow-Cooked Dishes
Braised short ribs, curries, reduction sauces — low-power hold keeps temperature even while the drop-in design keeps counters clean.

FAQs
Frequently Asked Questions

Most People Curious
We've gathered the most common questions buyers ask before placing their first order — browse through and find the answers that matter most to you.
Submit Your InquiryWhat is a drop-in flush mount induction cooker?
It is an induction cooktop built to recess into a countertop cutout so the glass surface sits level with the counter. Once installed, there are no raised edges — just a flat, continuous workspace. This sets it apart from portable countertop burners that sit on top of the surface and take up room. The flush mount design is the reason hotels, buffet stations, and hot pot restaurants choose built-in models over portable ones.
What countertop cutout do I need?
The unit measures 340 × 340 × 150 mm. Your countertop should be 30–40 mm thick. Cut the opening slightly smaller than the outer flange so the rim sits flat on the surface for a true flush fit. Leave at least 100 mm clearance underneath on all sides for airflow. A CAD drawing ships with every unit to make installation straightforward for your fit-out team.
Can it keep up with busy hotel or hot pot service?
Yes. 5000 W heats quickly enough for peak-hour demand. The SS304 body and IPX4 seal handle daily cleaning and spills. It supports cookware up to 50 kg, and 9 power levels let you move from full boil to gentle hold without changing equipment. Thermal monitoring with auto-shutdown adds a safety layer for long buffet service windows.
Is it safe to run for hours at a time?
It is designed for it. Internal UL-certified fans cool the recessed cavity, and dual probes track coil and cookware temperatures in real time. If either reading goes too high, the unit shuts down automatically. With proper ventilation clearance during installation, it runs safely through all-day hot pot shifts or multi-hour buffet service.
Do you offer OEM or ODM for bulk orders?
Yes. The AT-CTBIG platform comes in 3.5 KW and 5 KW versions with full OEM/ODM support — custom branding, control panels, and voltage options across 208–240 V / 50–60 Hz. CE certified, 1-year warranty, 10–15 day lead time. It is a practical choice for hospitality groups, foodservice distributors, and kitchen fit-out contractors ordering at volume.