
Can You Install a Built-In Induction Cooktop Yourself?
Whether you can install the cooktop yourself depends on the installation conditions and the type of work required.
If the new and old cooktops have the same cutout dimensions, electrical specifications, and mounting method, and the existing junction box and wiring already meet the new model’s requirements, you may be able to handle mechanical tasks such as unpacking the unit, measuring and cleaning the cutout, positioning the cooktop, and fitting the mounting hardware. Cooktops are often heavy, however, and uneven pressure can damage the glass surface. Two people should therefore work together when lifting out the old unit and lowering the new one into place.
When Do You Need a Licensed Electrician or Professional Installer?
You should not attempt the electrical portion of the installation yourself in any of the following situations:
- The kitchen does not have a dedicated supply circuit suitable for the cooktop.
- The new cooktop’s rated voltage, power, or current requirements differ from those of the old unit.
- The installation requires a new circuit breaker, an additional junction box, extended wiring, or a different conductor size.
- The existing wiring is old, the grounding arrangement is unclear, or there are signs of tripping, overheating, or scorching.
- The installation instructions require the connection to be completed by a qualified electrical professional.
- Local regulations specifically require professional installation for high-power built-in cooking appliances.
- You cannot reliably verify that the wiring is de-energized or are unfamiliar with the wiring diagram and testing equipment.
A qualified professional should do more than connect the wires. The installer should also confirm that the circuit capacity, overcurrent protection, grounding method, and junction box conditions are compatible with the cooktop. The mechanical and electrical work can be handled separately: you can prepare the countertop and position the unit, then have an electrician complete the wiring and power-up checks. This is generally safer than attempting a full DIY installation without a clear understanding of the electrical system.
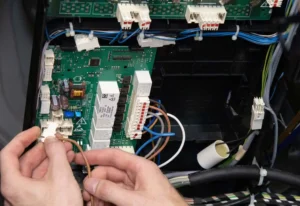
Published appliance-manufacturer guidance takes the same approach. Whirlpool’s induction cooktop installation guide recommends consulting a licensed electrician or contractor if new wiring, a dedicated outlet, or changes to the kitchen configuration are required. Maytag’s cooktop installation guide also recommends professional assistance when adding new wiring or changing the kitchen configuration. These recommendations do not replace local codes, but they help distinguish mechanical work that may be suitable for DIY installation from electrical work that should not be attempted without the proper qualifications.
What Should You Check Before Installing the Cooktop?
Before removing the existing appliance, review the cutout dimensions, minimum clearances, mounting method, and electrical requirements in the installation manual. This determines whether the new cooktop can be installed safely in the existing location and helps prevent the discovery of dimensional or electrical incompatibilities after the old unit has already been removed.
Do not cut the countertop based solely on the cooktop’s nominal width. A stated size such as 30 inches or 36 inches is usually not the actual cutout dimension, and the glass surface is generally larger than the opening. Locate the cutout drawing and permitted dimensional range in the installation manual for the exact model, then compare each measurement with the installation site.
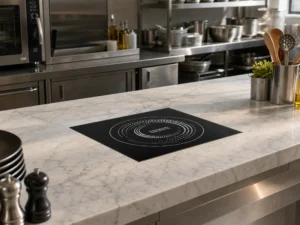
Check the Cutout Dimensions, Cabinet Space, and Minimum Clearances
Measure both the width and depth of the countertop opening. Measure the width at the front and rear of the cutout, and measure the depth on both the left and right sides. If the two measurements in the same direction differ, use the smaller figure when determining whether the new cooktop will fit. Also check that the opening is square, that the corners match the installation instructions, and that the edges are free from cracks, loose material, or significant unevenness.
In addition to the countertop opening, inspect the following areas:
- Space below the countertop: Confirm that the underside of the cooktop will not contact a drawer, rail, shelf, oven housing, or other obstruction, and leave the ventilation space specified in the manual.
- Junction box location: The junction box must be within the position permitted by the manufacturer. Once installed, the power cable or conduit must not be pinched, stretched, or exposed to hot surfaces.
- Surrounding clearances: Verify the minimum distances between the cooktop and the rear wall, side cabinets, overhead cabinets, and ventilation equipment.
- Countertop strength and material: The countertop must be level, stable, and able to support the cooktop. If a stone, glass, or composite countertop needs a larger opening, the work should be completed by someone experienced with that material.
- Combined installation requirements: If an oven or another appliance will be installed below the cooktop, confirm that the two specific models are approved for combined installation rather than assuming compatibility based on their dimensions.
After measuring, compare the cutout dimensions, external dimensions, and minimum clearances with the installation manual. Do not force the appliance into an opening that is too small, and do not use a large amount of sealant to compensate for an oversized opening. Use a manufacturer-approved installation method or correct the countertop first.
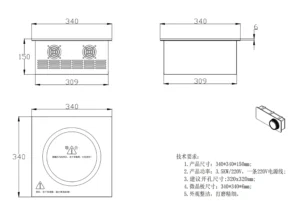
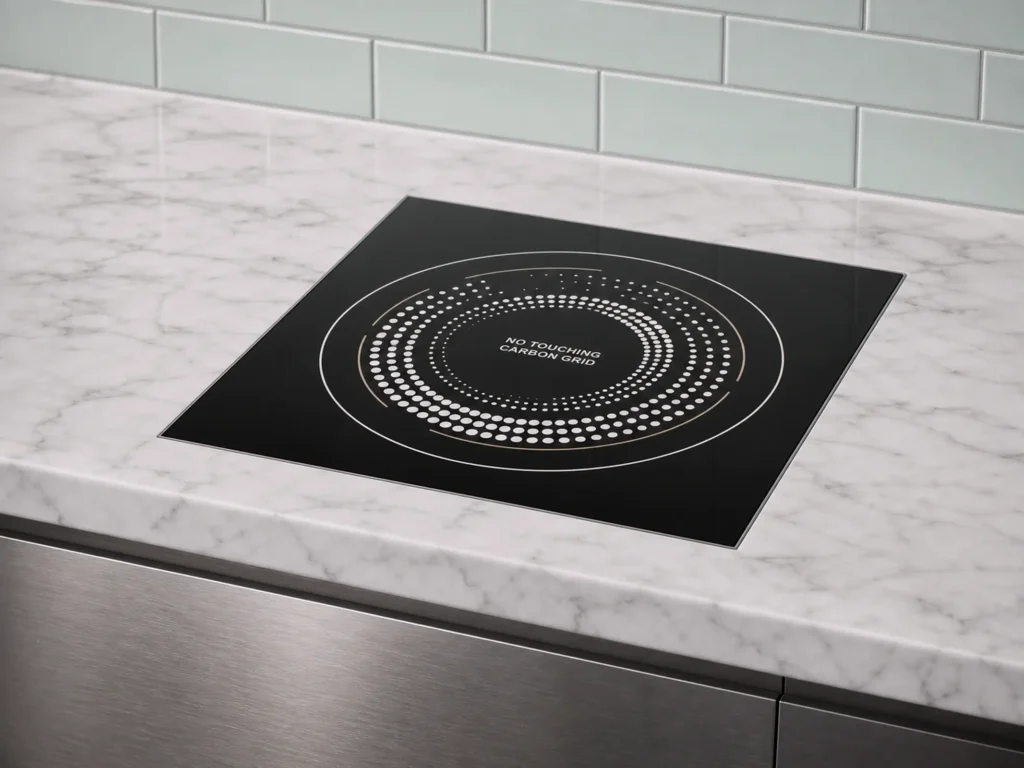
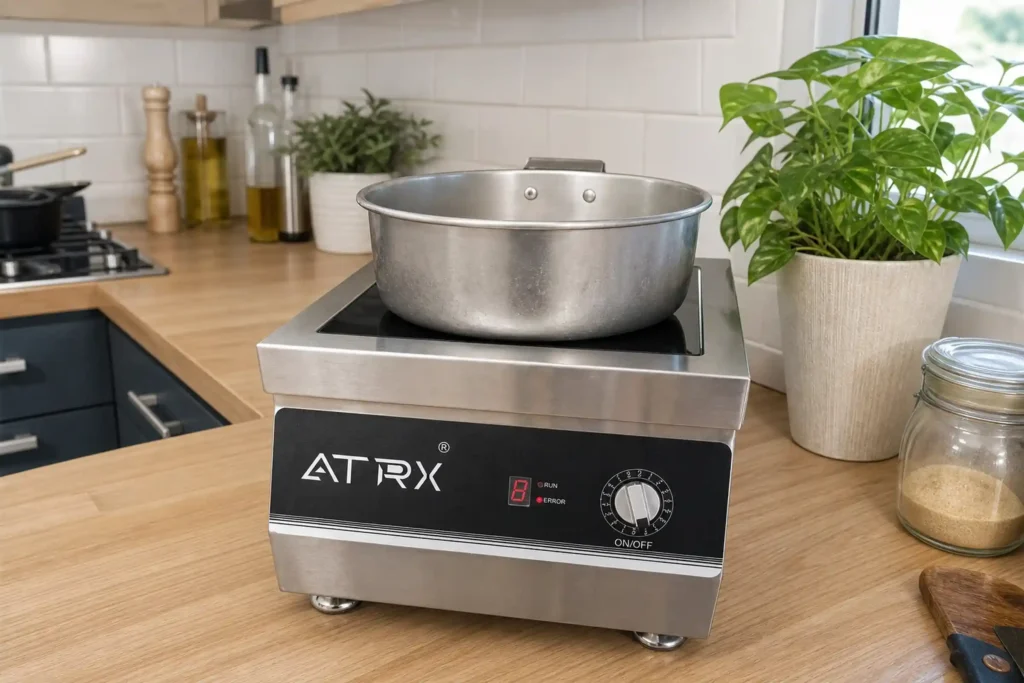
Requirements can vary considerably between models. On ATRX’s built-in induction cooktop category page, the listed products include cutout examples of approximately 330 × 330 mm for compact single-zone units and up to approximately 600 × 350 mm for dual-zone models. The page also advises confirming the cutout specification for the exact model before fabricating the countertop and leaving space below the unit for cooling-air intake. These figures are examples from ATRX’s current product range, not universal dimensions for all built-in induction cooktops.
Model-specific requirements take precedence over general product-range information. For example, an ATRX built-in flat induction cooktop product page specifies a countertop thickness of 30–40 mm and at least 100 mm of airflow space around the underside of the unit. The 100 mm clearance applies only to the product requirements stated on that page. For any other model, follow its installation drawing and manual.
Check the Electrical Requirements and Dedicated Circuit
Review the cooktop’s rating plate and installation manual to confirm the rated voltage, frequency, maximum load, required circuit breaker or fuse protection, conductor requirements, and grounding method. Power-supply conditions vary by country, region, and model, so specifications from another cooktop should never be applied to the unit being installed.
Check the following:
- Whether the voltage and capacity of the existing circuit meet the new cooktop’s requirements.
- Whether the cooktop requires a dedicated circuit.
- Whether the circuit breaker, conductor size, and wiring arrangement are suitable.
- Whether the grounding connection is continuous, reliable, and compliant with local requirements.
- Whether the junction box, connectors, and protective fittings are suitable for the model and installation environment.
- Whether the wiring shows signs of looseness, aging, overheating, discoloration, or damaged insulation.
The fact that the old cooktop operated normally does not prove that its wiring is suitable for the new one. The new model may have different power and circuit requirements. If the rating plate does not match the existing electrical supply, or if the wiring specifications cannot be confirmed, have an electrician inspect the installation before proceeding. Do not try to solve the problem by installing a larger circuit breaker, because the existing wiring may not be rated for the higher load.
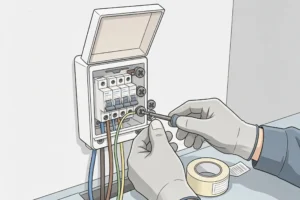
Models within the same product family may also require different power supplies. ATRX’s product page for this series lists the 3.5 kW and 5 kW versions as 220 V single-phase units measuring 340 × 340 × 150 mm, while the 8 kW version is listed as a 380 V three-phase unit measuring 450 × 450 × 230 mm. This example shows that similar styling and a shared series name do not mean that an existing cutout, circuit, or protective device can be reused. Rated power, voltage, phase configuration, and the specific wiring requirements all need to be checked individually.
Prepare the Required Tools and Installation Materials
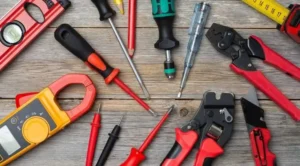
The exact tools should be determined by the product’s installation manual. Common items include:
- A tape measure, square, pencil, or erasable marker.
- Screwdrivers, nut drivers, or wrenches that fit the mounting hardware.
- Pliers and voltage-testing equipment suitable for the application.
- A spirit level.
- Cut-resistant gloves, a soft pad, or cardboard to protect the glass surface and countertop.
- A vacuum cleaner, soft cloth, and mild cleaning products for cleaning around the cutout.
- The installation brackets, spring clips, screws, sealing strip, or other original components supplied with the product.
- Compliant wire connectors and junction box fittings specified in the installation manual.
Do not add adhesive or sealant unless the instructions specifically call for it. Some models use foam sealing strips, clamps, or spring clips. Additional adhesive can interfere with ventilation, alter the installed height, and make future service or removal more difficult. If any installation components are missing, obtain parts intended for the specific model instead of using substitutes that happen to be a similar size but have an unknown purpose.
How to Install a Built-In Induction Cooktop
Begin the physical installation only after confirming that the dimensional and electrical conditions are suitable. The following steps apply to common countertop-mounted built-in induction cooktops, but mounting systems and wiring requirements vary by model. Follow the sequence specified in the product’s installation manual.
Step 1: Disconnect the Power and Remove the Existing Cooktop
Switch off the relevant circuit at the electrical panel and take appropriate measures to prevent it from being switched back on while work is in progress. Then use testing equipment suitable for the circuit to verify that the cooktop and connection point are de-energized. Switching off the cooktop at its control panel does not disconnect the electrical supply. Public installation guides from Whirlpool and Maytag both emphasize disconnecting power at the electrical panel and then using a circuit tester to verify that the wiring is de-energized, rather than relying only on the position of a switch.
If you are replacing an existing cooktop, remove any drawers or cabinet doors that obstruct access so there is enough room to support the unit from below and reach the wiring. Recording how the old appliance was installed may help you understand the site conditions, but it does not replace the new cooktop’s wiring diagram.
After a qualified person disconnects the old cooktop wiring, remove the retaining clips, brackets, or other fasteners underneath, along with any old sealing material that prevents removal. Have one person apply even support from below while a second person steadies and lifts the cooktop from above. Do not force a metal tool under the glass edge, as this can damage either the cooktop or the countertop.
Once the old cooktop has been removed, inspect the junction box, cutout edges, and countertop. If you find discolored wiring, melted connectors, cracks in the countertop, or signs of moisture, correct these problems before installing the new appliance.
Step 2: Prepare and Recheck the Countertop Cutout
Remove grease, dust, old adhesive, and loose debris from around the cutout so the new cooktop can sit evenly against the countertop. Keep moisture and debris out of the junction box while cleaning.
Measure the width and depth of the opening again, then compare the measurements with the new cooktop’s installation drawing to confirm that:
- The cutout dimensions are within the permitted range.
- The cutout edges can support the cooktop surface.
- There are no components below the countertop that obstruct the cooktop body, ventilation path, or power cable.
- There is enough room to install the brackets or clips.
- The required ventilation space is maintained around and below the cooktop.
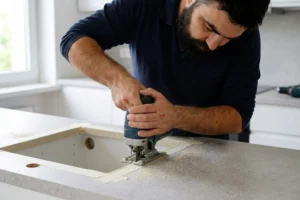
Before final fastening, perform a trial fit if the instructions recommend it, and confirm that the cooktop settles into position without force. Do not press the unit into an undersized opening. If the countertop needs to be cut, remove the cooktop and electrical components first, protect the inside of the cabinet, and use tools or professional services appropriate for the countertop material.
Step 3: Position and Secure the New Cooktop
Unpack the cooktop on a soft, clean, stable surface. Check the glass for cracks, chipped edges, or shipping damage, and confirm that all installation components are present. Fit the foam strip, brackets, spring clips, or other specified parts as directed in the manual.
Two people should support the appliance from opposite sides when lowering it into the cutout. Avoid lifting it by the glass edge alone. Guide the power cable or conduit through the opening first and make sure it will not be trapped beneath the cooktop, then lower the unit slowly and vertically onto the countertop. Once it is in place, check that the edges sit evenly and that the control panel faces the correct direction.
Secure the cooktop with the manufacturer-specified clamps or fasteners. Their purpose is to prevent movement, not to pull uneven glass down against the countertop by force. Install and tighten them only in the positions and to the extent specified in the manual to avoid stressing the glass or damaging the countertop.
Step 4: Complete the Electrical Connection
The electrical connection must be completed in strict accordance with the wiring diagram for the current model and all local requirements. The person making the connection must verify that the supply circuit is de-energized and recheck the rating plate, circuit capacity, conductor size, connectors, grounding arrangement, and junction box conditions.
Cooktops may use different numbers of conductors, color designations, and connection methods. Do not wire the new unit based only on how the old appliance was connected or on an image found online. Follow the wiring diagram supplied with the product, and use compliant connectors to secure and insulate the conductors.
After completing the connection, confirm that:
- All terminals and connectors are secure, with no exposed conductors.
- The grounding connection follows the manual and local requirements.
- The power cable is not under tension, sharply bent, pinched, or touching hot areas of the cooktop body.
- The junction box cover has been refitted and the wiring has appropriate mechanical protection.
- The appliance remains level and the mounting hardware has not been loosened during the wiring work.
If the wiring diagram does not match the wiring at the installation site, stop and have an electrician resolve the discrepancy. Do not guess conductor functions from wire colors, omit the grounding connection, or use temporary splices to complete the installation.
Step 5: Restore Power and Test the Cooktop
Remove all packaging, tools, and debris from the cooktop, and make sure no screws, wire offcuts, or cleaning products remain inside the cabinet below. Restore power to the relevant circuit and check whether the control panel starts normally.
Follow the operating instructions to perform the basic tests:
- Check that the display and touch controls respond correctly.
- Place a flat-bottomed, induction-compatible pan on each cooking zone.
- Run each cooking zone briefly to confirm that it detects the pan and heats normally.
- Test the power-off function, child lock, and any other basic safety-related controls.
- Watch for error codes, unusual noises, burning smells, smoke, or repeated circuit breaker trips.
If the appliance requires an initial setup after power is restored, complete it according to the user manual. If the cooktop does not start, stop the test, check whether the circuit breaker has tripped, and consult the manual’s error-code guidance. Do not repeatedly reset the breaker or continue testing if you notice a burning smell, sparks, overheating, or abnormal tripping. Disconnect the power immediately and contact a qualified professional.
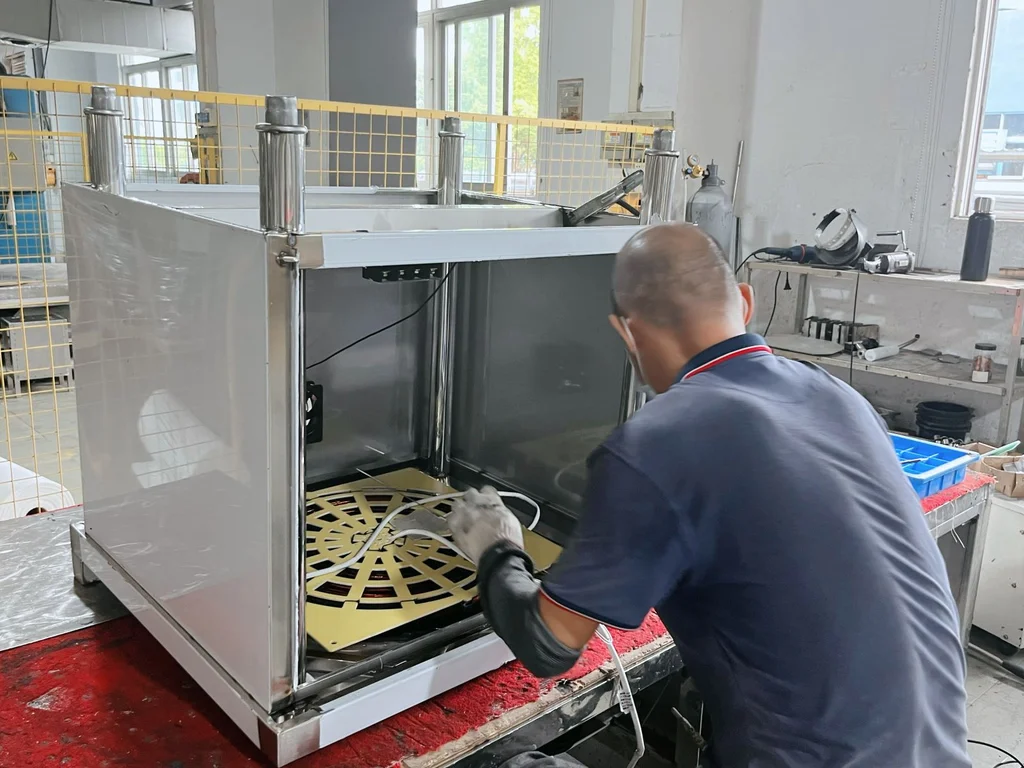
Factory testing does not replace checks after installation. ATRX states on its website that finished units undergo full-power operation testing, as well as functional, safety, appearance, and accessory checks before shipment. Even if the appliance passed these checks at the factory, each cooking zone, control function, and error display still needs to be tested on site after shipping, wiring, and installation to confirm that the installation process has not introduced a new problem.
Final Installation Check
After the cooktop has been installed and passed the initial power-up test, check its fit, stability, and surrounding area. This final inspection is not a repetition of the installation steps. Its purpose is to confirm that no obvious risks remain before the appliance is put into service.
Check the Fit, Stability, Controls, and Error Codes
Confirm each of the following:
- The cooktop is correctly oriented, and the glass surface has no cracks or chipped edges caused during installation.
- The cooktop sits evenly against the countertop and does not rock, lift, or move when lightly pushed.
- The fasteners are installed in the specified positions without placing excessive pressure on the glass or countertop.
- Drawers, cabinet doors, and other appliances below the cooktop open and close normally without contacting the cooktop body or power cable.
- The power cable and junction box are not pinched, and the ventilation space required by the installation manual remains unobstructed.
- The control panel, cooking zones, and basic safety functions operate normally.
- No persistent error codes, unusual odors, sparks, or circuit breaker trips occur during testing.
If only one cooking zone displays a message such as “pan not detected,” try repositioning the cookware or using another pan known to be induction-compatible. If several cooking zones do not operate, or if the appliance repeatedly displays errors related to the power supply, internal temperature, or connections, switch off the power and contact the installer or after-sales service according to the manual. Do not open the cooktop housing yourself.
Built-In Induction Cooktop Installation FAQs
Does an Induction Cooktop Need a Dedicated Circuit?
Most full-size built-in induction cooktops are high-power fixed appliances and generally require a dedicated circuit that meets the product specifications. This helps prevent overloads or repeated tripping caused by sharing a circuit with other appliances. However, whether a dedicated circuit is required, and the capacity it must provide, should be determined from the cooktop’s rating plate, installation manual, and local electrical requirements.
Do not estimate circuit requirements from the physical size of the cooktop. Two models with the same width may have different rated power levels. Before installation, have a qualified person check the existing circuit breaker, conductors, and wiring arrangement. If the circuit capacity is insufficient, the complete circuit must be upgraded rather than simply replacing the breaker with a larger one.
Does an Induction Cooktop Need a Range Hood or Ventilation?
An induction cooktop does not use a flame or produce combustion exhaust, but cooking still releases steam, grease, odors, and airborne particles. Appropriate ventilation is therefore generally still needed for indoor air quality and everyday kitchen use.
Whether a range hood is mandatory, how much airflow is required, and how far it must be installed above the cooktop depend on local building or ventilation codes, the kitchen layout, and the equipment instructions. If a hood is already installed above the cooktop, check the installation-height requirements in both the hood manual and the cooktop manual. If downdraft ventilation is used, make sure the ductwork does not occupy the equipment and ventilation space required below the cooktop.
Induction heating does not produce combustion gases, but that does not mean cooking-related air pollutants can be ignored. The U.S. Environmental Protection Agency’s guidance on indoor air quality while cooking recommends running an externally vented range hood during cooking and for 10–20 minutes afterward. It also recommends regularly cleaning the cooktop surface and the hood’s grease filters. If there is no externally vented hood, windows may be opened when outdoor air quality and weather conditions allow, or a kitchen or window exhaust fan that vents outdoors may be used.
The key to installing a built-in induction cooktop correctly is to verify the dimensions and electrical conditions first, then complete the positioning, fastening, connection, and testing in the proper sequence. The next step is not to start cutting the countertop or disconnecting wires, but to find the installation manual for the exact model and check its cutout drawing, minimum clearances, and rating plate data. Whenever site conditions differ from the manual—especially where wiring changes or grounding are involved—have a qualified professional inspect the installation before proceeding.