

Tilting Skillet & Bratt Pan: How to Choose the Right One for Your Commercial Kitchen
08/06/2026
Estimated reading time: 2 minutes

Whether you call it a tilting skillet, bratt pan, or braising pan, the equipment is the same — a large-capacity, tiltable, multi-function commercial cooking vessel. This tilting skillet buying guide covers every decision you’ll face: gas vs. electric, manual vs. electric tilt, capacity sizing, pan materials, must-have accessories, and real-world costs. If you’re working out how to choose a tilting skillet that actually fits your kitchen’s output, infrastructure, and budget, start here.
IN THIS ARTICLE
- Tilting Skillet, Bratt Pan, Braising Pan — What’s the Difference?
- What Can a Tilting Skillet Do for Your Kitchen?
- Gas vs. Electric Tilting Skillet — Which One Fits Your Kitchen?
- Manual Tilt vs. Electric Tilt — Which Mechanism Do You Need?
- What Size and Capacity Do You Need?
- Pan Material and Inner Surface — What to Look For?
- Features and Add-Ons That Actually Matter
- How Much Does a Commercial Tilting Skillet Cost?
Tilting Skillet, Bratt Pan, Braising Pan — What’s the Difference?
Three names, one piece of equipment.
“Tilting Skillet” and “Braising Pan” are the standard terms in North America. “Bratt Pan” comes from the German word “brat” (to fry) and is more common in Europe and Commonwealth countries. So if you’re searching how to choose a bratt pan or shopping under the American name, you’re looking at the same thing: a large-capacity, tiltable cooking vessel that fries, braises, stews, steams, griddles, and holds. Don’t get stuck on terminology. Focus on specs and functionality.
What Can a Tilting Skillet Do for Your Kitchen?
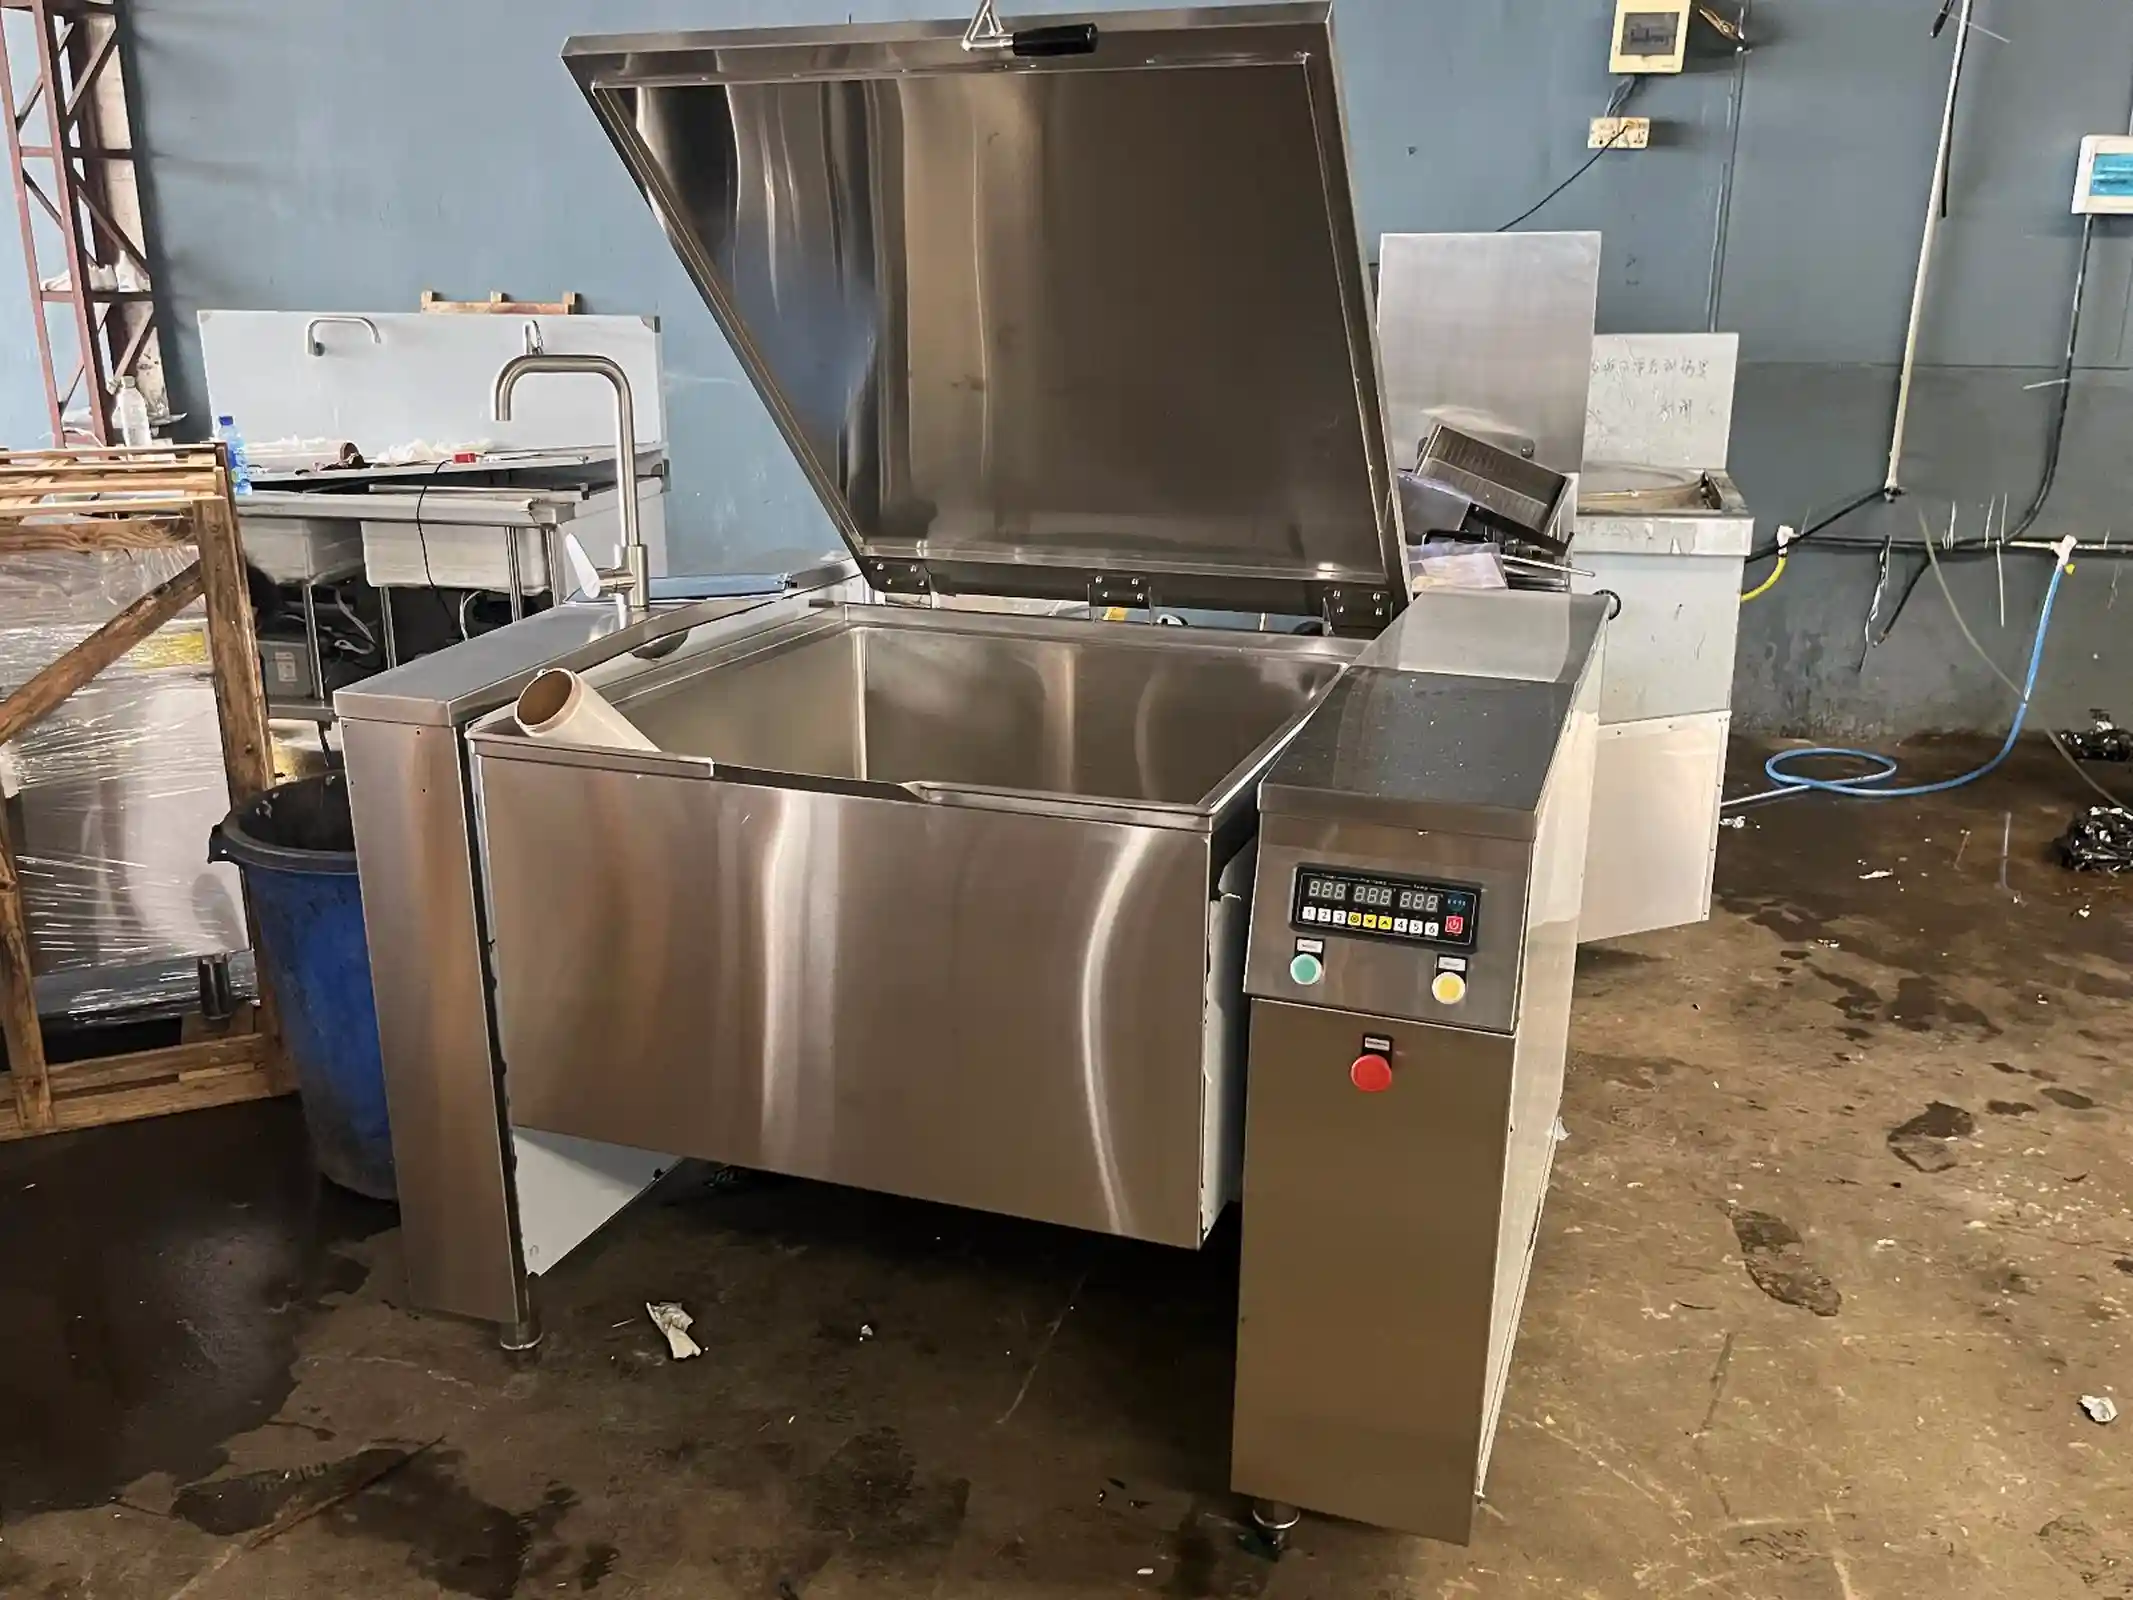
A single tilting skillet handles six core cooking tasks: shallow frying, braising, high-volume boiling, steaming, griddling, and holding. It takes over much of the batch work you’d otherwise spread across stockpots, woks, flat-top grills, and steamer cabinets. That makes it a strong fit for commercial kitchens turning out several hundred meals a day or more. For buyers, the real question is simple: what will this investment actually solve?
Here’s what one unit covers:
- Shallow Frying — Searing cutlets, fish, and eggs. Replaces the batch output of a large flat-top grill.
- Braising / Stewing — Slow-cooked dishes, soups, simmered sauces. Dozens of liters in a single batch — no problem.
- Boiling — Pasta, potatoes, blanched vegetables. No more rotating through multiple stockpots.
- Steaming — Drop in a steamer insert and it doubles as a steamer cabinet for vegetables, seafood, and more.
- Griddling — Pancakes, burger patties, fried eggs at breakfast. Large flat surface, fast output.
- Holding — Once cooking is done, switch to low-temperature hold mode. No need to transfer food anywhere.
One machine, and a good chunk of your stockpot, wok, flat-top, and steamer workload is consolidated. For kitchens doing several hundred-plus meals a day, that means fewer pieces of equipment and less hauling things around.
Gas vs. Electric Tilting Skillet — Which One Fits Your Kitchen?
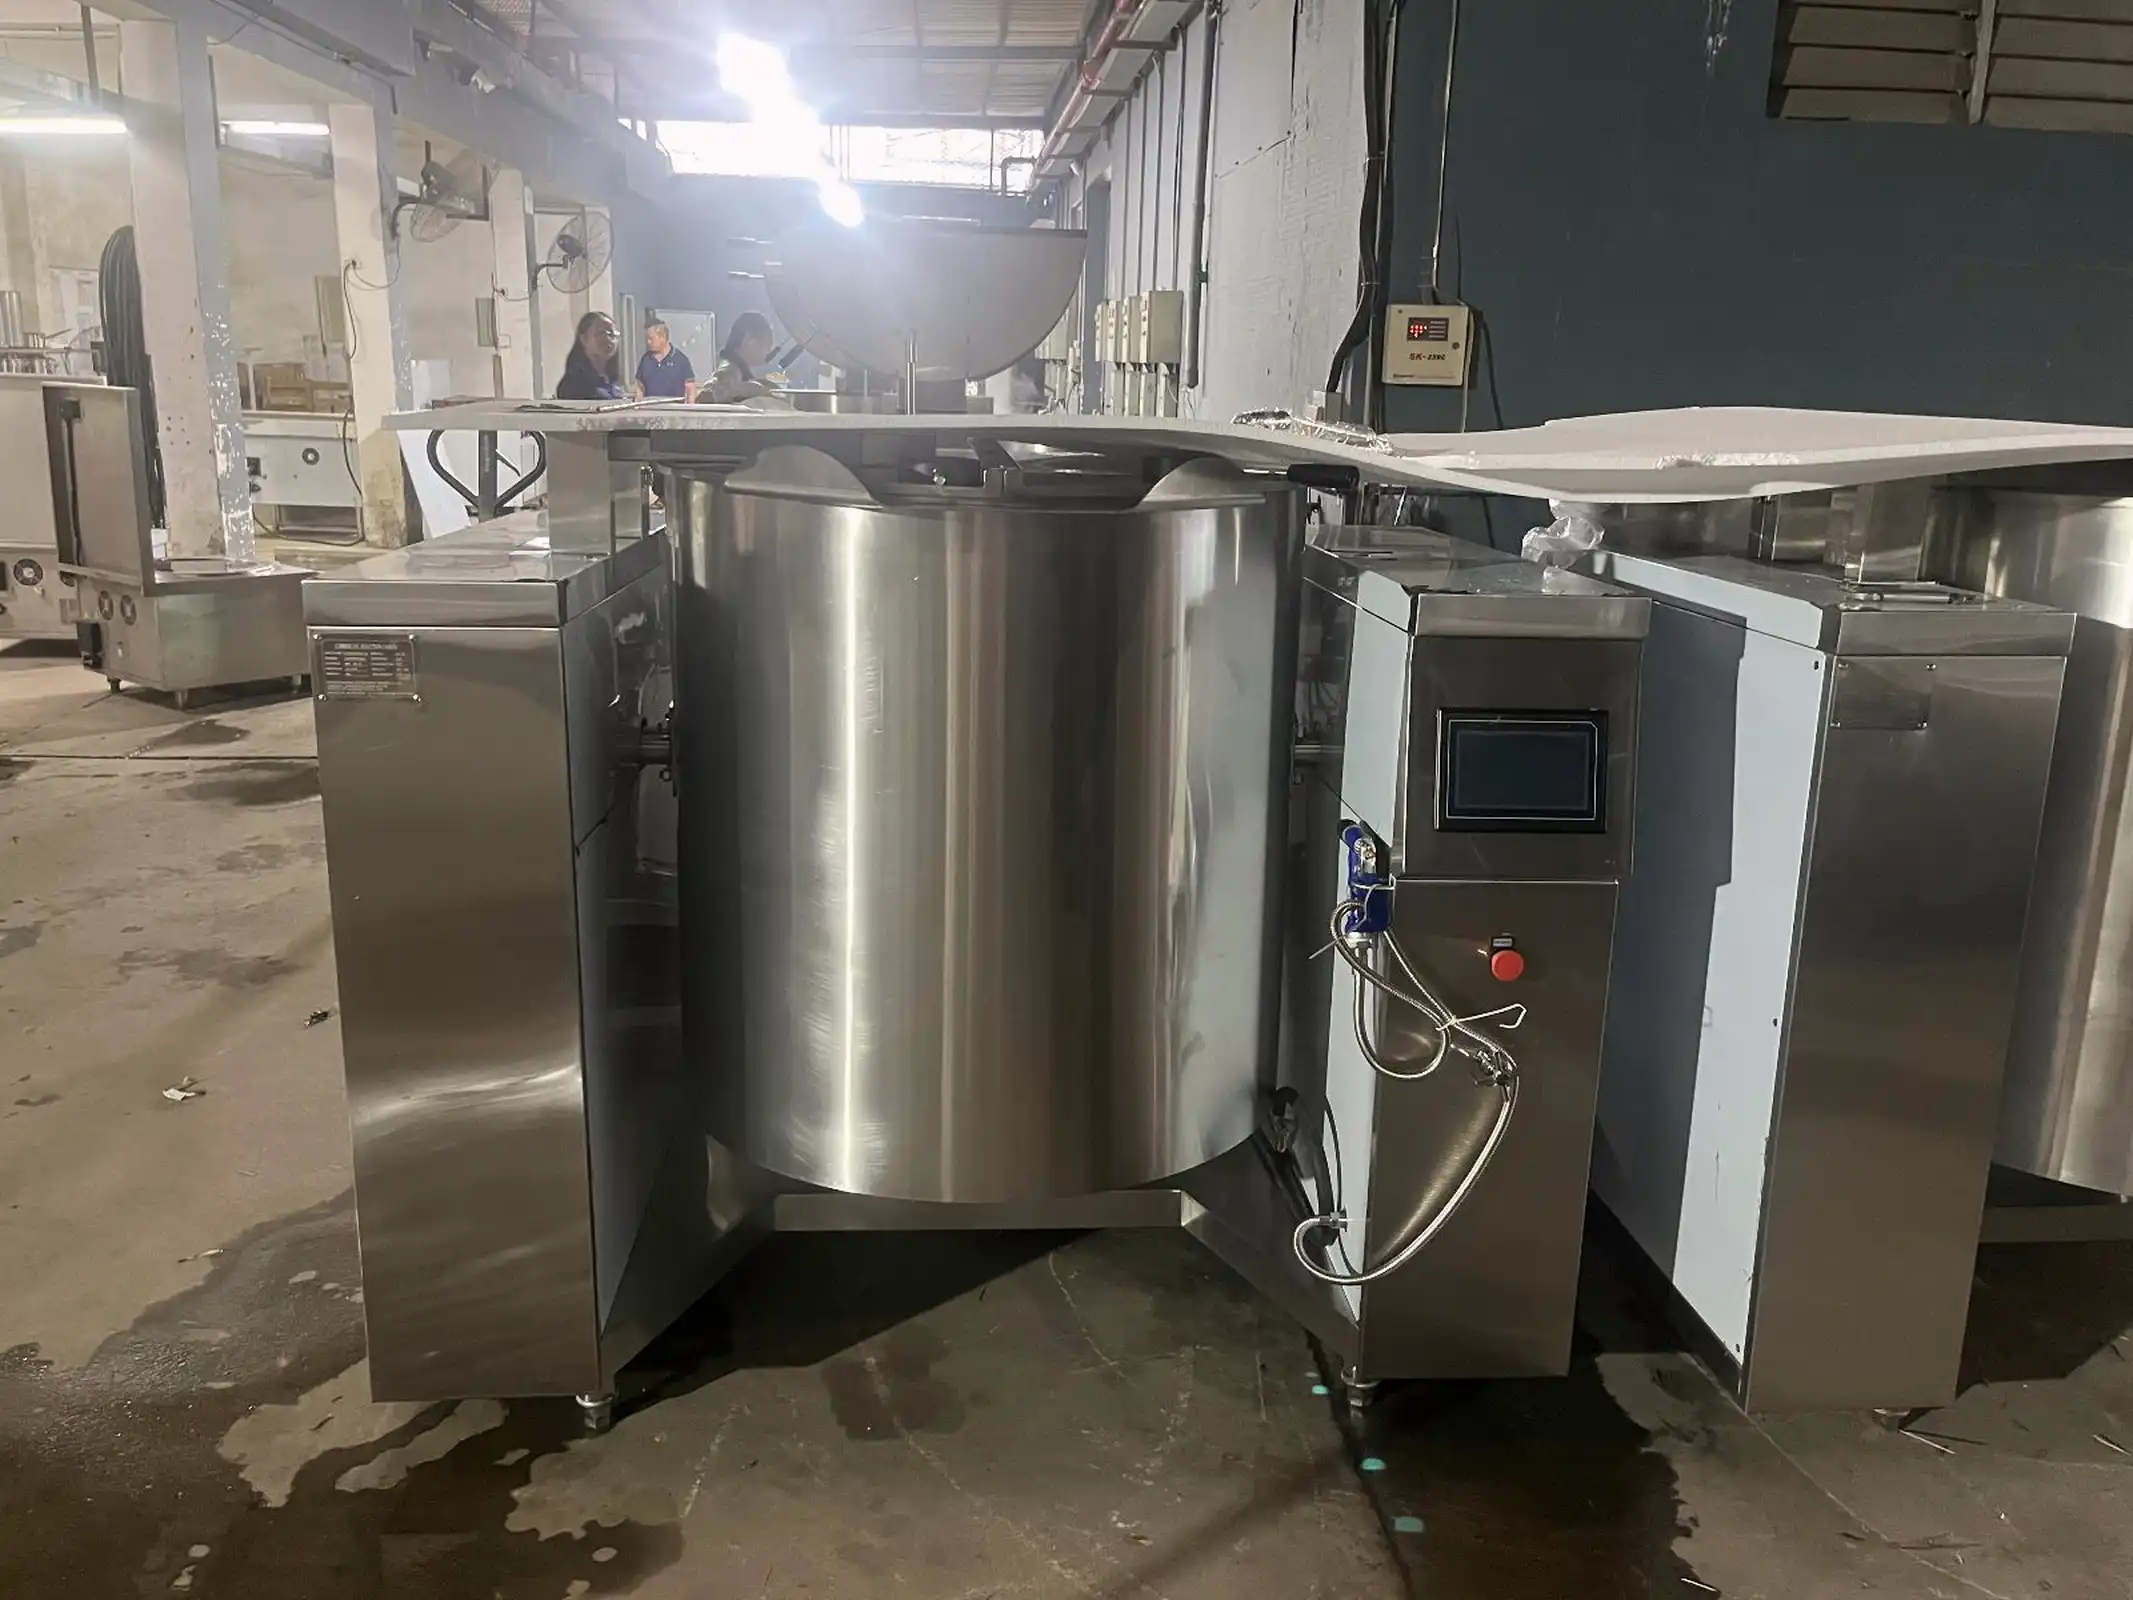
Gas heats fast and hits hard — ideal for high-volume kitchens with gas lines already in place. Electric gives you tighter temperature control, simpler installation, and 12%–18% lower energy costs over five years — a better match for new builds or kitchens that need precision. Your choice comes down to existing infrastructure and what matters most to your operation.
Gas Tilting Skillet: Fast Heat, High Output
The selling point of gas is simple: speed and raw power.
BTU output typically falls between 60,000 and 144,000. That gets a large pan body up to working temperature fast. During peak service, the difference shows — especially when you dump a big load of cold ingredients into the pan. Gas recovers temperature quicker than electric, so you’re not stuck waiting for the pan to catch up.
The downsides are just as real, though. Installation requires existing gas lines and an exhaust system — that means permits, inspections, and renovation costs if the infrastructure isn’t there. Energy efficiency is lower than electric, and the gas bill is a recurring expense that doesn’t go away.
On the maintenance side, the pilot light and burners are the most common failure points. Equipment managers at several foodservice group clients have told us the same thing: “The pilot light tends to fail when the kitchen gets humid.”
Best for: High-output kitchens that already have gas infrastructure and need maximum heating speed.
Electric Tilting Skillet: Tighter Control, Easier Setup
Electric models trade raw speed for precision and convenience.
Power output usually runs 15kW to 30kW, with temperature adjustable from 50°C up to 240°C and beyond. For work that needs fine control — slow-simmering sauces, temperature-held frying, low-temp holding — electric is noticeably more consistent. Induction models are especially efficient because heat goes straight into the pan body with almost no loss. Over a 5-year cycle, energy costs run 12%–18% lower than gas.
Installation is also a lot simpler. No exhaust duct, no gas permits — just make sure you have the right electrical hookup. High-power units typically need 380V three-phase power, so confirm that before you order.
The one hard gate is electrical capacity. If your current system can’t handle the rated load, you’ll need an electrical upgrade — and that’s not always cheap. Check your available capacity first, then buy. A field test report on high-efficiency commercial kitchen equipment, commissioned by the California Energy Commission and conducted by FSTC, found that switching to efficient electric equipment cut energy use by 20%–40% across all test sites.
Here’s a side-by-side breakdown:
| Comparison | Gas | Electric |
|---|---|---|
| Heat Output | 60,000–144,000 BTU; fast heating, fast recovery | 15–30kW; even heating, precise control |
| Energy Efficiency | Lower; significant heat loss | Higher, especially induction models |
| Installation | Gas lines + exhaust system + permits | Matching electrical hookup (high-power needs 380V three-phase) |
| 5-Year Operating Cost | Higher | 12%–18% lower than gas |
| Temperature Precision | Moderate; coarse flame adjustment | High; accurate to ±2°C |
| Common Failure Points | Pilot light moisture failure, burner clogging | Circuit boards, induction coils (less frequent than gas issues) |
| Best For | High-volume kitchens with existing gas setup | New builds, no gas access, or precision-critical cooking |
For a standardized way to evaluate tilting skillet energy performance, see the ASTM F1786 Standard Test Method. It covers heating efficiency, throughput, and surface temperature uniformity.
Manual Tilt vs. Electric Tilt — Which Mechanism Do You Need?
Under 100L with low tilting frequency? Manual is fine — dead-simple construction, almost nothing to break. Over 100L with 10+ tilts a day? Go electric — it saves effort and reduces burn risk. If you pick electric, choose gear-driven over chain-driven. A lot of buyers don’t think much about the tilt mechanism. In practice, it matters more than you’d expect.
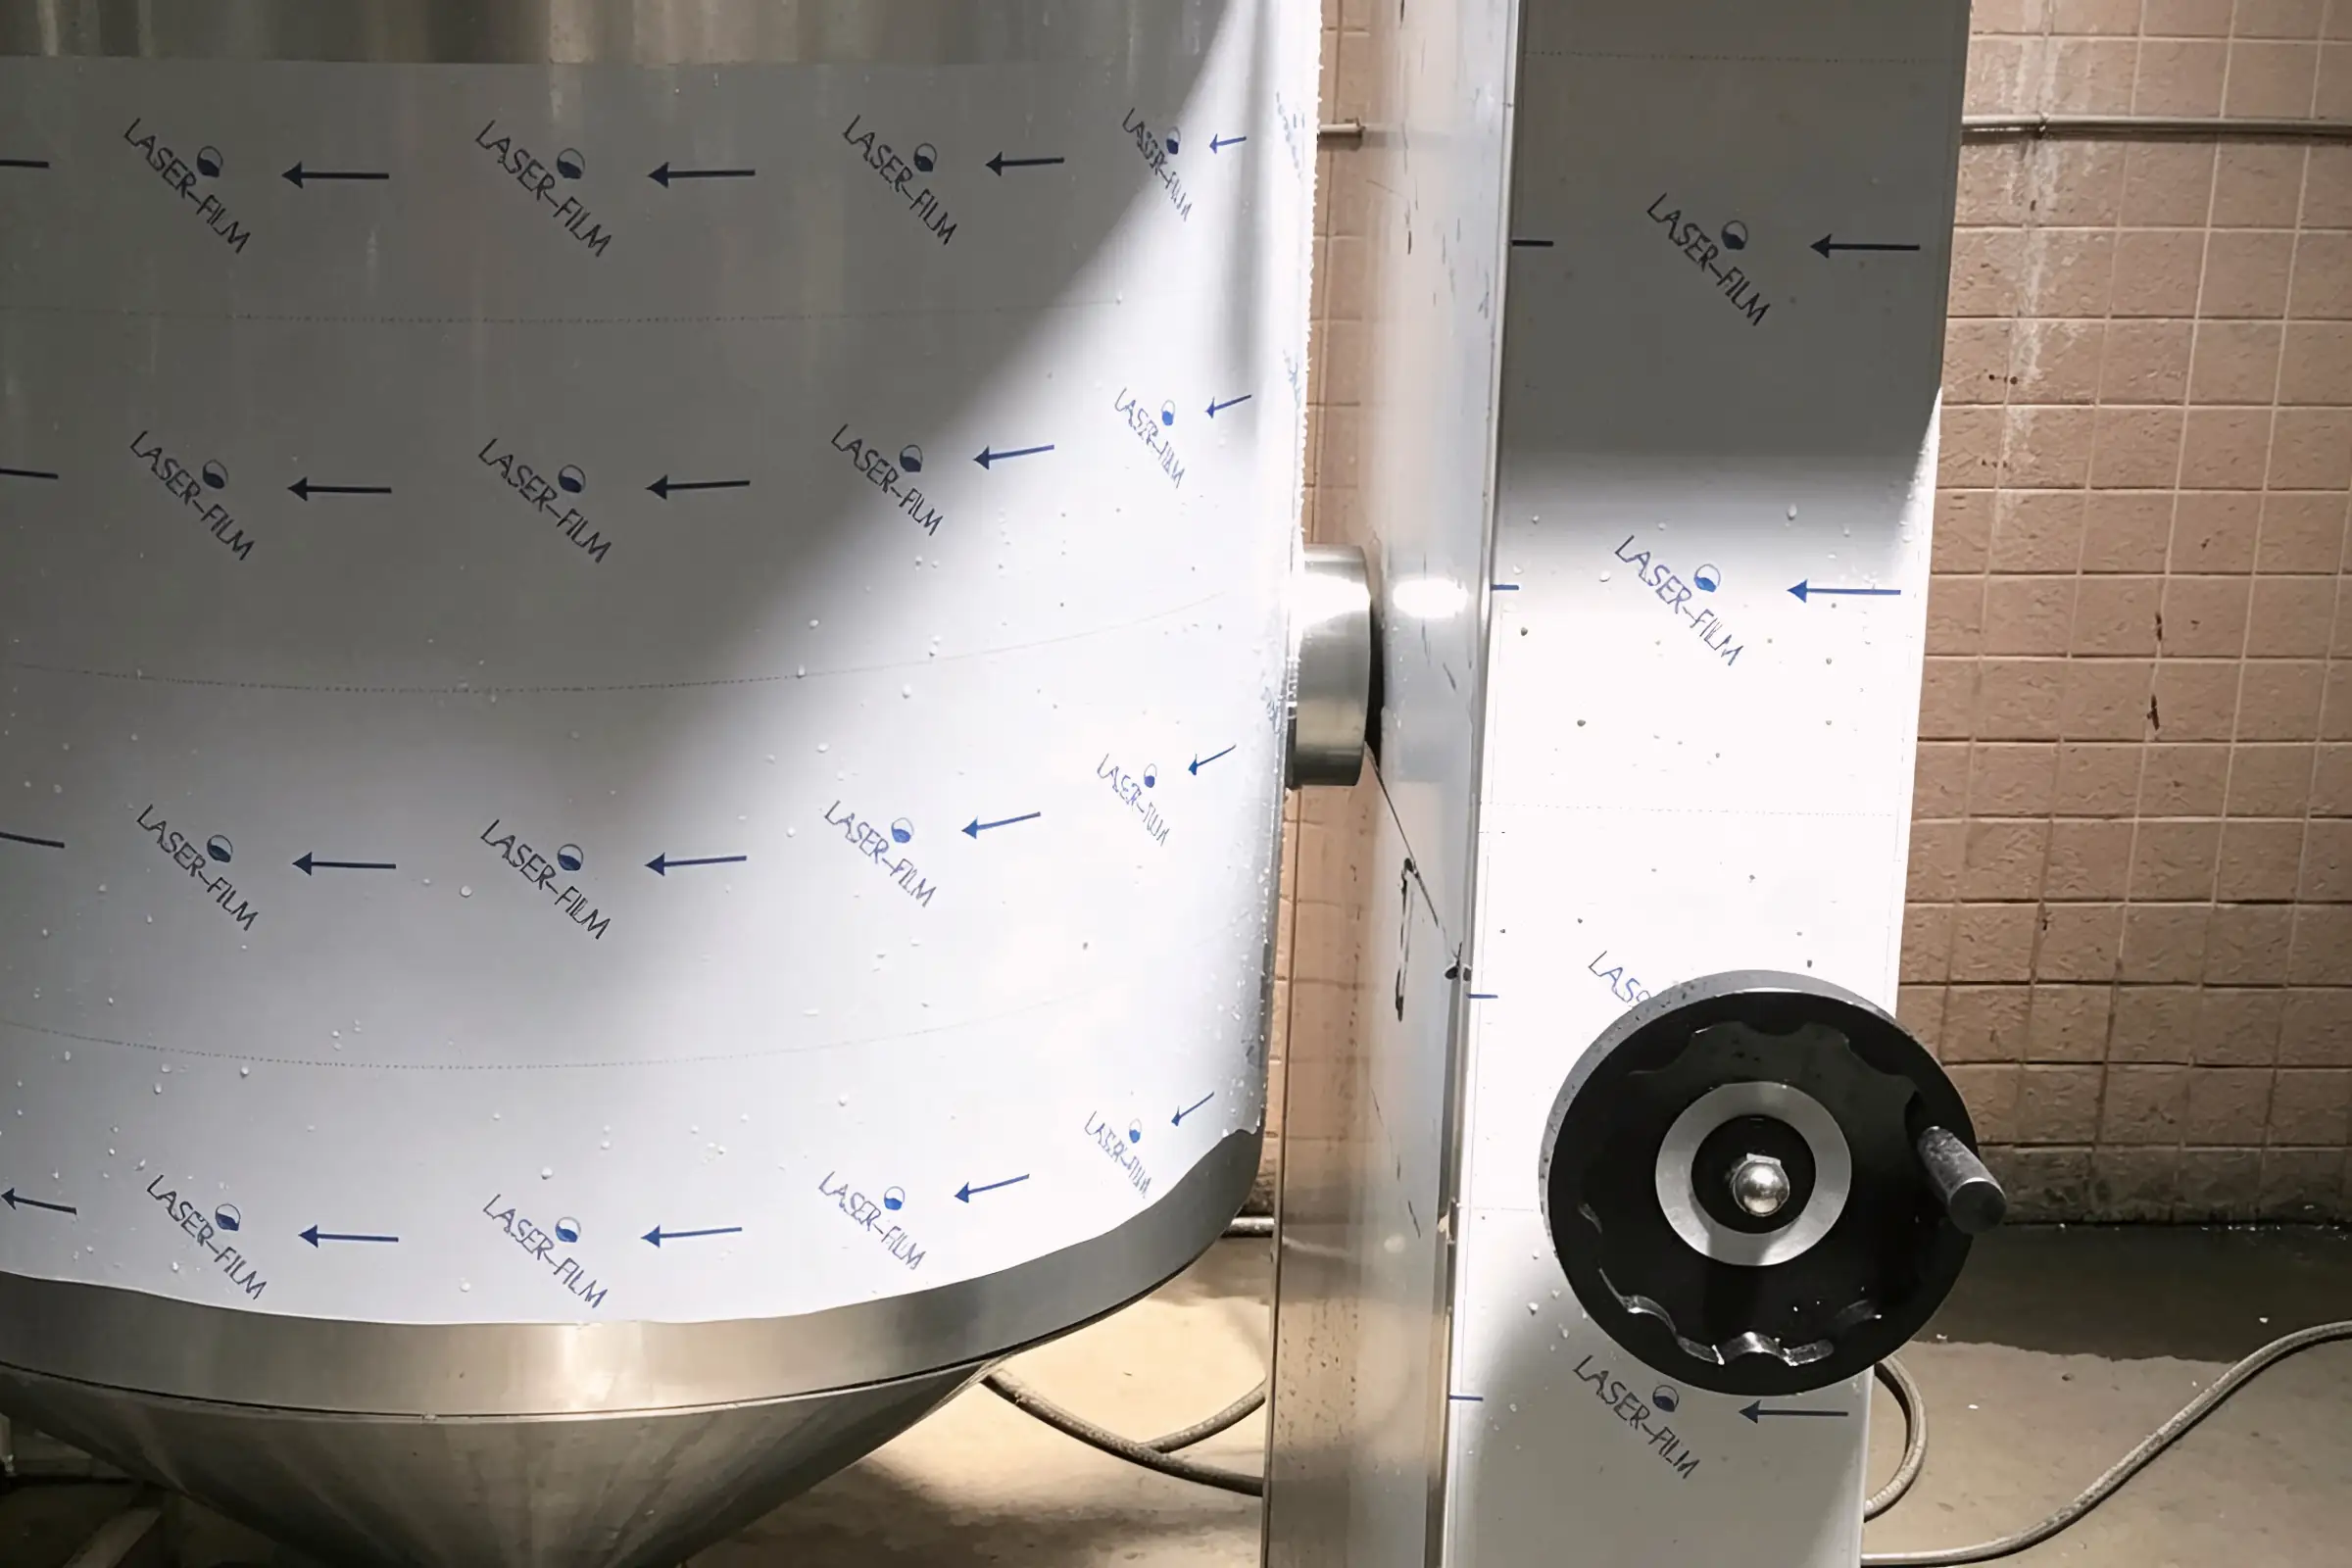
Manual tilt works with a handwheel or lever. The mechanism is so basic there’s barely anything that can fail. If your kitchen doesn’t tilt often and the pan isn’t huge, manual does the job.
Electric tilt is push-button, one-touch operation. When you’re dealing with 80L or more of hot food, cranking a handwheel is hard work — and risky. Electric tilt eliminates the strain and cuts down on burn hazards.
That said, electric mechanisms have trade-offs. Repairs cost more, take longer, and if the motor goes down, the whole tilt function is dead. A chef with 20-plus years in the back of house put it bluntly on the ChefTalk forum: “Auto tilt breaks more than you think. I’d rather use the old-style handwheel — at least you can always pour it out.” That’s a common sentiment among operators.
A quick rule of thumb:
| Scenario | Recommendation |
|---|---|
| Under 100L, fewer than 10 tilts/day | Manual Tilt |
| Over 100L, more than 10 tilts/day | Electric Tilt |
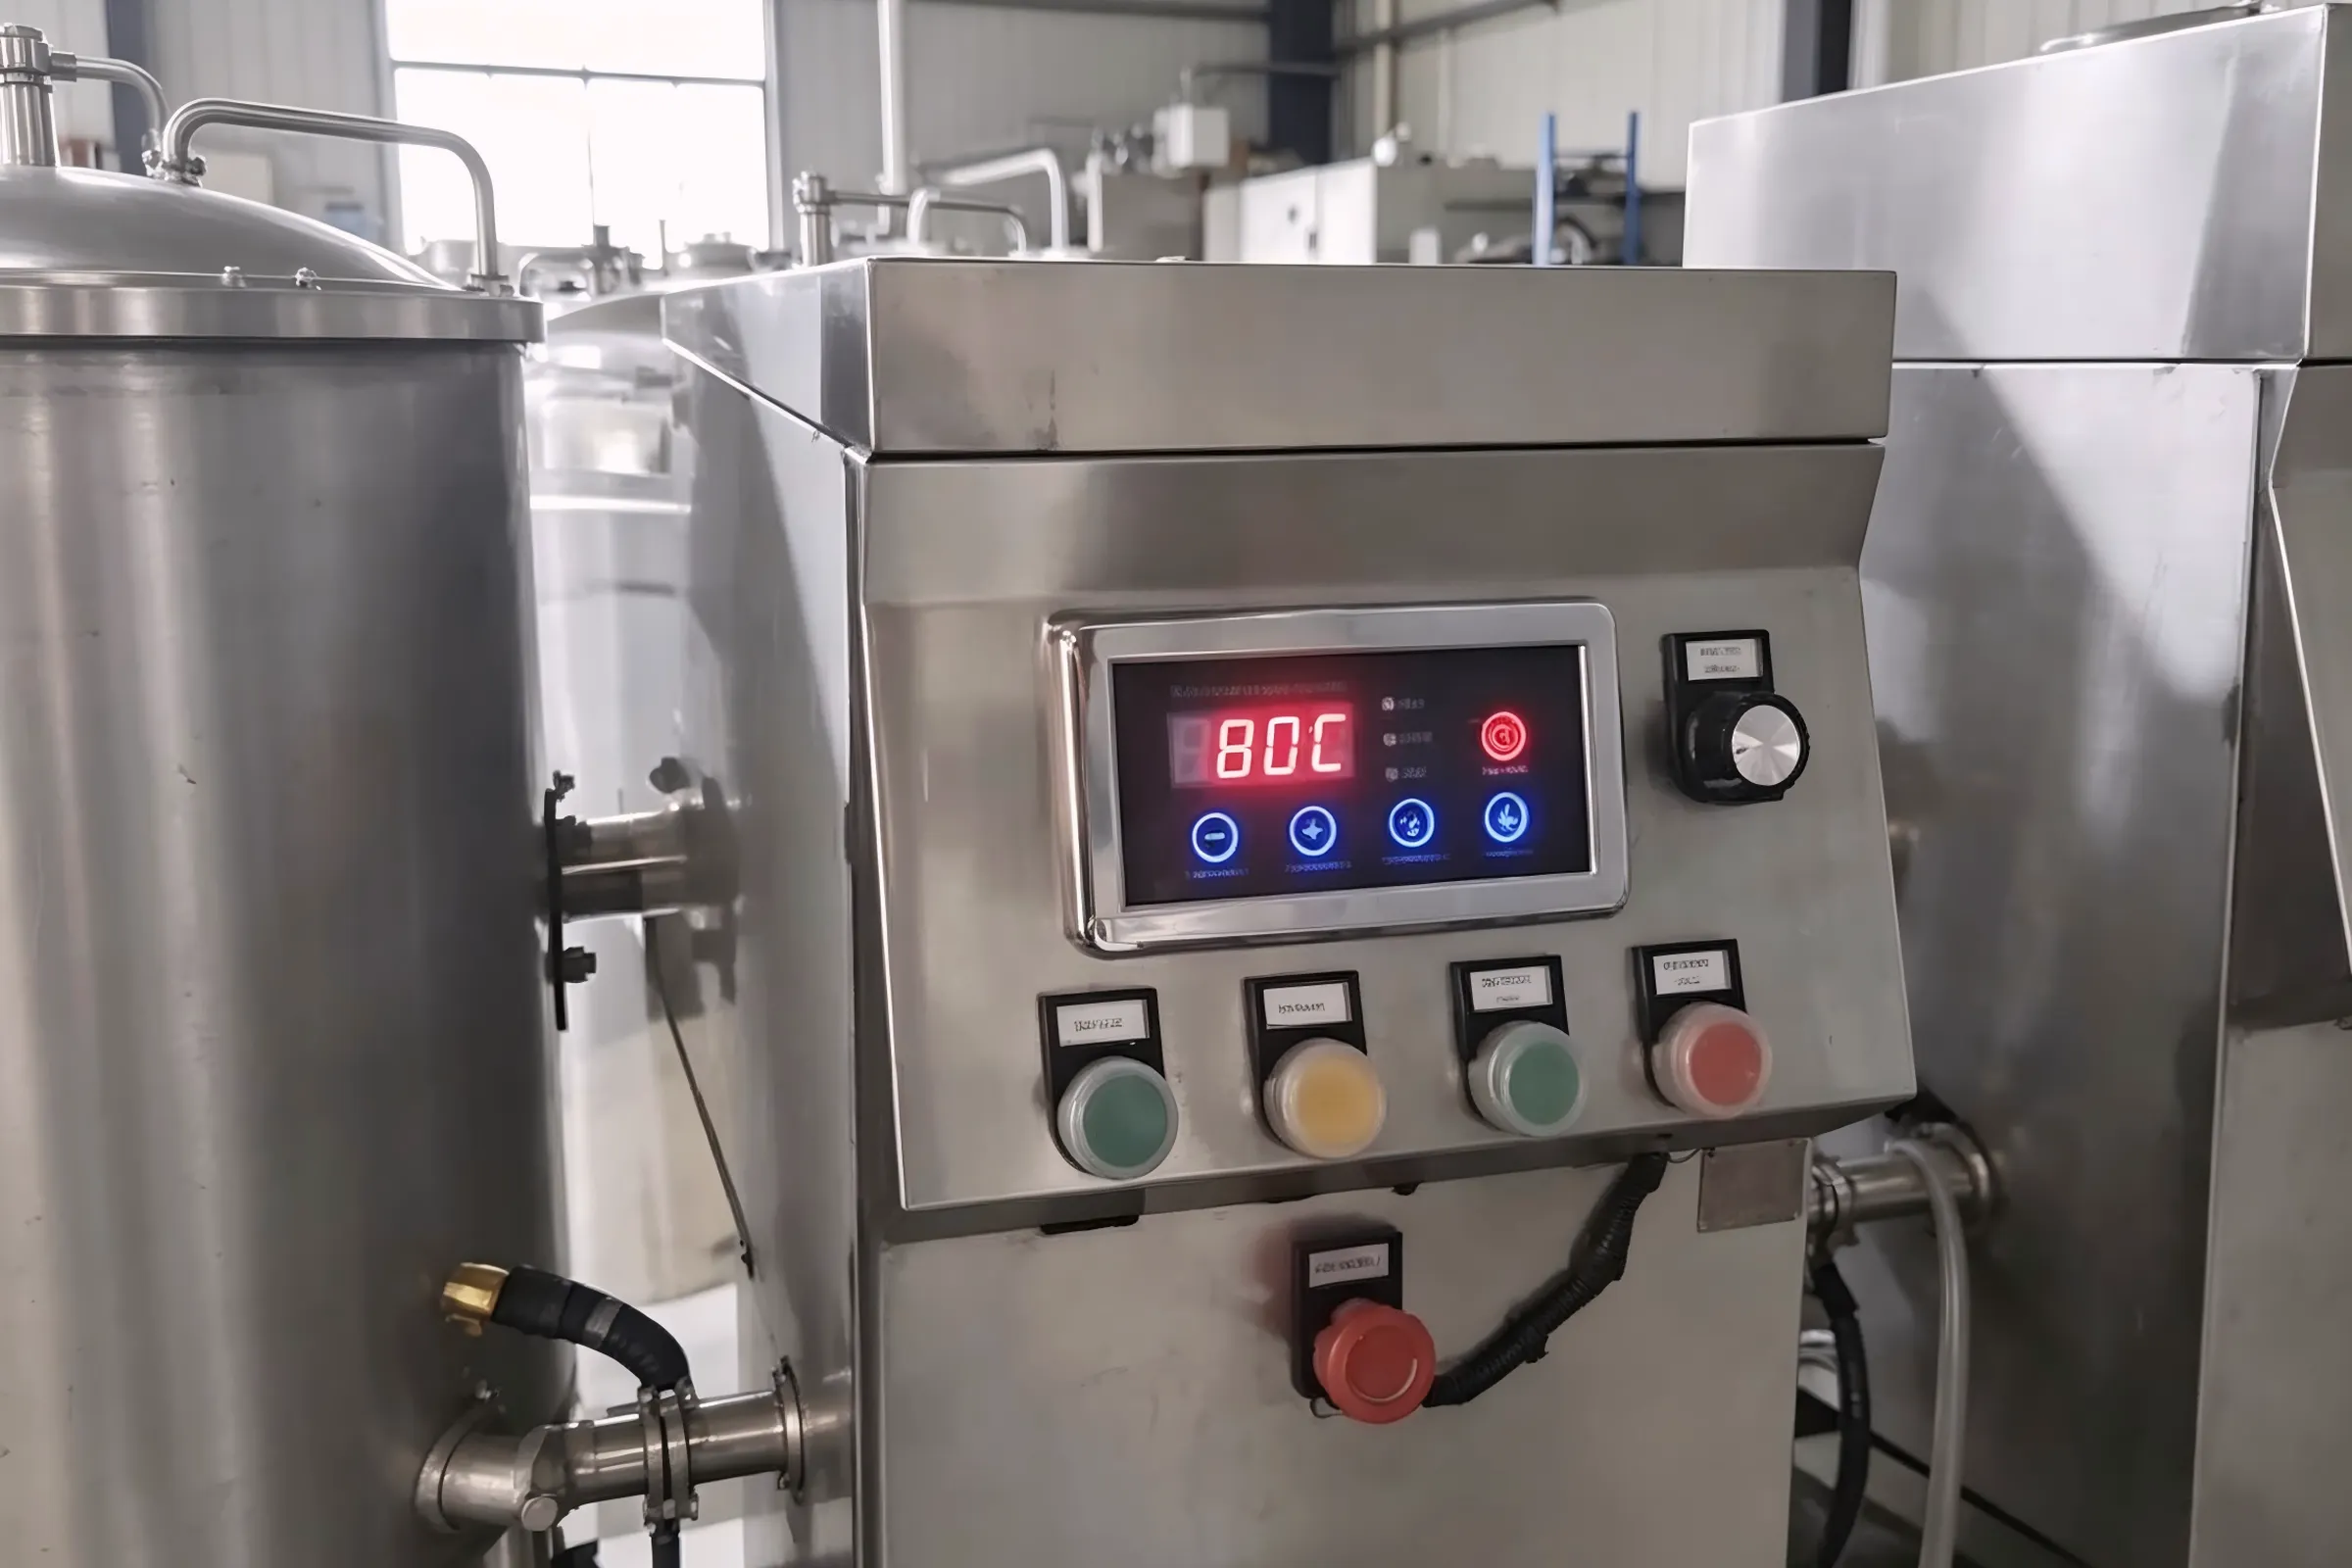
If you go electric, ask the manufacturer about two things: tilt mechanism warranty length, and after-sales response time. And watch for this detail — gear-driven is more durable than chain-driven. Chains stretch and snap over time. Gears last longer and stay stable. This often isn’t listed on the quote, so ask directly.
One example from our own experience: a school catering client in Southeast Asia had a chain-driven unit that started stuttering and making noise during tilting after less than two years — the chain had stretched out of shape. After switching to an ATRX gear-driven model, they’ve been running 15+ tilts a day for 14 months with zero maintenance on the tilt mechanism. That’s the reason we phased out chain-driven designs entirely and now only offer gear-driven across our product line.
What Size and Capacity Do You Need?
Mid-size kitchens doing 200–400 meals a day? An 80L–100L unit will cover it. Central kitchens or large-scale operations pushing 1,000+ meals a day? You need 150L–200L floor models. Always size based on peak output, not average — and add a 20% buffer.
Mid-Size Tilting Skillet (80L – 100L)
80L to 100L is the sweet spot for mid-size commercial kitchens.
This range works well for 200–400 meals a day — think small to mid-size school cafeterias, nursing home kitchens, corporate canteens, or mid-scale hotel banquet prep areas.
An 80L model typically measures around 1500 × 1000 × 1100mm (L × W × H) with a footprint of about 1.5 square meters. That fits comfortably into most commercial kitchen layouts. The 100L model is slightly larger at 1550 × 1100 × 1200mm, with power stepping up from 18kW to 20kW — good for higher throughput without a much bigger footprint. If you’re evaluating this capacity range, the ATRX 100L floor-standing induction tilting cooker shows the kind of specs and configuration to look for.
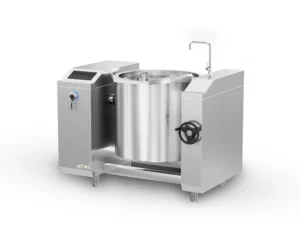
The value proposition here is straightforward: enough capacity without overkill. You can handle daily batch cooking without the energy draw and floor space of a full-size unit.
One common procurement mistake: sizing based on average meal count. Don’t. Size for your peak, then add 20%. Kitchen pressure hits during rush periods, not at the daily average.
Large Floor Model (150L – 200L)
150L to 200L is a different league. 25kW to 30kW of power, 380V three-phase standard, built for high-volume central kitchens.
The 150L model runs about 1600 × 1100 × 1300mm. The 200L model reaches 1650 × 1200 × 1400mm. You need floor space, electrical capacity, and adequate floor load-bearing — all three, no exceptions.
Typical use cases: large university dining halls (1,000+ meals/day), hospital central kitchens, military and correctional mass catering, big hotel banquet centers, and food processing facilities.
The efficiency gain at this scale is massive. One 200L tilting skillet finishes what four or five large stockpots would handle in rotation. You save time, handling labor, and the headache of coordinating multiple pieces of equipment.
But before you buy, answer three questions:
1. Can your electrical system handle it? A 30kW unit needs its own circuit. Verify your panel first. 2. Is the floor ready? Check load-bearing and drainage before the unit shows up. 3. Will you actually use it enough? A machine costing several thousand dollars that only runs two or three hours a day is a textbook case of over-buying.
| Comparison | Mid-Size (80L–100L) | Large Floor Model (150L–200L) |
|---|---|---|
| Typical Power | 18–20kW | 25–30kW |
| Footprint | ~1.5 m² | ~2.0 m² |
| Daily Output Fit | 200–400 meals | 1,000+ meals |
| Electrical Needs | Standard commercial power | 380V three-phase + dedicated circuit |
| Typical Applications | School cafeterias, corporate canteens, mid-size hotels | Central kitchens, hospitals, large banquet centers |
| Key Buying Decision | Size for peak output + 20% buffer | Confirm electrical, load-bearing, and drainage first |
Pan Material and Inner Surface — What to Look For?
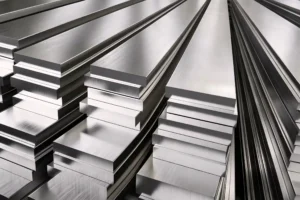
For the pan body, look for SS304 stainless steel with a bottom thickness of at least 5/8 inch (about 16mm). For the cooking surface, go polished if your menu leans toward soups and braising, or peened if you do more griddling and frying.
SS304 Stainless Steel — The Industry Standard
Don’t overthink material selection. SS304 stainless steel is the industry standard.
It resists corrosion, handles high heat, and meets FDA and EU 10/2011 food contact requirements. Unlike lower-grade stainless (like 201), SS304 won’t leach harmful substances during extended contact with acidic ingredients — tomato sauce, vinegar-based dressings, lemon juice. Under normal use, it lasts 7–10 years.
Pan thickness matters just as much. It determines how evenly heat spreads and how well the pan resists warping. Reputable brands run about 5/8 inch (roughly 16mm) at the bottom. That’s thick enough for uniform heat across the full cooking surface, avoiding hot spots that cause sticking and scorching.
When you’re comparing options, ask for two numbers: stainless steel grade and pan body thickness. If a supplier is vague or won’t give specifics, move on.
Before shipping a batch to a group of Middle Eastern clients, we ran a comparative test in-house: 60 consecutive days, 8 hours per day, cooking high-acid food (tomato-based sauce). The SS304 pan showed no visible corrosion. A 201 stainless steel sample developed visible pitting by day 23. We’ve since written that test into our outgoing QC standard — every ATRX pan body must pass 500 hours of continuous acid-medium contact before it ships.
Polished vs. Peened Surface Finish
The inner surface finish affects how food behaves in the pan and how easy cleanup is.
Polished — mirror-smooth. Liquids and sauces wipe right off. Best for kitchens that do a lot of soups, sauces, and boiling.
Peened (bead-blasted) — has a fine micro-texture that reduces the contact area between food and pan, giving a semi-non-stick effect. Best for frying eggs, pancakes, seared meat — anything you want to release cleanly.
Neither is universally better. It depends on your menu. Braising-heavy? Go polished. Griddle-heavy? Go peened. Some manufacturers offer both, and you can specify when ordering.
| Surface Type | Characteristics | Best For |
|---|---|---|
| Polished | Smooth, easy to clean, liquids don’t cling | Soups, sauces, boiling, braising |
| Peened | Micro-texture cuts adhesion, food releases easily | Fried eggs, seared meats, pancakes, griddling |
Features and Add-Ons That Actually Matter
Drain valve, steamer insert, flexible hose, strainer insert, and tilt lock — these five accessories come up the most in user feedback. Check each one when you buy: is it included or optional, and does it fit your model? Not every add-on is worth the money. The key is telling apart the things you’ll use every day from the things that just look good on a spec sheet.
These five consistently show up in operator feedback and competitive research as the features that actually change daily workflow:
- Drain Valve — Lets you drain waste liquid and rinse water without tilting the pan. Cuts daily cleaning time roughly in half. Without one, every cleanup means tilting the whole pan to pour out water — tiring and splashy. This is the number-one accessory to confirm.
- Steamer Insert — Drop it in and the tilting skillet becomes a steamer. Vegetables, seafood, dim sum — no separate steamer cabinet needed. That’s the multi-function promise delivered.
- Flexible Hose / Faucet — Mounted next to the unit for filling and rinsing in place. No carrying buckets, no wheeling the pan to a tap. It seems small, but when you’re filling and rinsing three to five times a day, the labor savings add up fast.
- Strainer Insert — Drain pasta, vegetables, or fried items right in the pan. No extra colanders, no transfer steps. During rush service, one fewer step means one less thing that can go wrong.
- Tilt Lock — Locks the pan at both the cooking angle and the pouring angle to prevent accidental movement. This isn’t optional — it’s a safety baseline. In a busy kitchen with multiple people working around the unit, an unexpected shift during tilting can cause serious injury.
For each item, verify: Standard or optional? What’s the add-on cost? Compatible with your chosen model?
Smart controls and remote monitoring (like Modbus protocol support) have value for chain operations and central kitchens, but they’re a low priority for single-location setups. Nail down the five essentials above first. Smart features can come later.
How Much Does a Commercial Tilting Skillet Cost?
Entry-level small models start around $2,000–$3,000. Mid-size electric-tilt units (80L–120L) run $3,000–$4,000. Large floor models (150L–200L+) go for $4,000–$5,000 and up. But don’t stop at the sticker price — Total Cost of Ownership (TCO) is the number that actually matters.
By capacity and configuration, typical price ranges look like this:
| Type | Capacity | Price Range (USD) |
|---|---|---|
| Entry-level, manual tilt, small | Under 40L | $2,000 – $3,000 |
| Mid-size, electric tilt | 80L – 120L | $3,000 – $4,000 |
| Large floor model | 150L – 200L+ | $4,000 – $5,000+ |
Five things drive price: capacity (bigger costs more), power source (electric usually costs more than gas), tilt mechanism (electric tilt adds cost over manual), material grade (SS304 costs more than lower-grade steel), and brand premium plus after-sales support.
But the purchase price is only part of the picture.
Total Cost of Ownership is the right way to evaluate. True cost = purchase price + 5–10 years of energy + repair frequency + replacement parts + downtime losses. A unit that costs 30% more upfront but runs reliably for 3 extra years may end up cheaper per year. FCSI made a similar point in its report on commercial kitchen electrification trends: all-electric kitchens use smaller, more efficient ventilation systems with lower install and maintenance costs than gas — hidden savings that TCO spreadsheets often miss.
One chain catering company we worked with took a smart approach during their equipment refresh: they pulled every tilting skillet repair ticket from the past five years and tallied failure rates and repair spending by brand. They ended up picking a model priced about 20% higher. Their reasoning: “Fewer repairs, less downtime — the total bill is actually lower.”
Get detailed quotes and warranty terms before making a final call. Focus on: warranty scope (especially the tilt mechanism and heating elements), pricing for wear parts, and the manufacturer’s committed response time for service calls.
Frequently Asked Questions
Can a Tilting Skillet Replace Other Kitchen Equipment?
Partially — but not entirely.
It can absorb batch cooking tasks that would otherwise need multiple stockpots, woks, and flat-top grills. In those scenarios, it genuinely cuts equipment count and floor space.
But the limits are clear. It can’t match a commercial deep fryer — the oil isn’t deep enough and the temperature control isn’t built for sustained deep frying. It also can’t replace a steamer cabinet for high-volume multi-tier steaming. A steamer cabinet runs five or six trays at once; a tilting skillet handles one layer.
Think of it as a versatile workhorse, not a universal replacement. Its value is consolidating medium-batch tasks, not eliminating every other piece of equipment on the line.
What’s the Biggest Mistake When Buying a Tilting Skillet?
“It does everything, so I need one” — that’s the most common trap.
The multi-function pitch is genuinely appealing. But a lot of buyers skip one critical question: how much will their kitchen actually use this thing?
If your daily volume isn’t high enough, your menu doesn’t call for frequent cooking-method switches, or your existing equipment already handles the work fine — then a unit taking up 1.5+ square meters and costing several thousand dollars will probably end up as the most expensive storage shelf in the kitchen.
Ask yourself one thing before buying: How many hours a day will this run? If the answer is under 4 hours, think again. If the answer is clearly above that, you can match the right model to your volume and power needs from the ATRX tilting skillet product line.
How Long Does a Commercial Tilting Skillet Last?
With proper care, 7–10 years.
Two components decide lifespan: the tilt mechanism and the pan body. Gear-driven tilt systems stay smooth past 10,000 cycles. Chain-driven systems stretch and break sooner — the gap is significant. For the pan body, SS304 stainless steel withstands over 1,000 hours in standard salt spray testing, far outlasting lower-grade steel.
Daily maintenance is straightforward but non-negotiable: clean the pan after every use (no steel wool, no harsh chemicals), re-grease the tilt mechanism every 6 months, and never dry-fire an empty pan for extended periods.
Look at the warranty when you buy. A 5-year full warranty is usually a strong signal — the manufacturer is confident in what they’ve built. Short warranties or ones that carve out key components deserve extra scrutiny. Any solid commercial braising pan buying guide will tell you the same: warranty terms reveal more about build quality than the spec sheet.
Should I Think About Cleaning When I Choose a Unit?
Absolutely. And most people underestimate how much it matters.
When you use and wash a piece of equipment every single day, cleaning efficiency directly hits your labor cost and maintenance cycle. Look for three design features:
First, a drain valve. Units with a drain valve let you flush waste liquid and rinse water straight out — no tilting required. That alone cuts daily cleaning time by more than half. Without one, you’re tilting and pouring every time, and the cumulative effort adds up.
Second, coved corners on the inner pan. Sharp right-angle corners trap food residue in spots your cloth can’t reach and water can’t flush. Coved (rounded) corners let cleaning tools sweep smoothly into every edge.
Third, the right surface finish for your menu. As covered earlier, polished surfaces are easier to wipe down after liquids; peened surfaces release solid foods more cleanly. Pick the right one and daily cleanup is quick. Pick the wrong one, and you’ll spend extra time scraping every shift.
None of these seem like a big deal in isolation. But repeat them every day for a year, and the difference in labor and equipment wear is real. Choosing the right tilting skillet means looking past cooking performance and into how the unit fits your daily cleaning routine too.
About the author
ATRX Team| 18 Years Commercial
Induction Cooker Manufacturer in China
Induction Cooker Manufacturer in China
Related Posts
Best Commercial Induction Cooktop: Types &Buying Guide
10/09/2026
Commercial Double Hob Induction Cooker | Types, Power, and Installation Guide
10/05/2026
Commercial Induction Cooker 3500W: Model Selection, Commercial Power and Installation
09/29/2026
How to Install a Built-In Induction Cooktop: A Step-by-Step Guide
09/17/2026
How to Clean a Commercial Deep Fryer: A Step-by-Step Guide
09/13/2026
High Quality Commercial Induction Cooker Manufacturer
09/09/2026
Automatic Wok Machine: Types, Specifications, Applications and Buying Guide
08/18/2026
Commercial Induction Range: How to Choose the Right Size, Power, and Configuration for a Commercial Kitchen
08/15/2026
What Is a Commercial Induction Cooker and How Does It Work
08/13/2026
Commercial Induction Range for Hotel Kitchens: How to Choose the Right Model
08/11/2026