Same Commercial Induction Cooker, 3× Price Difference — Where Does the Manufacturing Gap Lie?
06/04/2026
Estimated reading time: 3 minutes
Commercial Induction Cooker Manufacturing Quality: Where Does the Gap Between High-Price and Low-Price Units Lie?
The commercial induction cooker price difference across the market can hit two to three times. Most buyers’ first reaction? Brand premium. Channel markup. Nope. The real gap is in the manufacturing itself.
Shell sheet metal. Coil winding. Mainboard assembly. The material spec and processing method at every single step are different. Those differences stack up, and they all land on the quotation sheet.
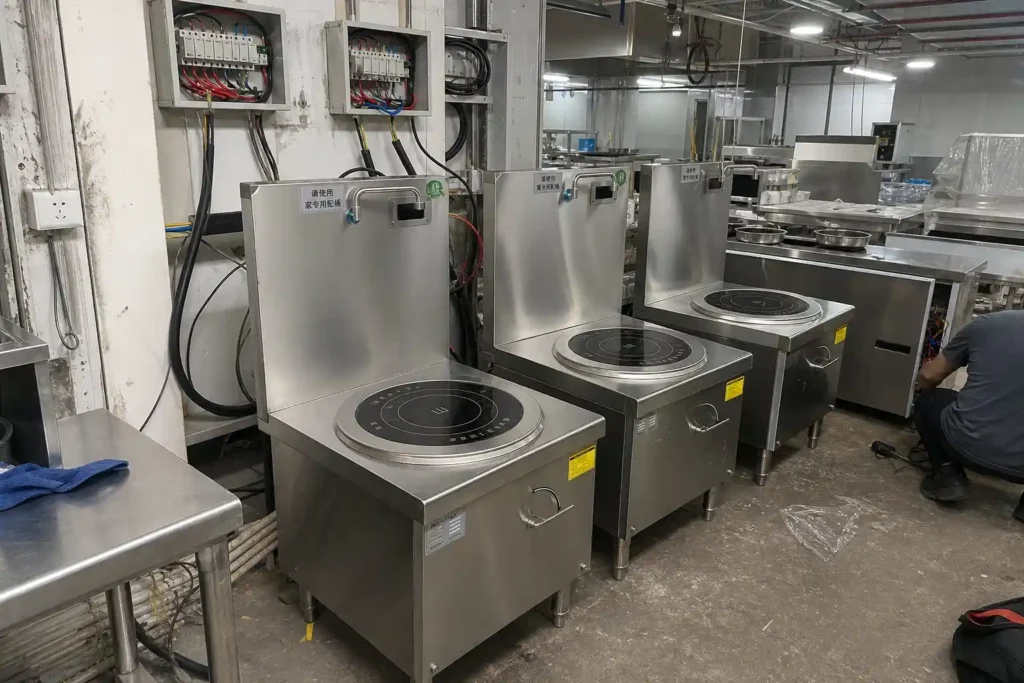
Last year, a Southeast Asian client flew to our ATRX factory for an audit. He brought a low-price unit he’d purchased locally — tore it down right next to ours for a side-by-side comparison. After walking the production line, he said one thing: “So the extra money all goes into stuff you can’t see.”
Below, we break down the two most critical areas. Where does the premium actually go?
Sheet Metal Materials and Machining Precision — The First Major Cost Differentiator
1. Plate material and thickness
Low-price units use 201 stainless steel, usually under 1 mm thick. 201 has low nickel content. Corrosion resistance is poor. In a commercial kitchen — high heat, high humidity, grease everywhere — rust spots and yellowing show up within six months to a year.
High-end units use 304 stainless steel, 1.5 mm or thicker. Higher nickel content. Corrosion resistance jumps a full grade. The added thickness also means better rigidity — no warping over years of use.
2. Cutting and bending precision
Low-price units have sloppy sheet metal cutting. After bending, panel joints don’t align. You can see the gaps and misalignment with your bare eyes.
High-end units run on automated CNC equipment. Assembly tolerances are controlled to the millimeter. We’ve measured it on our own line: automated bending stays within ±0.3 mm. Manual operations? Typically ±1.5 mm or worse. That’s a fivefold precision gap. The assembled results look and feel like two completely different products.
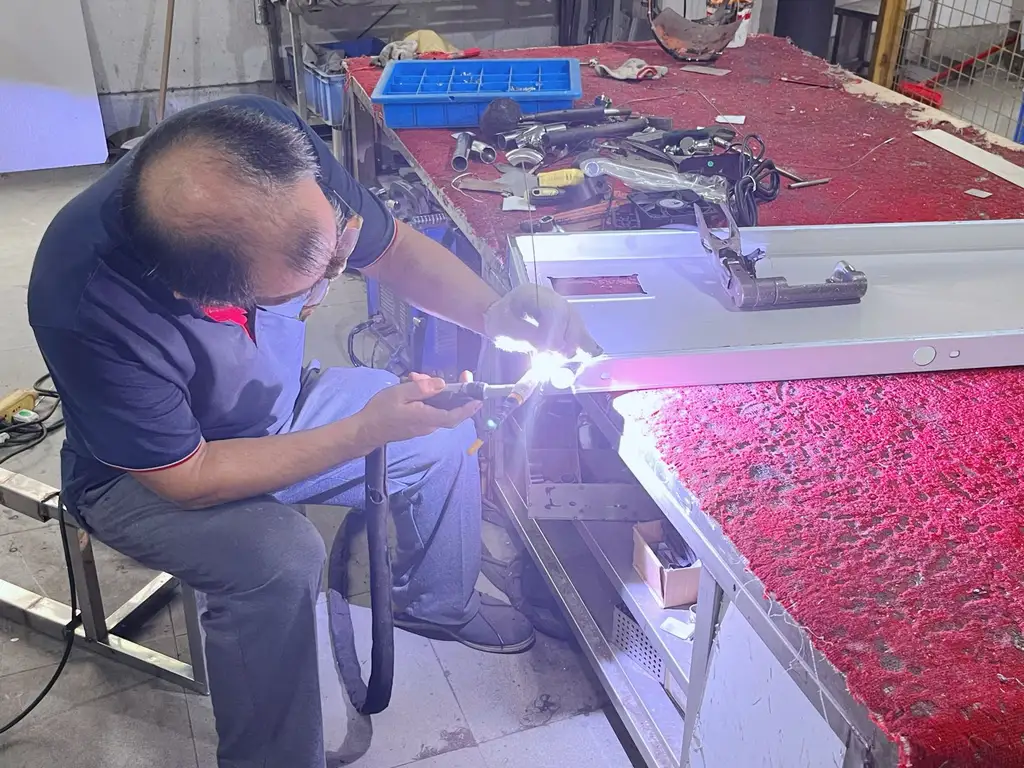
3. Welding
Low-price units rely on manual spot welding. Welds come out rough, uneven, and some are cold joints — they look welded on the surface, but the metal never truly fused. Give it time. Seams crack. Panels loosen.
High-end units use robotic welding. Full, uniform beads. Structural strength in a completely different class.
One customer sent us photos: his low-price cooker, only 8 months old, had a cracked side-panel weld seam leaking water. The circuit board inside was already damp. That’s what poor welding looks like in the real world.
This kind of millimeter precision doesn’t come from a veteran technician’s gut feel. It comes from laser cutting and CNC bending under full process control. Want to see how our sheet metal parts get cut, bent, first-article inspected, and data-traced? Read this → Commercial Induction Cooker Sheet Metal Laser Cutting & Bending Process. It covers ±0.1 mm positioning accuracy and shift-change first-article re-verification in detail.
Coil Winding and Mainboard Assembly — The Core Reason Prices Differ 2–3×
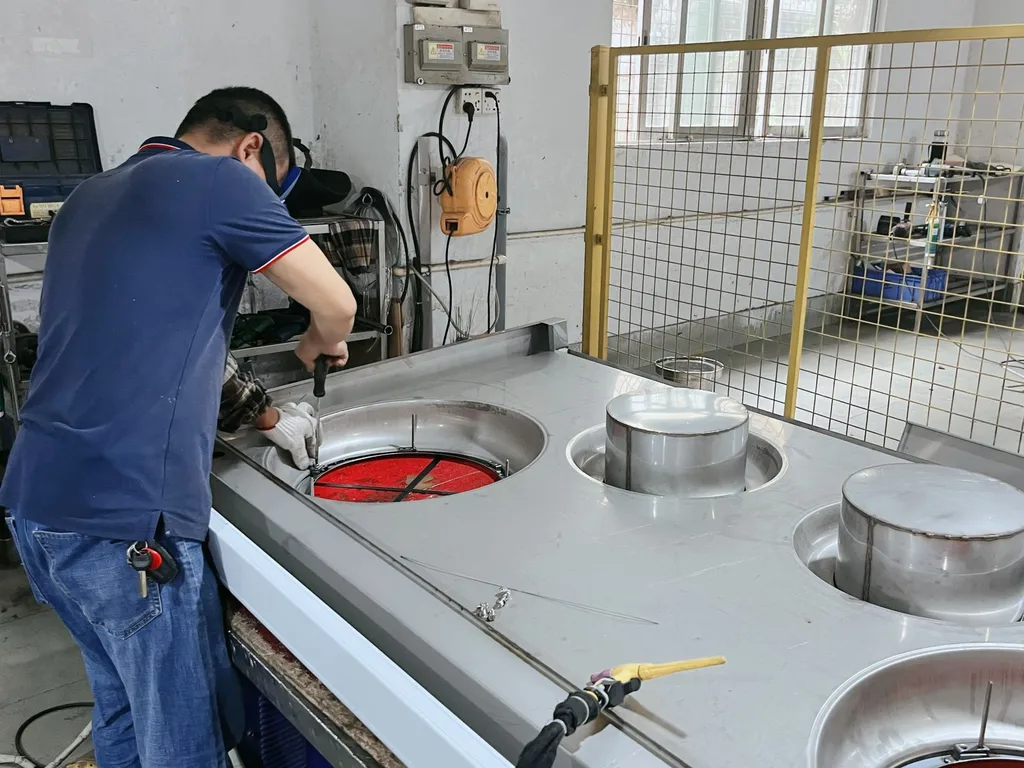
The coil’s job is straightforward: turn electrical current into magnetic field lines to heat the pot. But how it’s wound — that’s where everything diverges.
Low-price units use hand-wound coils. Wire gauge is undersized. Turn spacing is uneven. The coil surface is bumpy. Result: heating efficiency drops, and heat distribution goes patchy.
The mainboard is worse. Manual through-hole soldering. Off-brand IGBT modules. Messy trace routing. Electromagnetic shielding? None. Run it long-term and failure rates are through the roof.
High-end units flip the script. Coils are precision machine-wound — wire gauge, turn count, and spacing are all parameter-locked. Mainboards use full SMT (Surface Mount Technology). IGBTs are genuine Infineon or equivalent international-brand originals. Control and power modules sit in separate zones. The core gets its own dedicated cooling channel. And a metal shielding enclosure wraps the whole assembly.
Whether a mainboard survives full-load commercial kitchen duty comes down to the induction cooker IGBT mainboard assembly process. Our IGBT control boards go through nitrogen-atmosphere reflow, AOI (Automated Optical Inspection), manual DIP insertion, then wave soldering. Every single joint gets verified for electrical continuity.
Want the full process — SMT placement through final soldering? See → Commercial Induction Cooker Mainboard (PCB) Assembly Process. Dust-free workshop specs and nitrogen soldering details are all in there.
We put up a teardown comparison on YouTube once — low-price unit and high-end unit, coil and mainboard side by side. The top comment: “You’d never guess the inside could be this different without cracking it open.” Exactly. These parts hidden inside the shell, invisible from the outside — that’s where the 2–3× price gap lives.
Here’s a direct comparison of core process differences:
| Comparison Item | Low-Price Unit | High-End Unit |
|---|---|---|
| Coil Winding Method | Hand-wound, uneven turn spacing | Precision machine-wound, strictly controlled parameters |
| Coil Wire Gauge | Undersized, cost-driven selection | Full-gauge copper wire, guaranteed current capacity |
| Mainboard Soldering | Manual through-hole | Full SMT process |
| IGBT Power Module | Off-brand or refurbished | International-brand originals (e.g., Infineon) |
| EMI Shielding | None | Metal shielding case + zone isolation |
| Cooling | Shared duct, uneven airflow | Independent channel, directional exhaust |
| Module Layout | Control and power mixed together | Segregated by zone |
On the outside, low-price and high-end units look about the same. But put them through 10+ hours of continuous daily use and the truth comes out. Whether the unit holds up — the answer is buried in the coil and the mainboard.
What Problems Do Poorly-Made Commercial Induction Cookers Develop Over Long-Term Use?
A home induction cooker runs an hour or two a day. Mediocre craftsmanship can still get by for a few years. Commercial is a different animal. High heat. Oil fumes. 10+ hours nonstop, every single day.
In that environment, every corner cut during manufacturing comes back. It’s not a question of “if.” It’s “when.”
Our ATRX after-sales engineers see this constantly. Every year we get a flood of “upgrade” inquiries. These aren’t first-time buyers. They’ve been burned by low-quality units over and over. Now they’re finally digging into where the commercial induction cooker manufacturing quality gap actually matters.
The first few months look fine. Then the “honeymoon” ends. Failures pile up. The final bill blows past whatever they saved on purchase day.
Cold Solder Joints, IGBT Burnout, Coil Overheating — The Usual Suspects
One station. Full load. 8–12 hours a day. Low-quality units can’t take that kind of beating. Failures don’t trickle in — they erupt in clusters.
Last year a Southeast Asian chain-restaurant client sent us a teardown video via WhatsApp. A no-name unit, less than eight months old. Multiple solder joints on the mainboard had turned black and detached. Over the prior three months, the unit had “mysteriously” shut down more than a dozen times.
We hear similar stories almost every time a client visits the factory. Procurement managers who switched away from cheap machines — every one of them has a frustrating tale.
Under commercial conditions, failures in low-quality units almost always fall into four buckets:
Cold solder joints → sudden shutdowns. Manual solder joints can’t handle 10+ hours of daily thermal cycling. Solder cracks slowly. Contact becomes intermittent. Then — dead. Mid-service. During the dinner rush, the chef waits. The entire plating line freezes.
Off-brand IGBT modules → burnout. To save money, factories pick modules with barely enough voltage headroom. Commercial kitchens already have frequent voltage swings. The module lives at its limit. One surge hits and it’s gone. In bad cases, it takes other mainboard components down with it.
Uneven coil winding → localized overheating. The coil is the core heating element. Uneven winding means certain spots carry too much current density. Temperature spikes well past design limits. Insulation carbonizes. Then it short-circuits — no warning, entire unit scrapped.
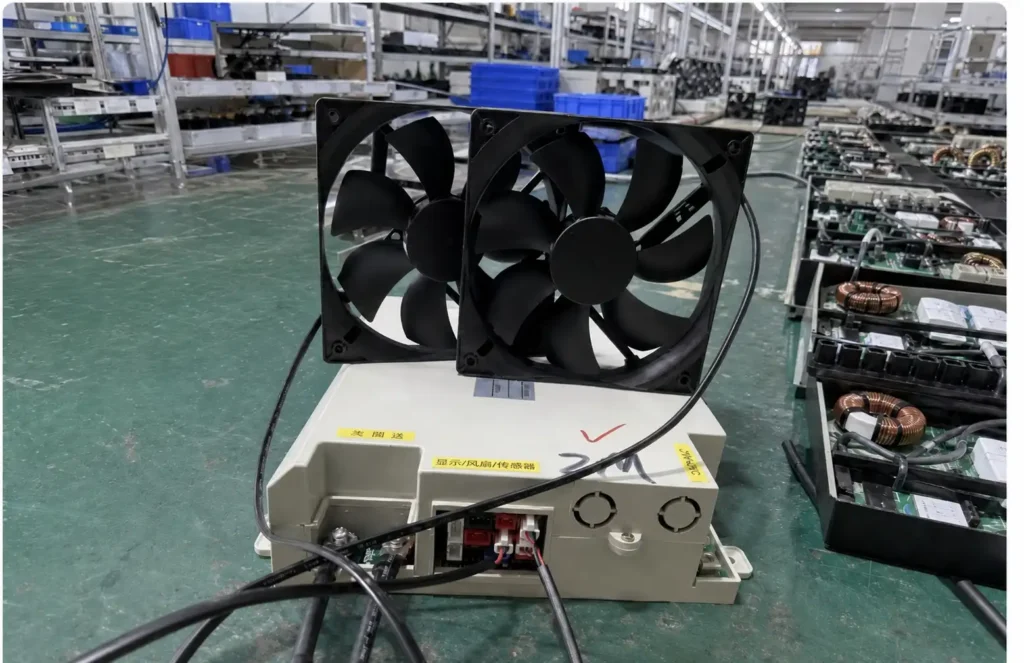
Crude cooling → frequent thermal shutdowns. Short airflow paths. Tiny fans. No oil or dust protection. Grease builds up, cooling efficiency tanks, core temps spike, and overheat protection triggers again and again. Not once. Not twice. Increasingly often, until the unit dies for good.
None of this is bad luck. Compromised soldering, cheap components, sloppy winding, or weak cooling — whichever link breaks first, it becomes the source of repeated repairs within months. For low-quality units running at commercial intensity, failure is just a countdown.
The Total Repair Bill Often Exceeds What You Saved at Purchase
You save a few hundred dollars upfront. Then you spend far more fixing things. That’s why experienced buyers think in terms of induction cooker total cost of ownership — not just the sticker price.
We tracked over a dozen B2B clients who switched from low-price units. The data is blunt: total repair spend over two years averaged 2–3× the original price difference they’d “saved.”
One station down during peak hours means reduced output — easily several dozen dollars of lost revenue per hour. Add parts, service fees, and shipping both ways. Two or three repairs: a few hundred dollars gone. Five or six repairs in two years and the unit still dies? Now you’re buying a new one. Another chunk of money out the door.
Here’s a two-year total cost comparison from our follow-up data:
| Comparison Item | Low-Quality Unit (Low Price) | High-Quality Unit |
|---|---|---|
| Purchase Price (reference) | $400 – $700 | $950 – $1,400 |
| Repairs in 2 Years (avg.) | 4 – 6 times | 0 – 1 time |
| 2-Year Repair Cost (parts + service + shipping) | $550 – $1,100 | $0 – $110 |
| Downtime Revenue Loss (est.) | $400 – $830 | Nearly zero |
| Actual 2-Year Total Cost | $1,350 – $2,630 | $950 – $1,510 |
| Condition After 2 Years | Most need scrapping | Still running stable |
Simple math. Purchase price is only the tip of the iceberg. Repairs, downtime, lifespan loss — add them up and that’s your real cost. Buying cheap winds up costing more. In B2B procurement, this isn’t a slogan. It’s arithmetic.
How to Quickly Judge Whether Manufacturing Quality Justifies the Price — A Commercial Kitchen Equipment Buying Guide
Prices for commercial induction cooker complete units range widely. But expensive doesn’t always mean well-made, and cheap isn’t always junk. The real question for procurement: how do you tell — during inspection and quoting — whether a unit’s build quality actually justifies the number on the invoice?
Below are concrete methods split into two angles: what you can see with your own eyes, and what you verify through paperwork. Think of this as a focused commercial kitchen equipment buying guide for induction cooker procurement.
No Power Needed — These Visual Checks Tell You the Build Quality Tier
You don’t need instruments. Your eyes and hands will tell you plenty. From our experience hosting overseas clients at the ATRX factory, seasoned procurement people can already size up a machine’s quality tier before anything gets plugged in — just from looking and touching.
Here’s what they check first:
1. Shell sheet metal. Are weld seams flat and pore-free? Do edges have burrs that could nick your finger? Are bend lines straight without springback? If the outside is rough, the supplier can claim whatever they want about internals — a factory that can’t control sheet metal precision won’t control assembly precision either.
2. Internal wiring and solder. Open the housing. Are wires bundled with cable ties and routed neatly? Are terminal connectors crimped tight, or just twisted and taped? Is the mainboard clean — no flux residue, no loose debris? One client shared photos of a sample from another supplier: wire bundles draped loose over the mainboard, terminals that pulled off by hand. That’s a no-go at any price.
3. Coil winding. Is turn spacing even? Is the coil surface flat? Any spots that look skewed or loose? Hand-wound and machine-wound coils look completely different — the first has random spacing, the second looks like it was laid down with a ruler. Winding quality directly drives heating efficiency and lifespan.
You don’t need to understand circuit theory. These checks alone let you tell a $300 build apart from a $1,000 build — without flipping a single switch.
Ask for These Documents — They Prove Whether Quality Is Real or the Price Is Hot Air
Eyes catch the surface. For deeper verification, you need documentation. Our QC team ran the numbers: among returned faulty units, over 70% of failures clustered in three areas — insulation breakdown, cooling failure, and component aging. Those line up exactly with what the following reports test for.
Request these from any supplier and cross-check item by item:
| Document | What It Proves | If It’s Missing |
|---|---|---|
| Hi-Pot (Dielectric Withstand) Test Report | Insulation is solid; unit can handle voltage spikes | Leakage risk; serious safety concern |
| Temperature Rise Test Report | Cooling design works; critical parts stay within safe temps | Overheating and burnout under sustained use |
| Burn-In / Aging Test Records | Full-load stability over time; simulates real service life | No proof of longevity; early-failure risk unknown |
| ISO Quality System Certification | Standardized process from incoming material to final test | Batch-to-batch consistency is a gamble |
| Automated Line Evidence (robotic welding, SMT, etc.) | Precision and yield are structurally guaranteed | Manual-dependent = inconsistent output |
With these in hand, you can tell whether a high quote means “premium build” or just “inflated price.” Some of the procurement pros we work with request live access to the QC system during video audits — they want to see the raw aging test logs. Highly effective move.
A factory that truly invests in process won’t struggle to show data. These tests are baked into their production flow — they’re not extras done to impress visitors. If a supplier quotes high but can’t produce any of this? That’s your red flag.
Rather than trusting words, look at the line. Precision welding, ceramic panel fit, coil installation, hi-pot testing, hydrostatic pressure testing — each step determines whether the unit lasts years under punishment. To do a “virtual factory tour” first, see → Commercial Induction Cooker Production Line — Full Process. Per-step inspection standards and serial-number traceability are all laid out.
Bottom line: the commercial induction cooker price difference isn’t brand or channel. It’s sheet metal, coils, and mainboards — layer on layer of cost hidden inside the shell where you can’t see it. Purchase price is the tip of the iceberg. Add repairs, downtime, and shortened life span, and the “cheap” unit costs more over two years.
So don’t just read the quote. Ask for test reports. Ask for a factory video tour. If the manufacturer shows the work and shows the data, the premium makes sense. If they can’t? Walk away — or at least ask hard questions before signing. Focus on the invisible. That’s how you actually save money.
Common Questions People Ask
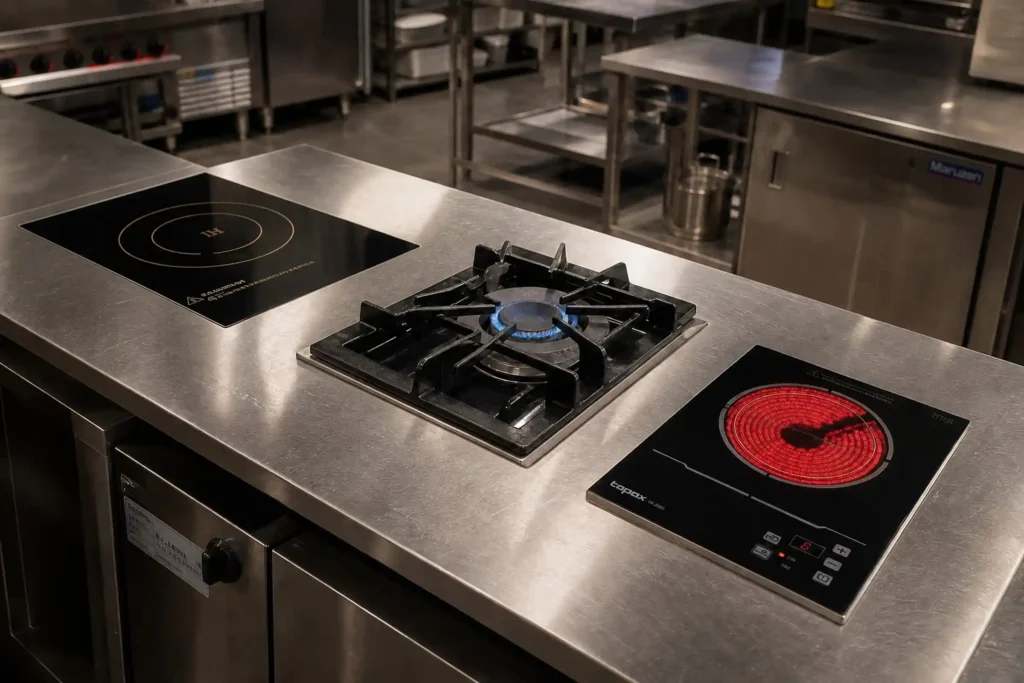
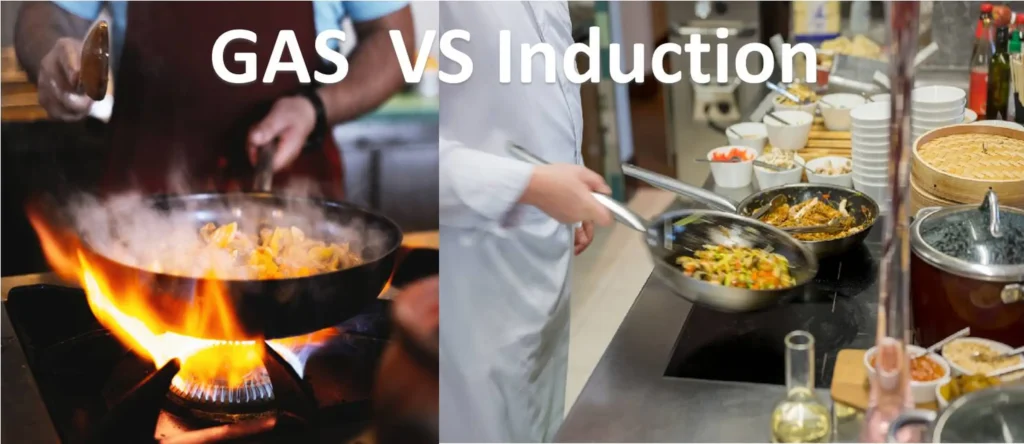
Q1: Commercial induction cooker vs gas — which is better for a commercial kitchen?
Induction delivers 85–95% energy efficiency. Gas sits around 35–55%. That alone cuts utility bills significantly. Induction also produces no open flame, so kitchen ambient temperature drops, ventilation load shrinks, and burn risk goes down.
The real deciding factor isn’t “which technology wins” — it’s build quality. A well-made commercial induction unit outperforms gas on speed, safety, and long-term cost. A poorly-made one breaks down in months and ends up costing more than the gas setup it replaced. If you go induction, make sure the unit’s manufacturing quality justifies the price — otherwise the efficiency advantage gets wiped out by repair bills.
Q2: How long do commercial induction cookers last?
A properly built commercial induction cooker, well maintained, can run 8–15 years in a daily-use commercial environment. The key variable isn’t brand — it’s manufacturing quality.
Units with machine-wound coils, genuine IGBT modules, and proper thermal management routinely hit 10+ years. Units with hand-wound coils, off-brand components, and weak cooling? Many don’t survive 2 years at commercial intensity. Lifespan comes down to what’s inside the shell — the coil, the mainboard, and the cooling system. That’s where the money either was or wasn’t spent.
Q3: How much power (wattage) does a commercial induction cooker use, and how do I choose the right level?
Commercial induction cookers typically range from 3.5 kW (countertop single-burner) up to 35 kW (large wok or stock-pot stations). A standard stir-fry wok station runs 8–12 kW. High-volume soup or braising setups need 15–35 kW.
Don’t just pick the biggest number. Oversized power on a low-demand station means the IGBT module cycles on and off constantly at partial load — that’s harder on components than steady full-load operation. Match wattage to your actual peak cooking demand. And make sure the unit’s power-handling components (IGBT, capacitors, cooling fan) are rated with headroom above the stated wattage — cheap units often run these parts right at their limit, which is exactly why they burn out early.
About the author
Kristen | 18-Year Experience | China
Commercial Induction Cookers Industry
Commercial Induction Cookers Industry
Related Posts
How Commercial Induction Cookers Are Made — ATRX Full Manufacturing Process
06/13/2026
Is Induction Cooktop Radiation Dangerous to Your Health?
06/12/2026
How to Choose a Commercial Induction Cooker Manufacturer — Why ATRX Is Trustworthy
06/11/2026
Why Open Kitchens Keep Choosing Induction Over Gas and Ceramic Cooktops
06/09/2026
Commercial Induction Cooker Power Consumption: Real Data Cost
06/08/2026
LPG vs Induction Cooker Efficiency: Which Is Better for Cooking?
06/07/2026
Countertop vs. Built-in vs. Floor-Standing Commercial Induction Cooktops – How to Choose by Manufacturing Structure
06/06/2026
What Core Components Are Used in Commercial Induction Cooker Manufacturing? A Basic Guide for Buyers
06/05/2026

Same Commercial Induction Cooker, 3× Price Difference — Where Does the Manufacturing Gap Lie?
06/04/2026
Commercial Induction Cooker Unit Electrical Requirements — What Your Kitchen Must Meet Before Purchasing
06/03/2026