
Commercial Induction Built-in Cooker: The Complete Guide to Seamless Kitchen Integration

06/29/2026
Estimated reading time: 2 minutes

This guide helps you sort out the most common pitfalls — countertop requirements, electrical systems, installation standards, and ongoing maintenance — before you purchase a commercial induction built-in cooker. From the pre-purchase site assessment to on-site installation and daily operation, every step is covered: what to confirm, what goes wrong if you skip it, and how to make the right call. The goal is a single, complete reference that ensures you buy the right equipment, install it properly, and keep it running for years.

What Is a Commercial Induction Built-in Cooker, and How Is It Different from a Regular Induction Cooker?

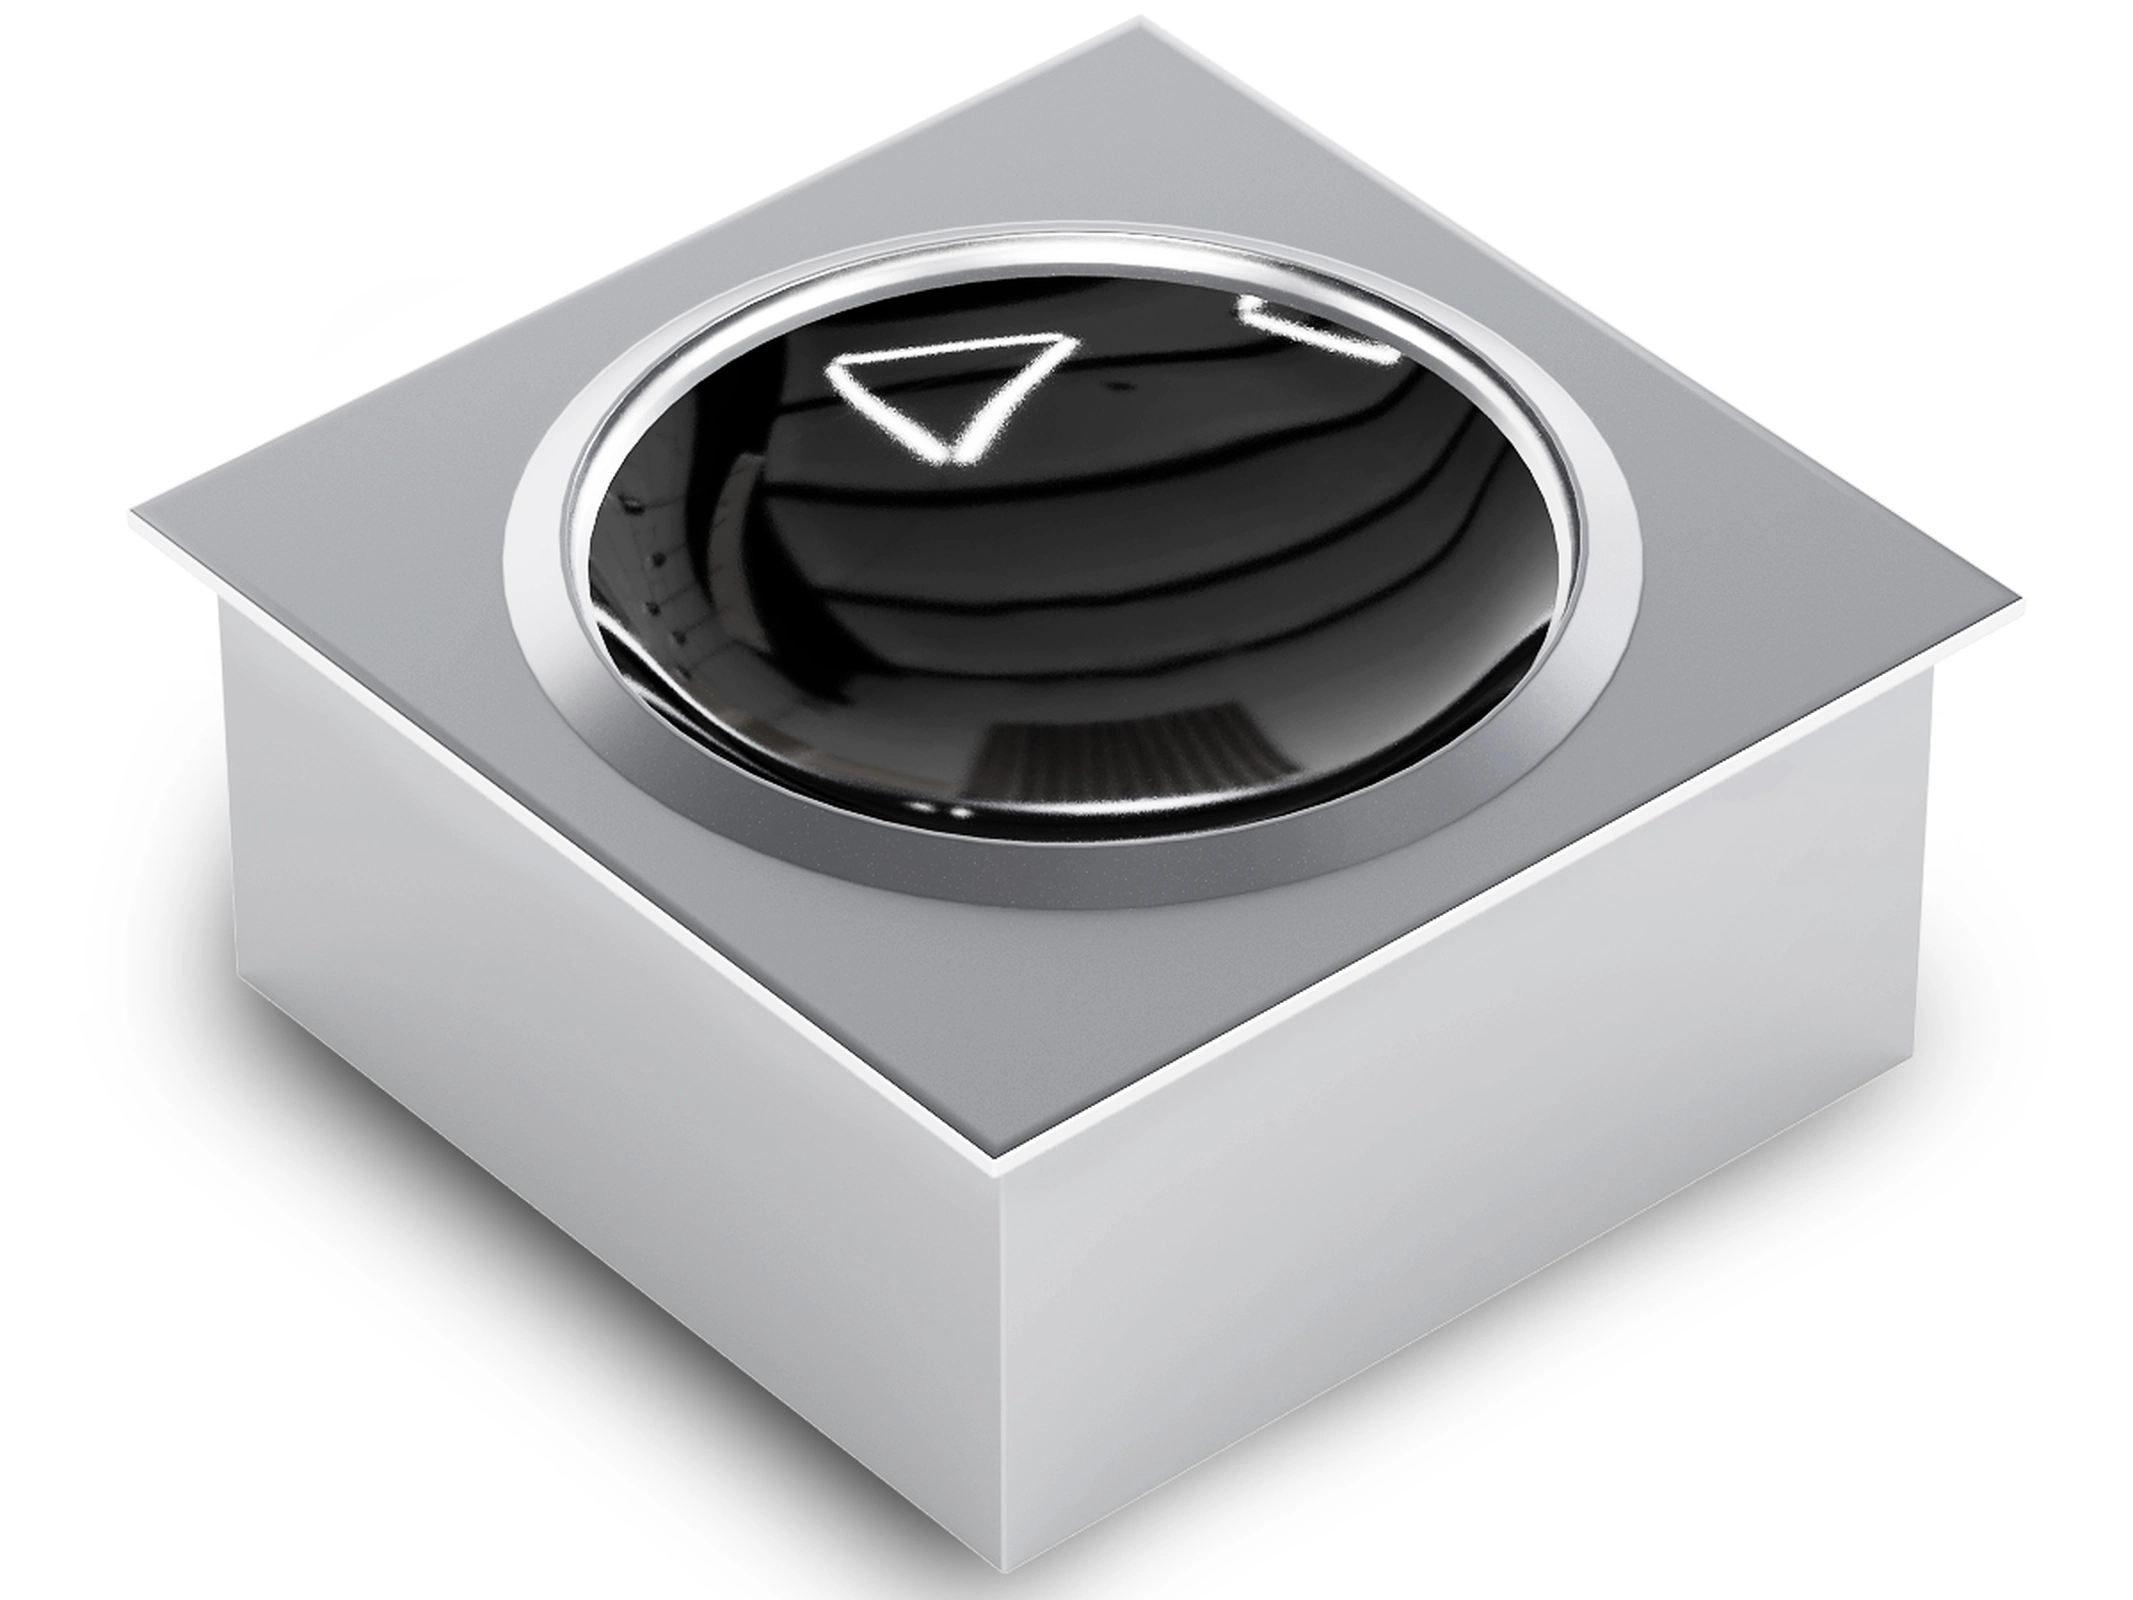
To make sense of the selection, installation, and maintenance advice that follows, you first need a clear picture of what “Commercial Induction Built-in Cooker” actually means. Most buyers who encounter this term for the first time zoom in on “commercial” and “induction” but gloss over the most important word — Built-in. That single word is what separates this category from the ordinary portable models you see everywhere. Some industry professionals also call it a drop-in commercial induction cooktop, highlighting the action of lowering the appliance into a prepared opening. Let’s break the concept down.

Built-in Means the Cooker Is “Sunk” into the Countertop

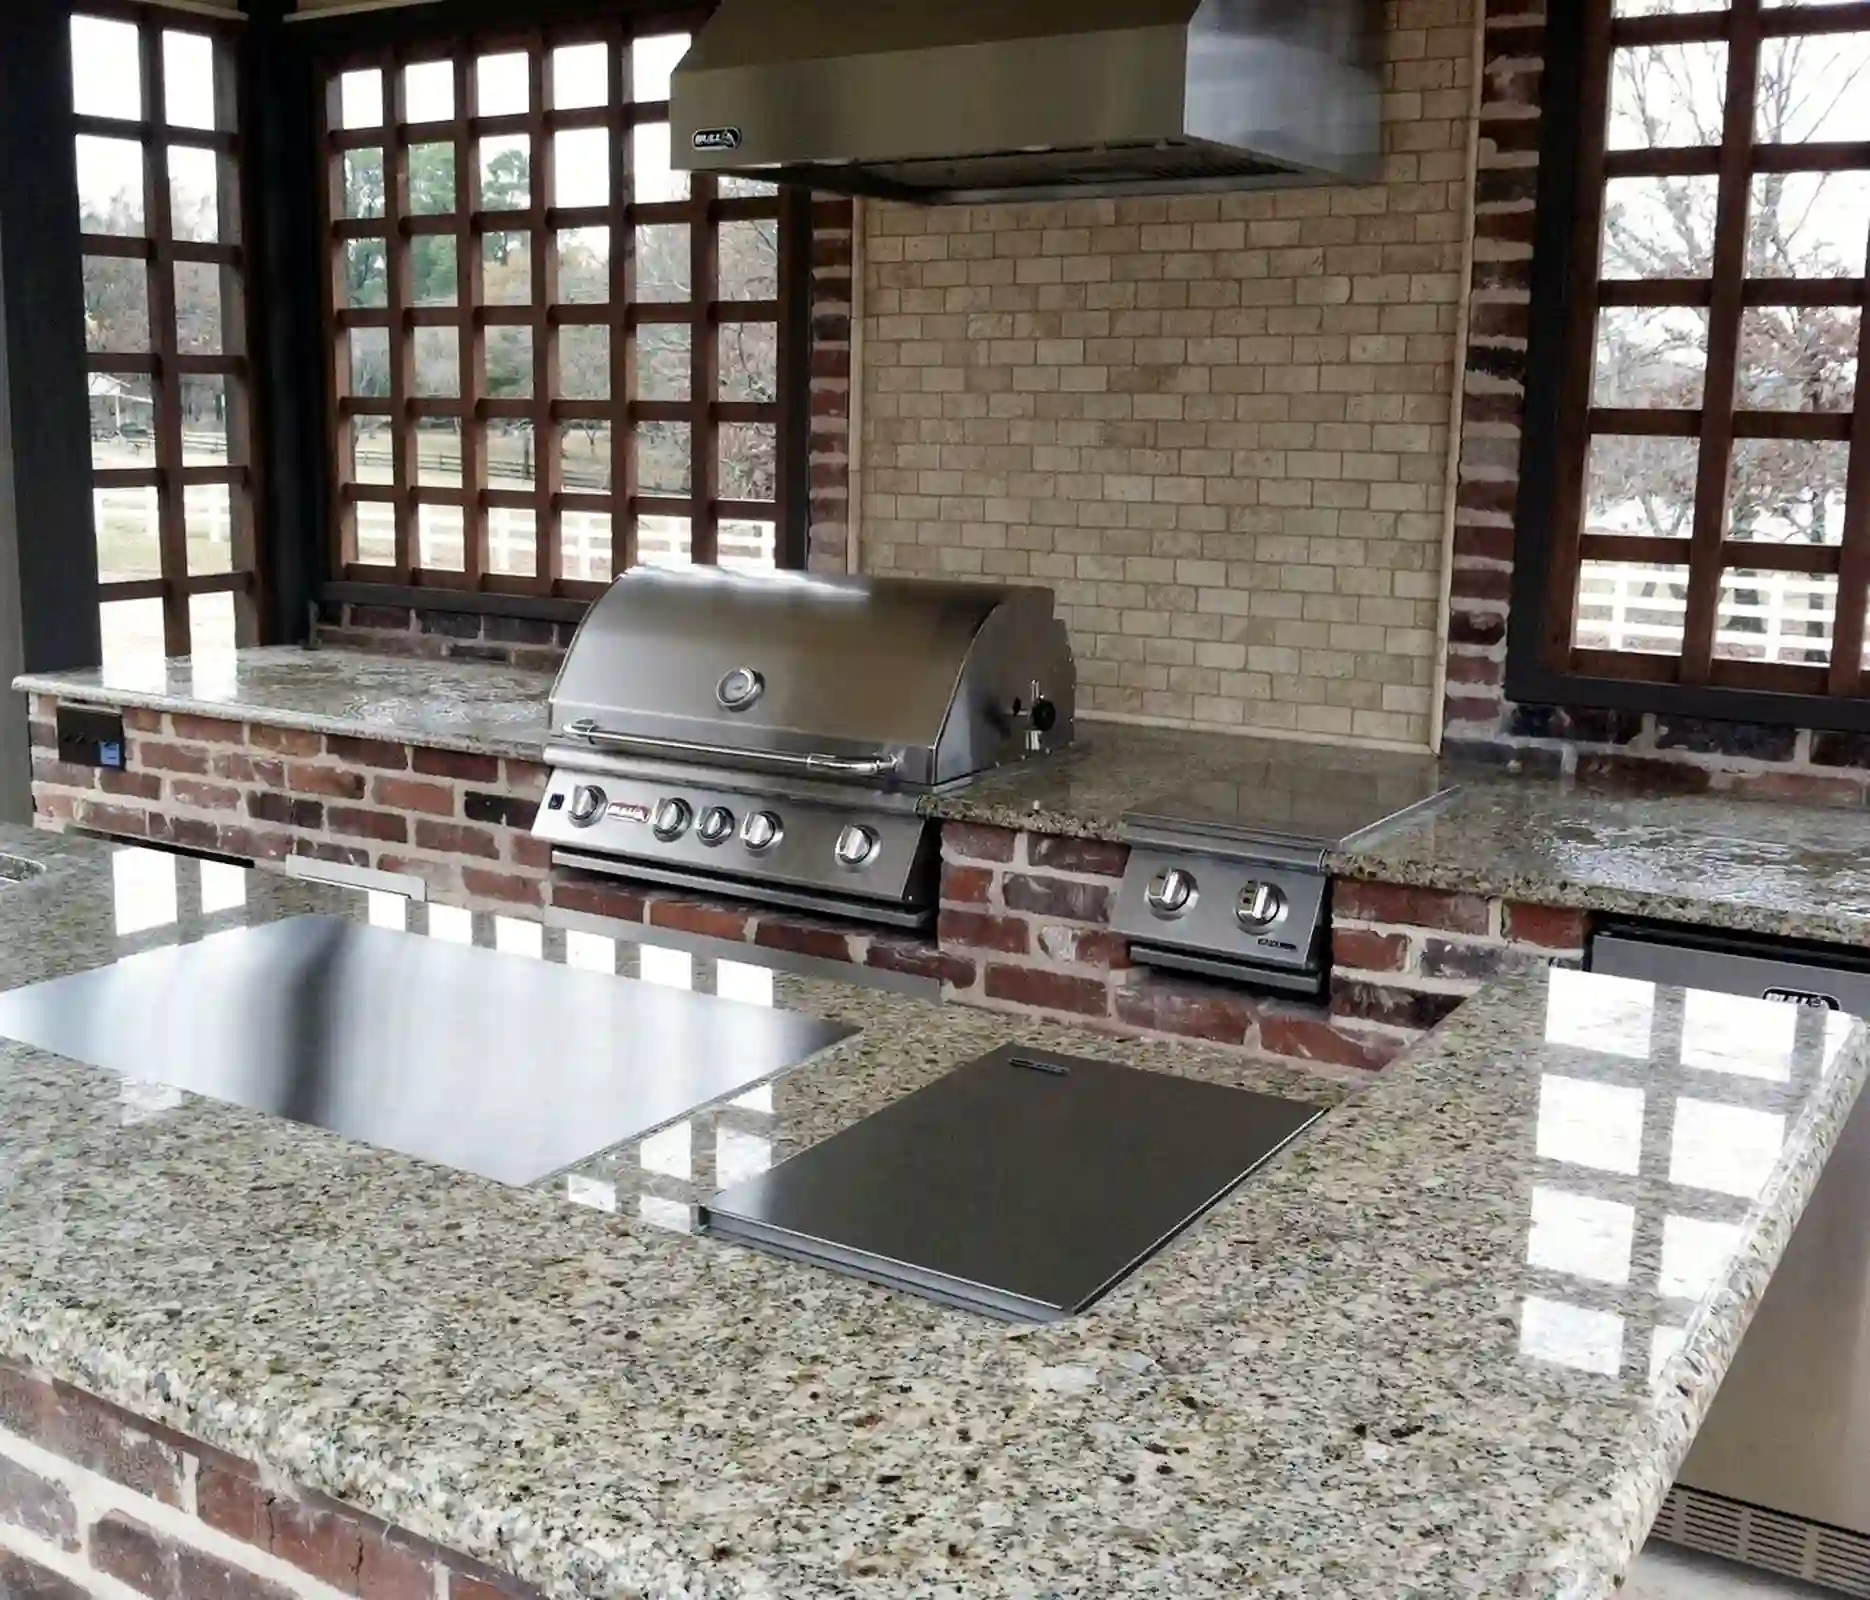
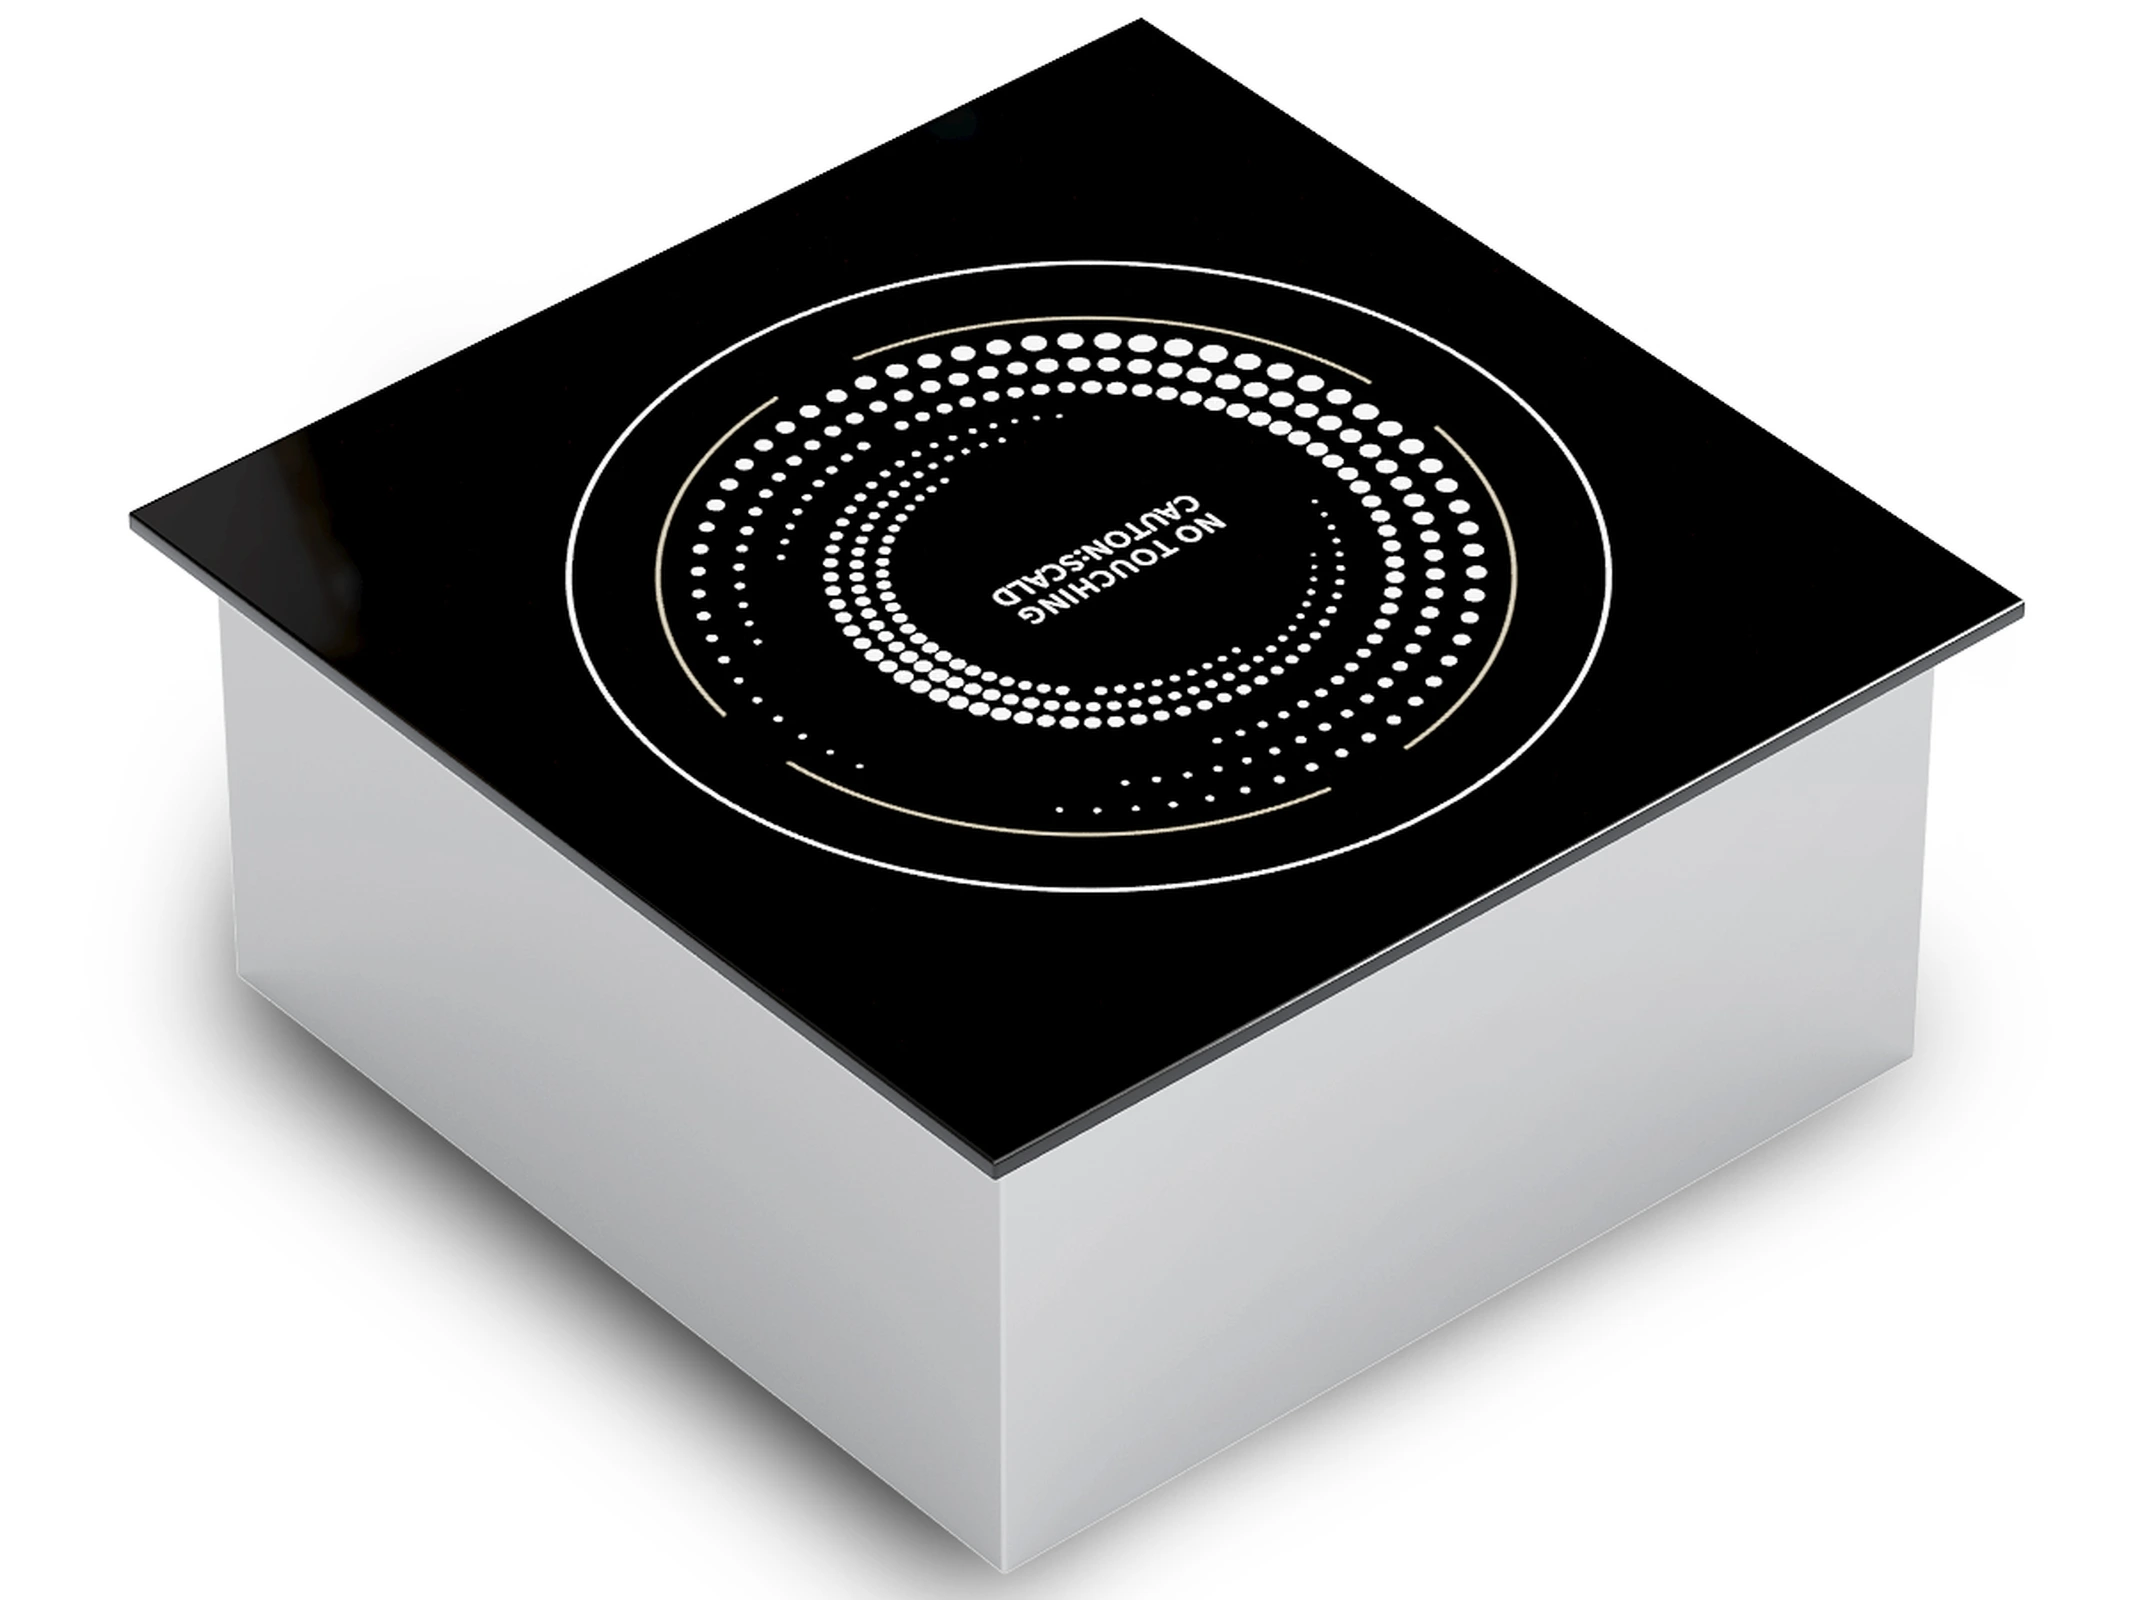
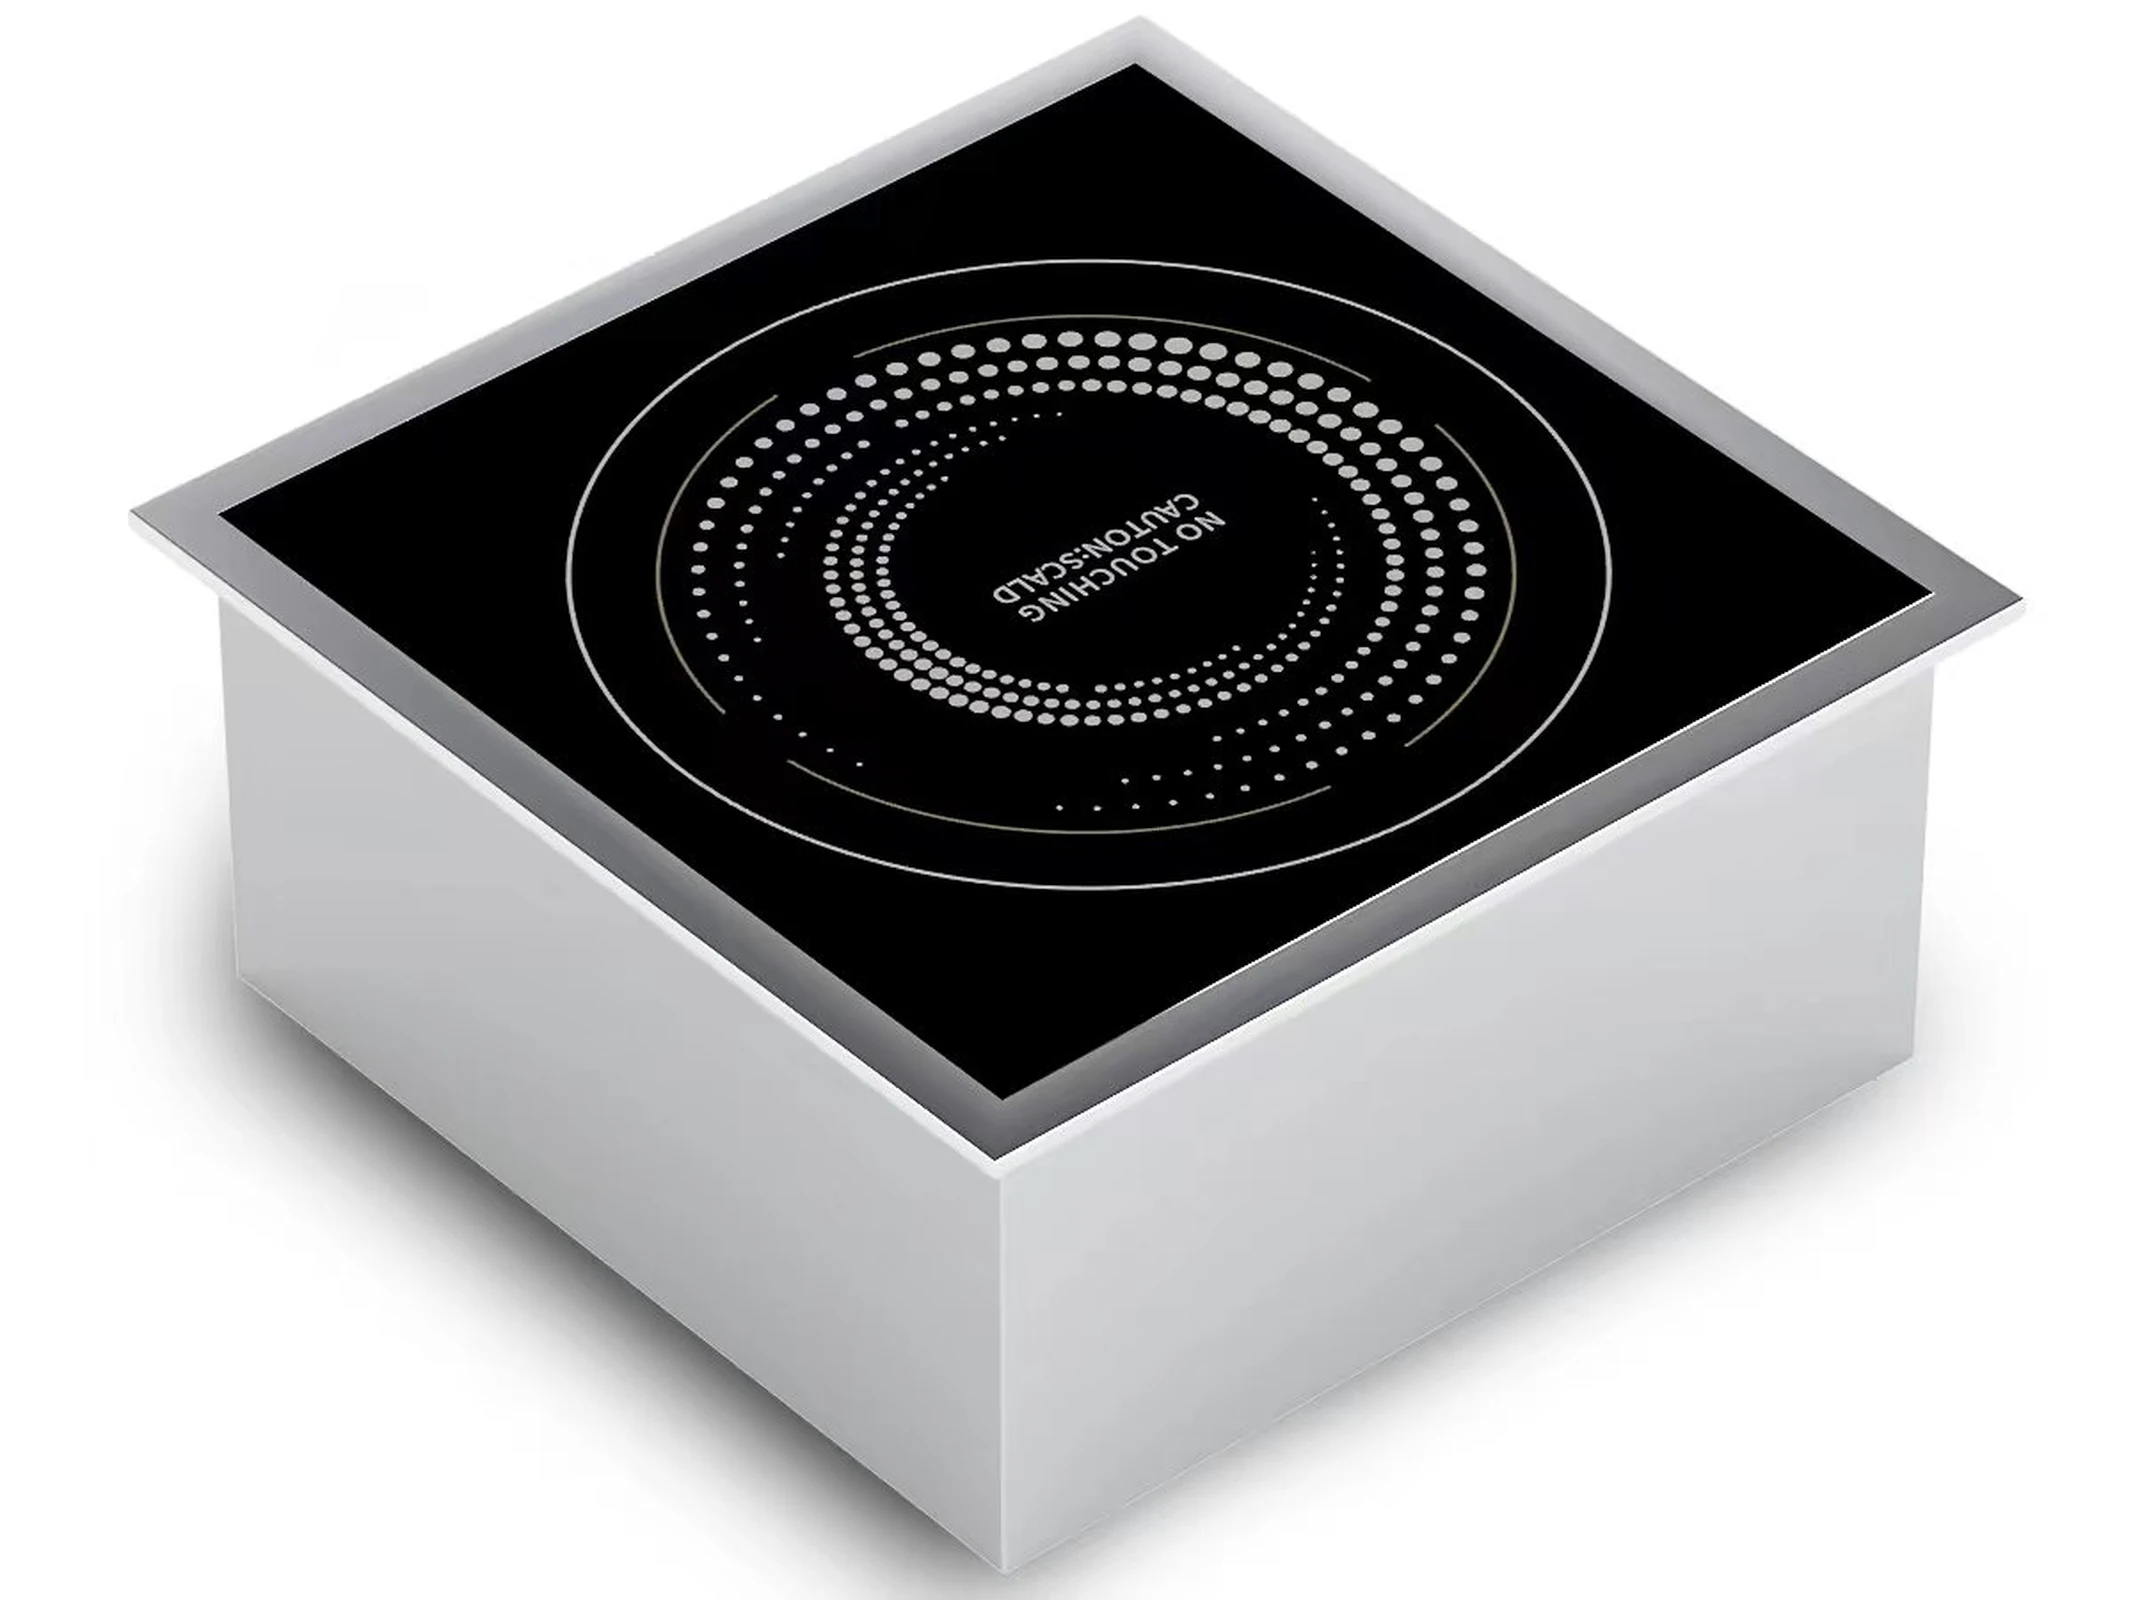
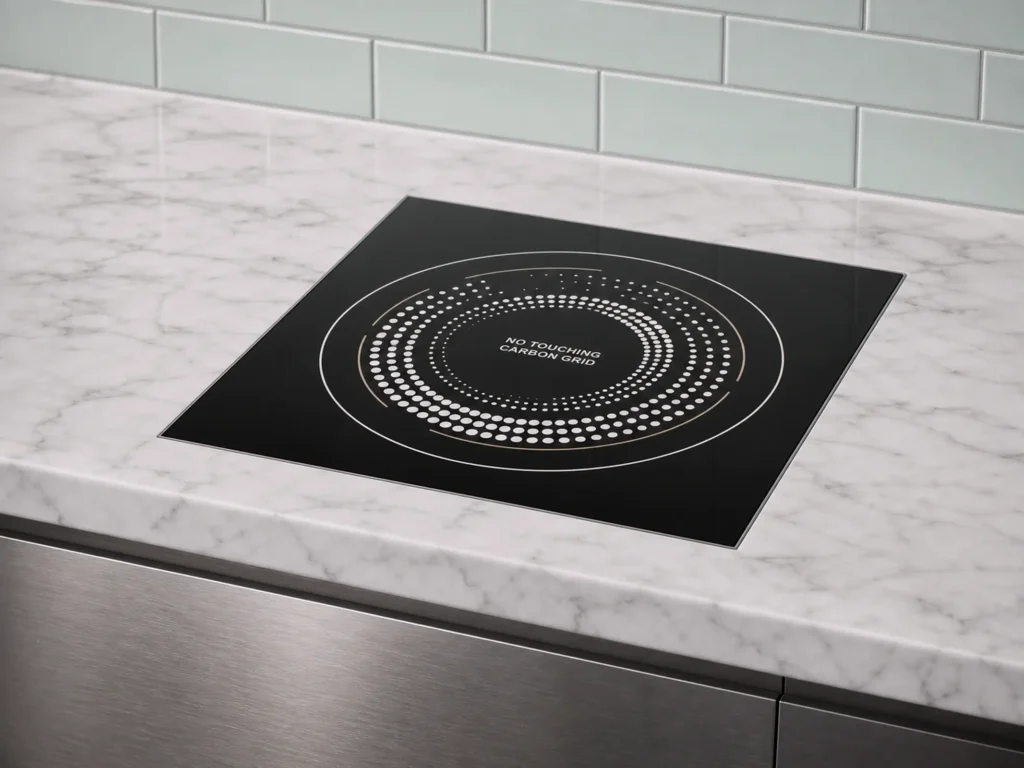
Built-in means “recessed” or “embedded.” Here is what happens in practice: a precise cutout is made in a stainless-steel or stone countertop to match the cooker’s body dimensions. The entire unit is lowered into the opening from above, secured with mounting clips, and sealed around the edges. After installation, the ceramic glass cooking surface sits virtually flush with the countertop. No protruding body, no feet — the whole appliance disappears inside the counter.

With that picture in mind, here are the key traits of a built-in design:

1. Recessed installation, flush with the countertop. The counter is pre-cut to match the body dimensions, and the cooker sinks in so the glass surface and the counter sit on the same plane. Think of an undermount sink — the basin drops below the surface, the rim meets the edge seamlessly, and you get one unbroken plane. A recessed induction cooker commercial kitchens rely on follows exactly the same logic.

2. Fixed installation, not meant to be moved. Once the body drops into the cutout, it is locked down with clips or screws, and the perimeter is sealed with high-temperature gaskets or silicone. At that point the cooker becomes part of the countertop. You cannot simply pick it up and relocate it. This is a permanent installation.

3. A flat surface that makes cleaning and workflow dramatically easier. No protruding frame means grease and spills can be wiped away in a single pass — nothing gets trapped in gaps between the appliance and the surface. In a commercial kitchen running at full speed, cleaning efficiency directly affects table turnover and health-inspection results. That alone makes the built-in approach worth the extra planning.

When you can see an induction cooker sitting securely inside a stainless-steel prep counter — surface flush, no gaps, no protrusions — you have nailed what “Built-in” means. In practice, procurement managers often describe exactly this setup when they say “the drop-in type, the one that sits flush with the counter.”

Comparing It with Countertop and Freestanding Models Makes It Instantly Clear

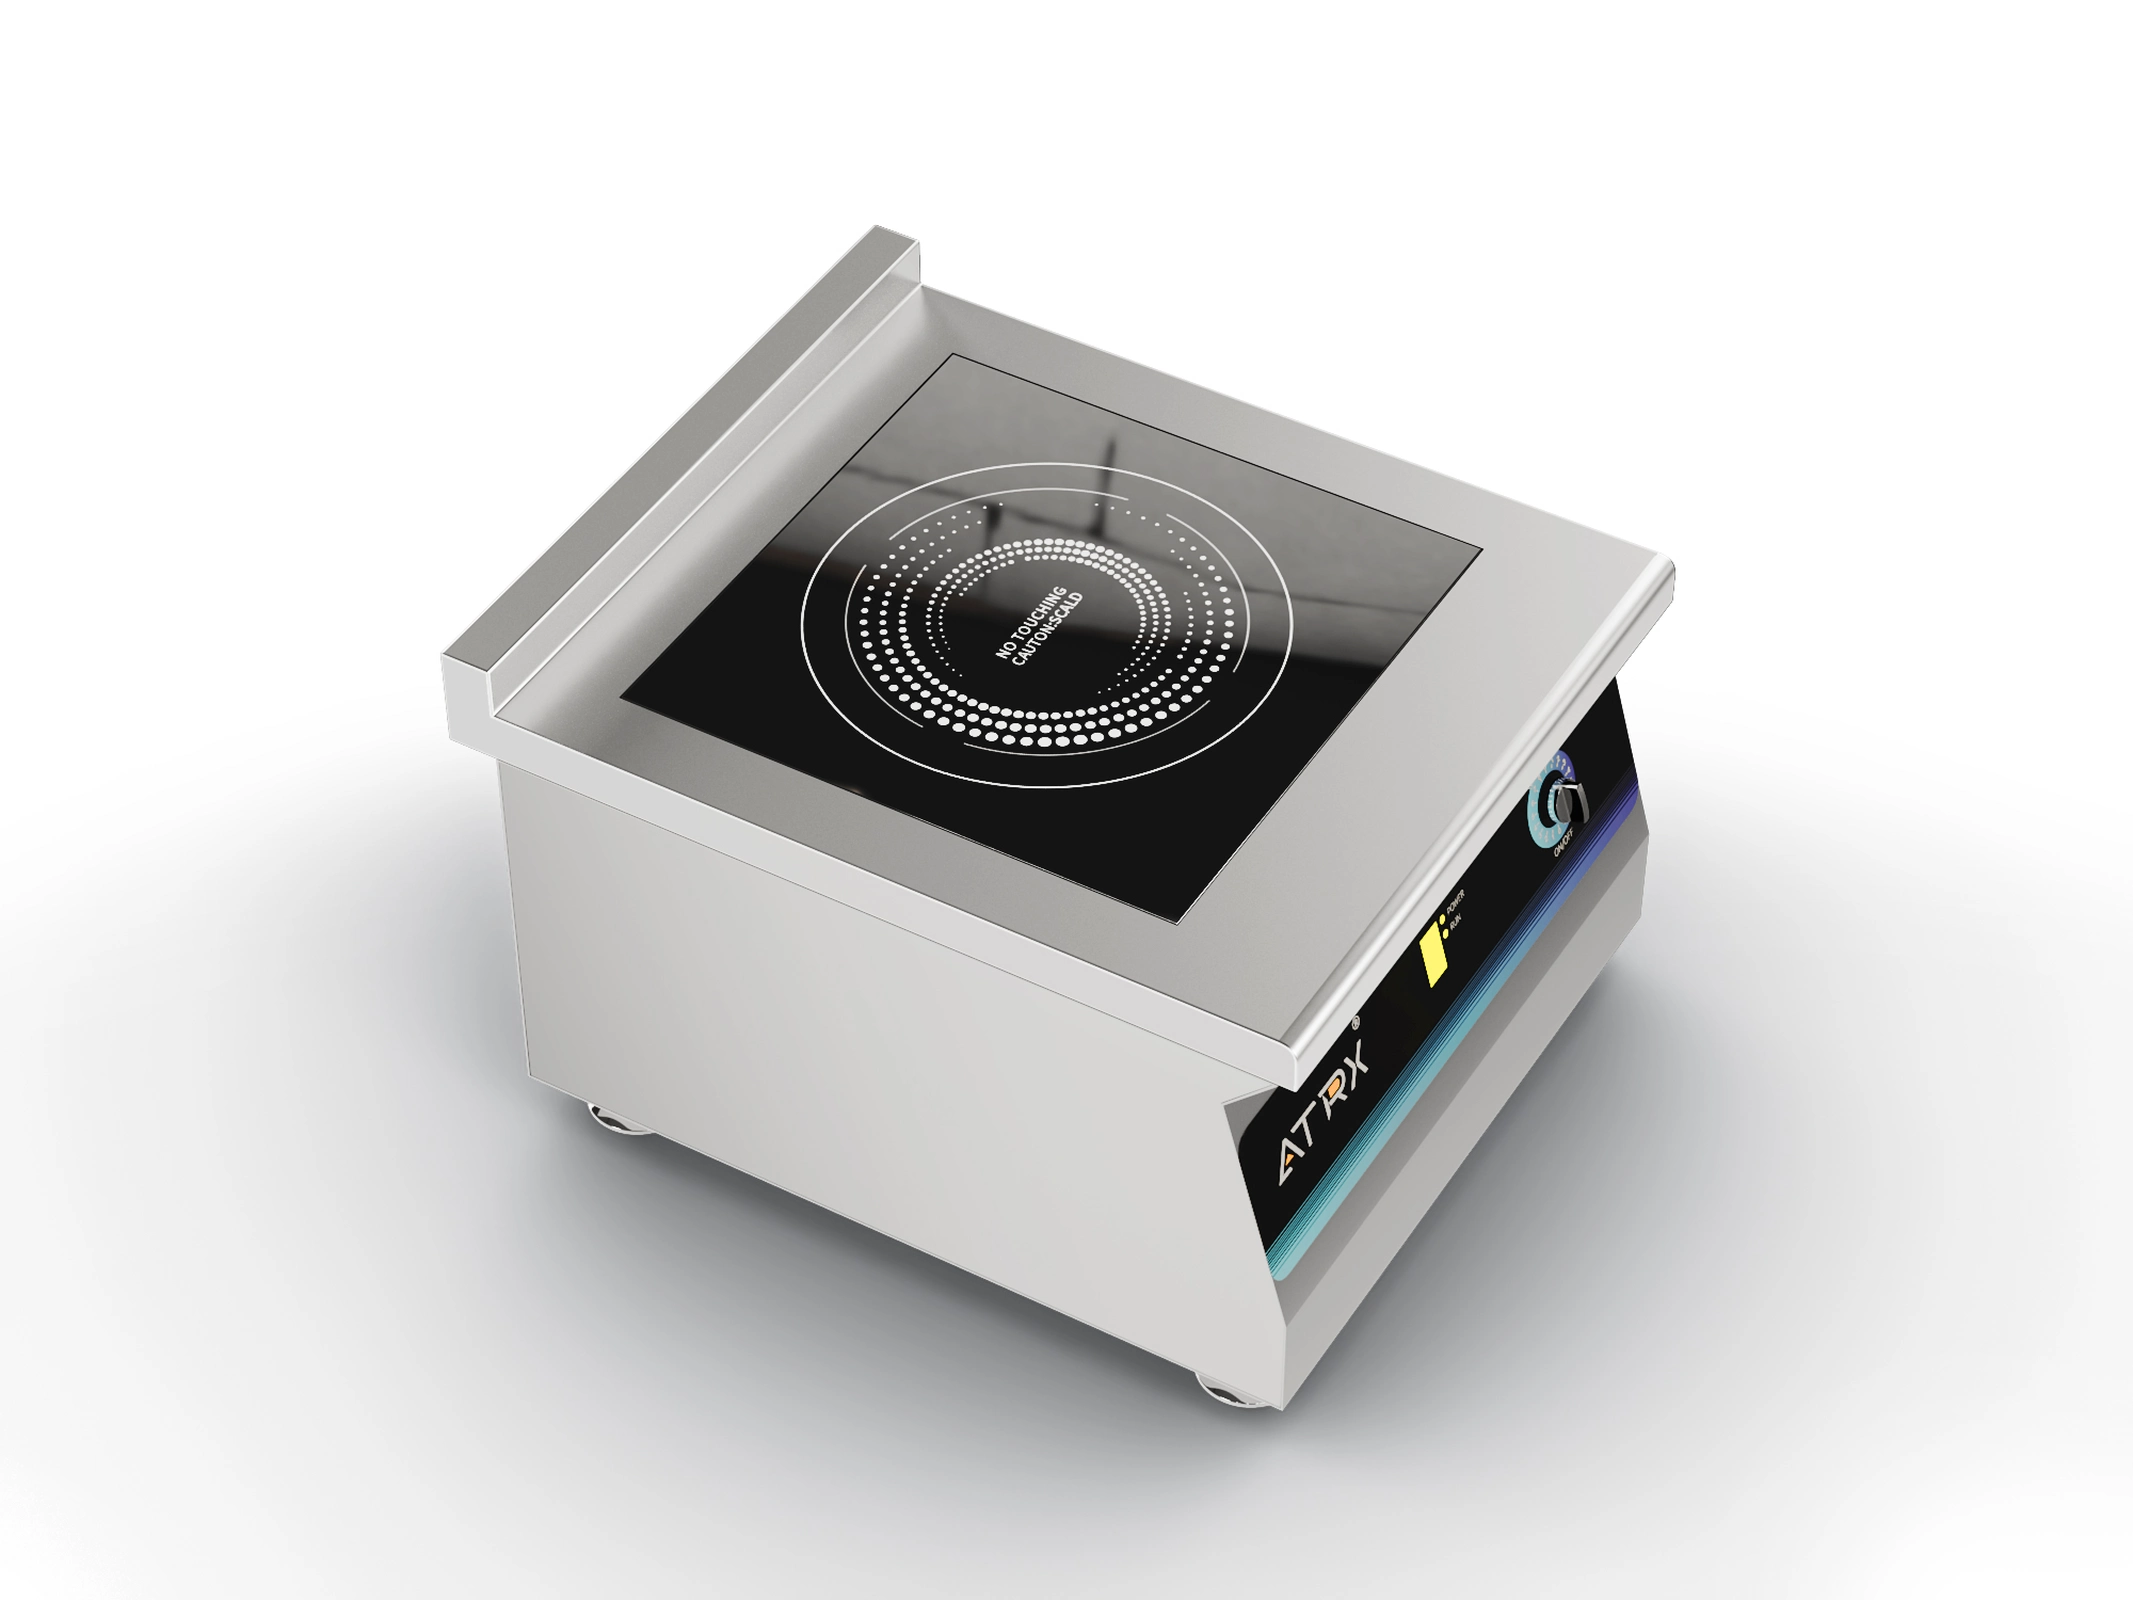
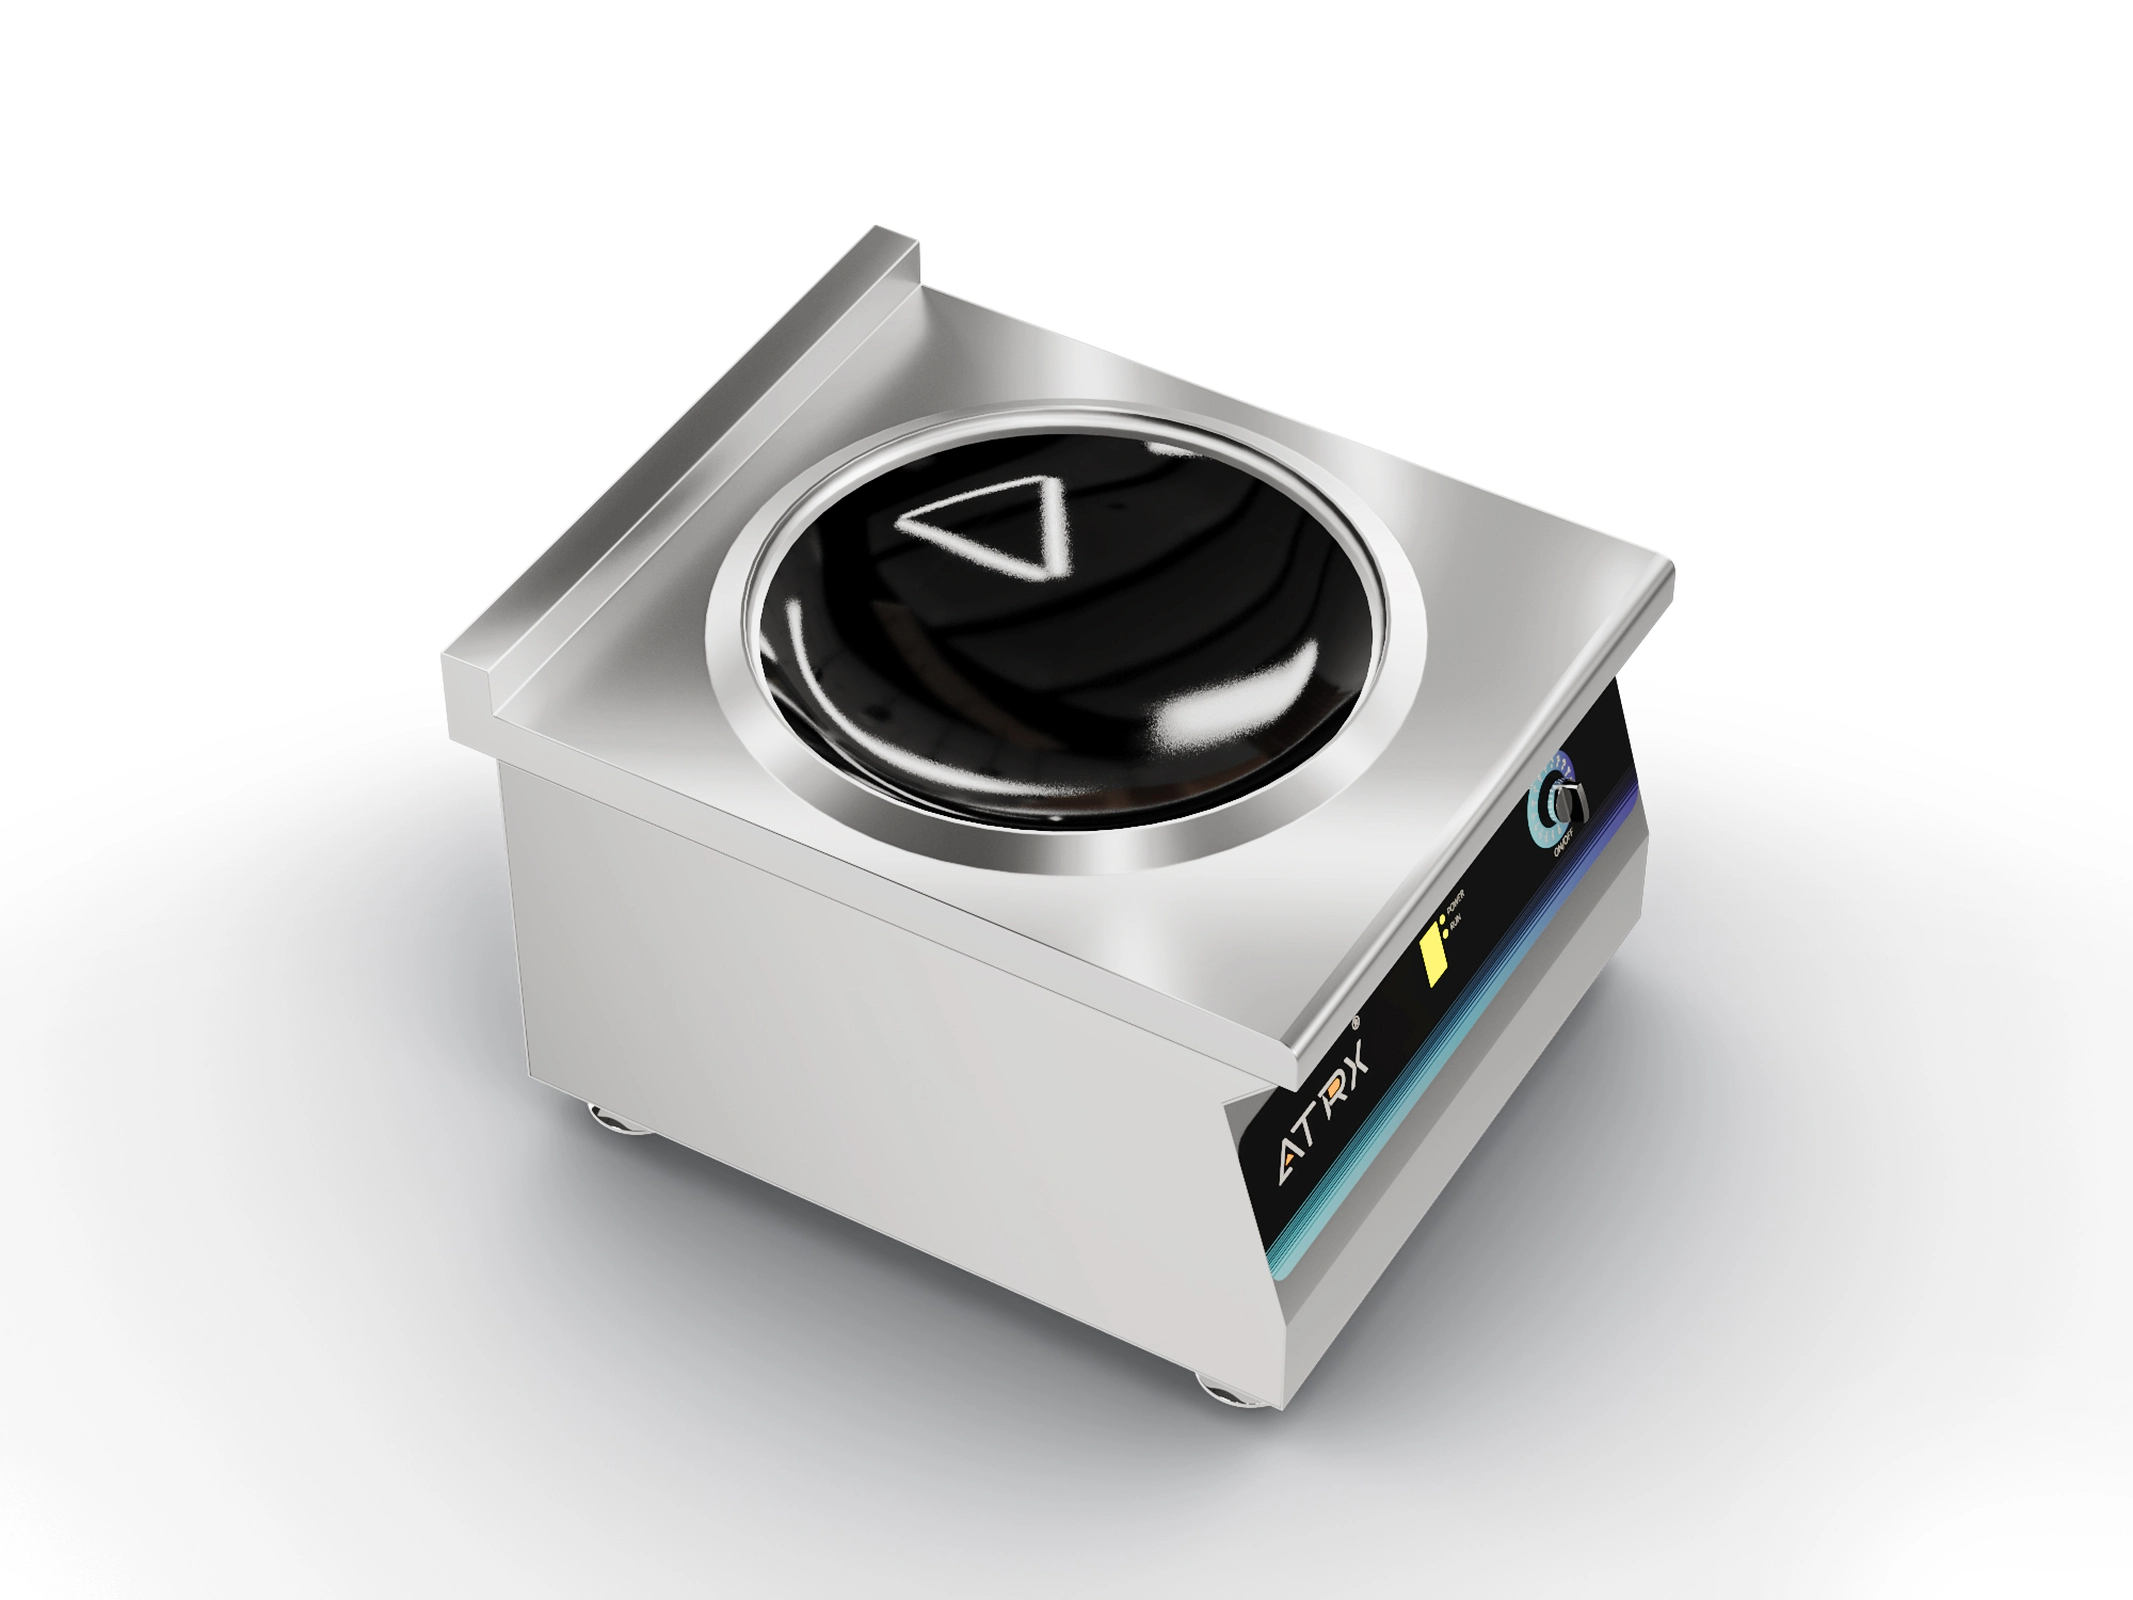
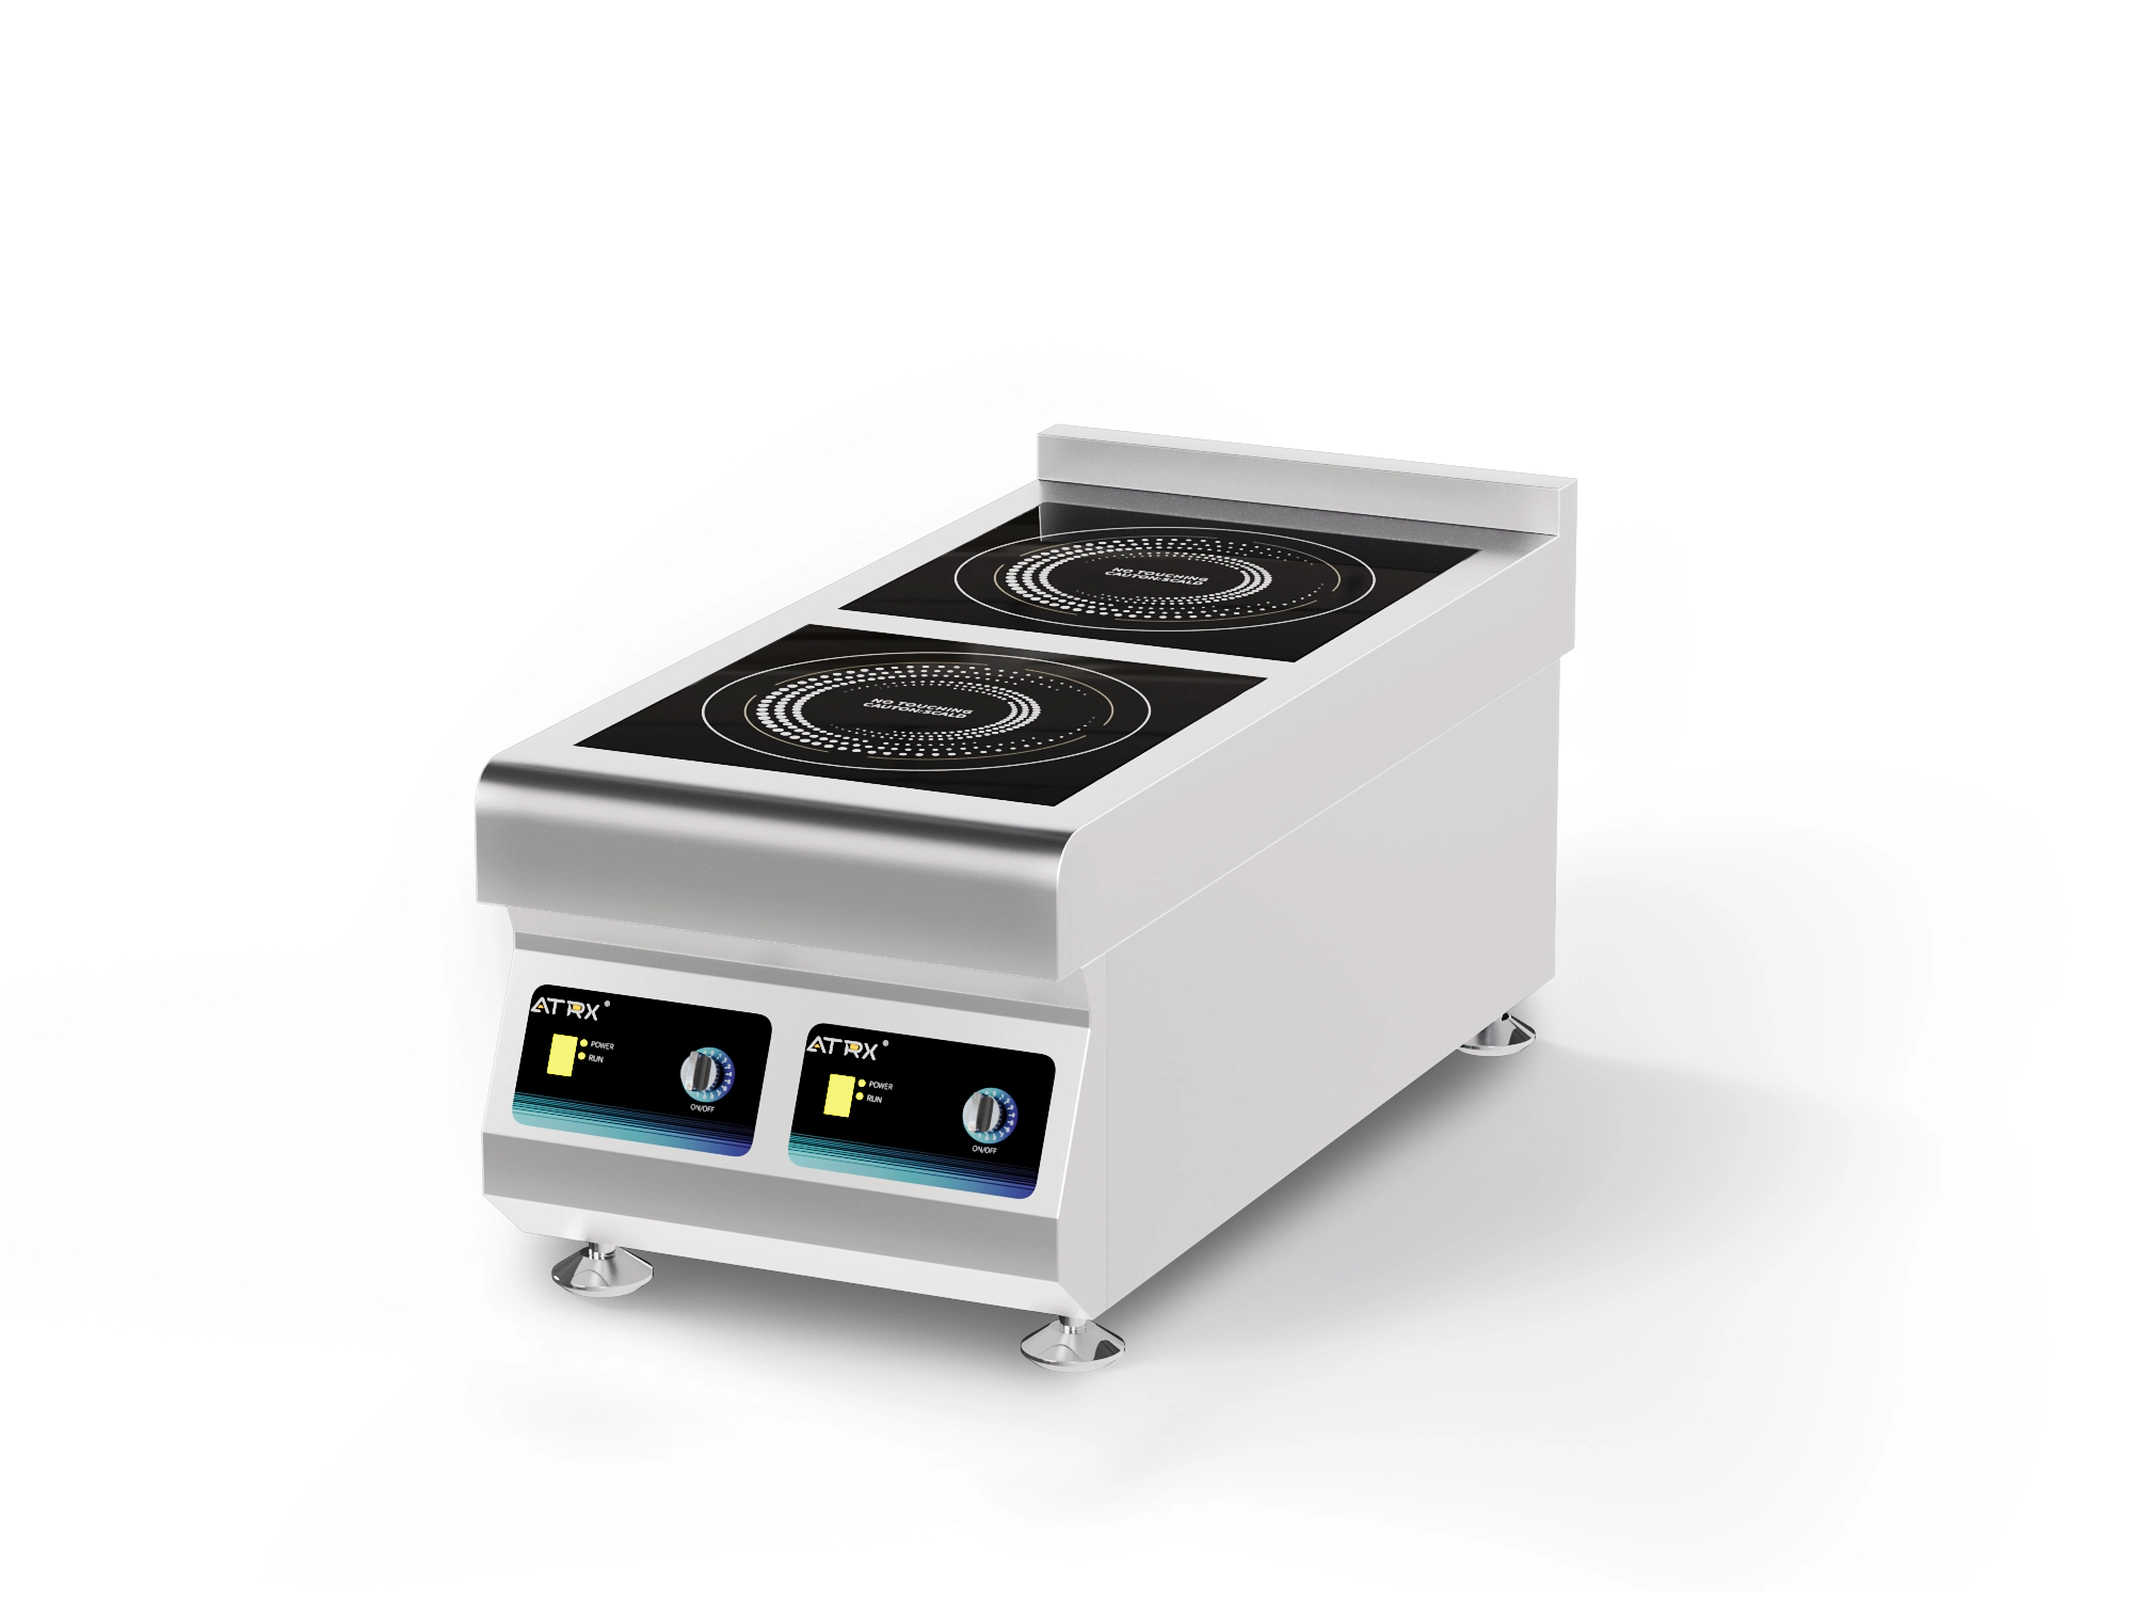
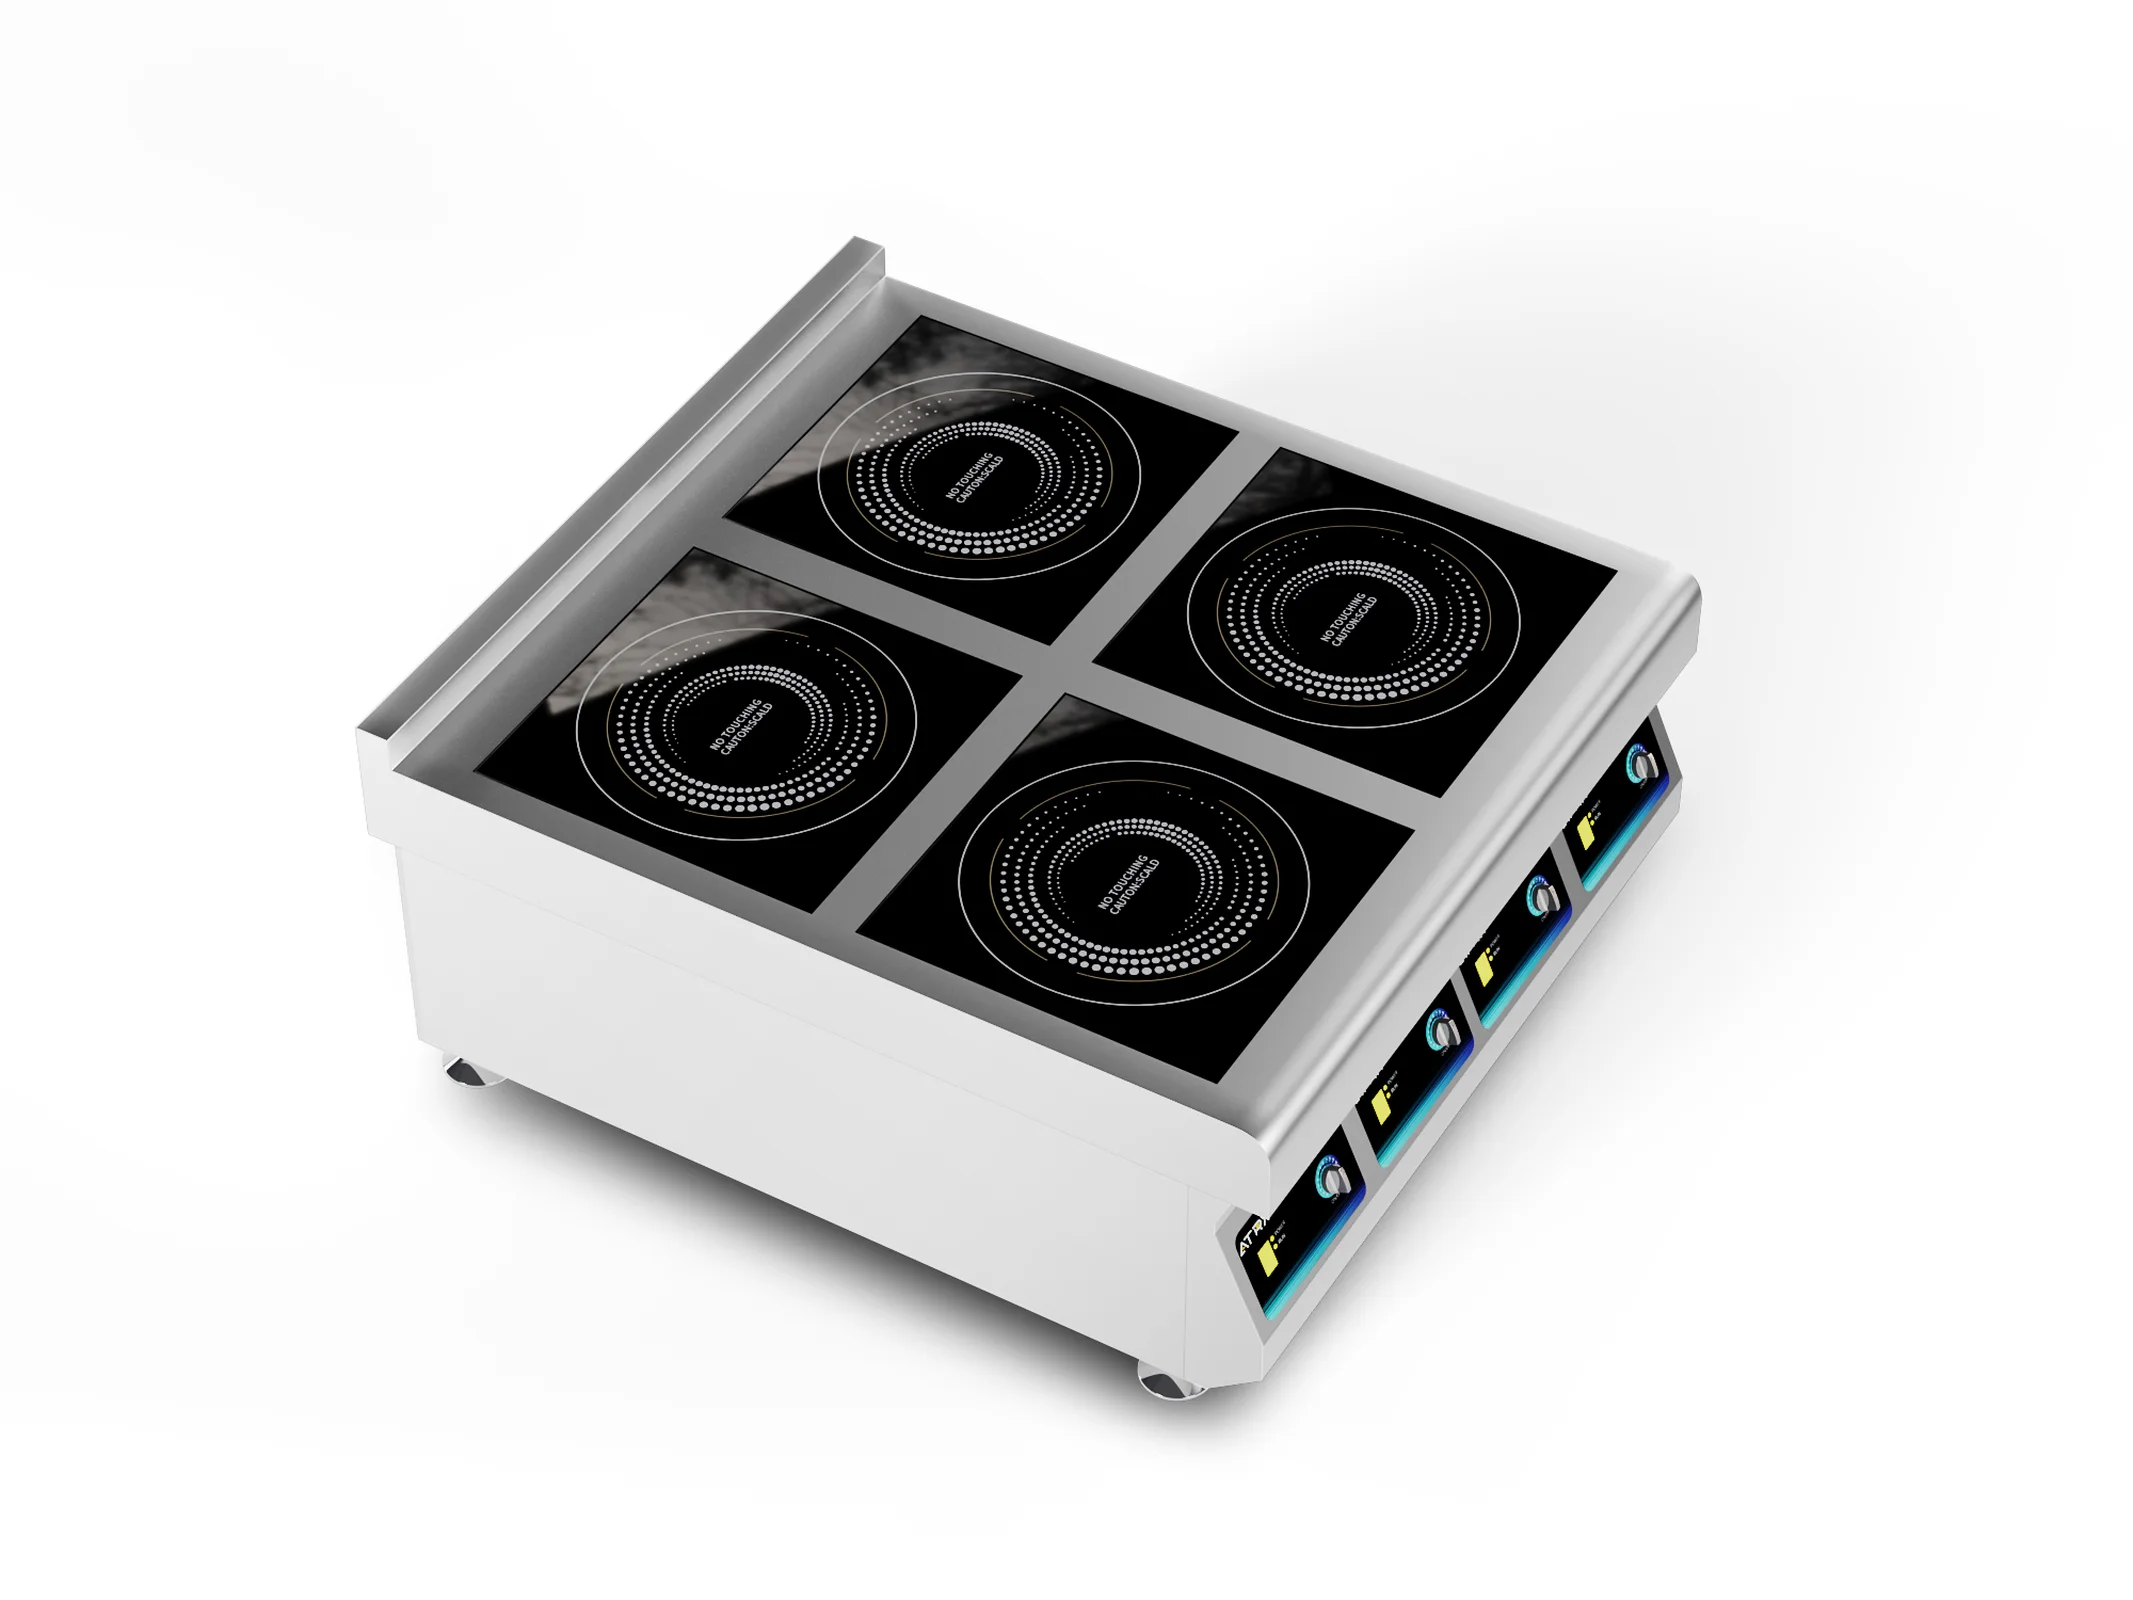
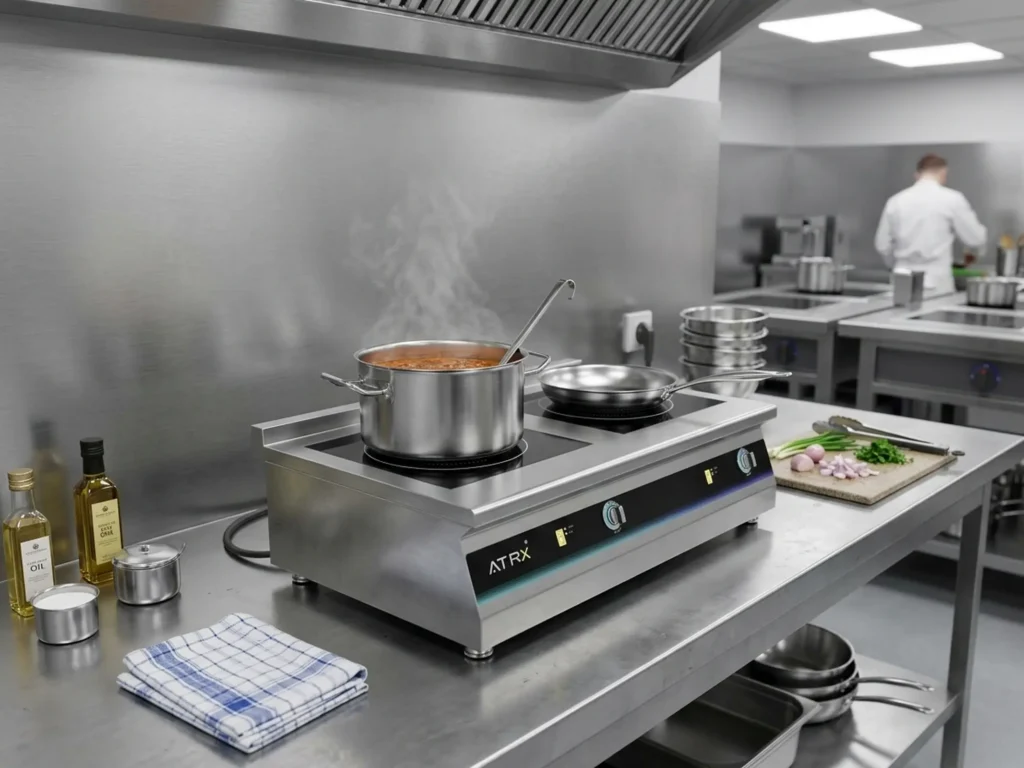
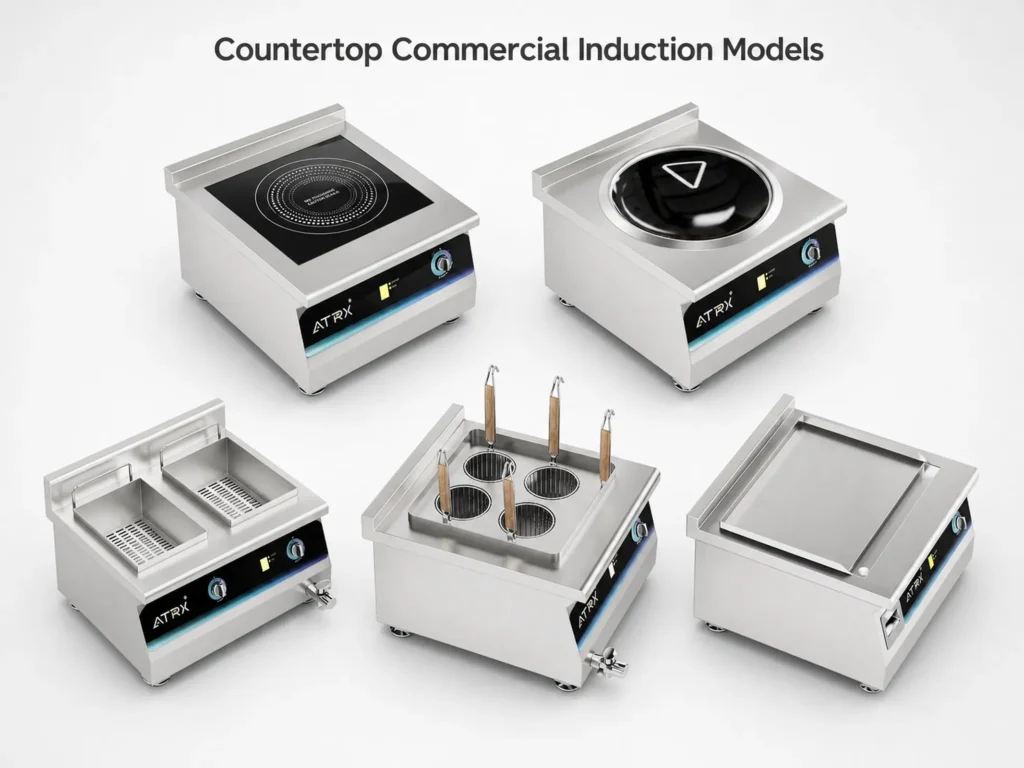
Induction cookers designed for commercial kitchens fall into three categories by installation method: Countertop, Freestanding, and Built-in. Many buyers mix them up, but the real differentiator is just one thing — how the unit gets installed. A countertop induction cooker sits on top of the work surface. Plug it in and go; no modifications, fully portable. A freestanding induction cooker comes with its own cabinet or legs, stands on the floor, and works as a self-contained cooking station.

A built-in unit is a different story. It needs a pre-cut opening in the countertop. The body drops into the hole, gets locked down with fasteners, and becomes an inseparable part of the counter. That is why a commercial built-in induction hob demands far more upfront planning than either of the other two types.

This installation-method gap may seem like a simple “where does it go” question. In reality it triggers a chain reaction that shapes every later decision. Go with countertop, and you worry about surface load and slip prevention. Go with freestanding, and you plan floor space and cabinet airflow. Go with built-in, and you must confirm in advance whether your counter material can take a cutout, what the cutout dimensions are, whether the space underneath allows proper heat dissipation, and how power cabling will be routed. Different installation method, entirely different selection logic, construction plan, and maintenance playbook.

The table below puts the most critical differences side by side:

Comparison Dimension Countertop Freestanding Built-in
Installation Method Placed directly on the counter; plug in and use Comes with its own cabinet/legs; stands on the floor Recessed into a countertop cutout; permanently fixed
Countertop Modification Required No No Yes — cutout must be made in advance
Portability Can be moved at any time Can be relocated as a whole unit, but heavy Cannot be moved once fixed
Countertop Neatness Unit protrudes above the surface; gaps present Independent of countertop; does not occupy counter space Flush with counter; unified surface
Cleaning Convenience Grease accumulates under and around the unit Cabinet seams require extra cleaning One-wipe cleaning; no dead corners
Typical Use Cases Temporary stalls, mobile catering, backup stations Standalone kitchens with ample floor space Permanent commercial kitchens demanding cleanliness and efficiency

One sentence to remember: Countertop is “placed on top,” Freestanding is “standing on the floor,” Built-in is “recessed inside.” Keep that straight and nothing in the rest of this guide will confuse you.

built-in commercial induction cooker flush mounted in stone countertop

How Does Built-in Design Truly Integrate into a Kitchen?

When we say a unit uses a built-in design, what does that actually look like in a real kitchen? How is it different from a countertop unit casually sitting on the work surface? The core of a built-in design comes down to one word — integration. The cooker is not a standalone appliance “placed” in the kitchen. It is a part of the countertop that belongs there. This is the defining trait of any flush mount induction cooktop commercial kitchens adopt for permanent workstations. Two angles make it easy to see.

The Cooking Surface Sits Flush with the Counter, Turning the Entire Workstation into One Seamless Piece

The prep counter becomes one uninterrupted plane. Once the cooking surface and the countertop are flush, the whole work area is a single, continuous flat surface with nothing sticking up in the way. Ingredients, seasonings, and cookware slide across freely. The chef’s workflow runs from end to end without a single interruption from a bulky appliance body. Compare that with countertop cookers scattered across the surface, and the difference in fluidity is obvious.

Visually clean and unified — no “pile of equipment” look. When the cooking surface merges into the counter, the entire kitchen work zone looks orderly. One flat line from end to end, nothing extra breaking the visual flow. This matters most in open-kitchen setups, buffet stations, and teppanyaki restaurants — anywhere diners can see the cooking area directly. Guests see a professional, tidy prep surface instead of a random collection of mismatched appliances.

This is “seamless integration” in its most literal form. The phrase starts with physical seamlessness: no height difference, no bulky frames — the workstation reads as one unbroken whole. In our experience at ATRX, a long-time buffet-equipment buyer once put it this way: countertop cookers on the serving line made guests feel they were looking at “back-of-house equipment dragged out front.” After switching to built-in units, the entire buffet counter finally looked like it was designed for the guest, not the kitchen. That shift from “equipment feel” to “furniture feel” is the value flush design delivers in the real world.

The Unit Is Locked into the Countertop — It Cannot Be Knocked Over or Pushed Out of Place

Once installed into the pre-cut opening, a built-in induction cooker is physically fixed in position. No matter how chaotic the kitchen gets — no matter how many people share the same stretch of counter — the unit will not budge. It will not get bumped sideways, will not topple because someone snagged the power cord, and will not slide off the counter edge. It stays put.

This matters most during peak service. Lunch and dinner rushes are fast and physical: cookware goes on and off the burners constantly, multiple chefs work elbow-to-elbow, arms cross, items fly back and forth. A countertop induction cooker — held in place by nothing but its own weight and a rubber foot pad — gets nudged, dragged, and shoved more often than most people realize. Every time it happens, someone has to stop cooking to straighten it out. That breaks rhythm and creates risk.

Recessed installation removes the problem entirely. The table below shows how the two approaches compare on stability alone:

Comparison Dimension Countertop Induction Cooker (Placed on Surface) Built-in Induction Cooker (Recessed into Counter)
Securing Method Relies on its own weight and rubber foot pads Locked into the countertop structure via cutout clips / screw fasteners
Risk of Being Bumped Out of Position During Peak Service High — happens frequently during multi-person operation Virtually zero — physically impossible to push
Trip Hazard from Power Cord Present — cables are exposed and easily snagged by feet or utensils Extremely low — cables are routed below the counter, away from the work surface
Does the Chef Need to Worry About Appliance Position? Yes — periodically pushes it back or steadies it No — full attention stays on cooking
Risk of Falling Off the Counter Edge Present — especially when placed near the outer edge Non-existent — the unit is fully captured by the countertop structure

“Locked in place” sounds unremarkable. But in a high-intensity kitchen, it eliminates countless micro-interruptions every single day. It removes a distraction that should never exist but keeps showing up. That is the kind of benefit you only fully appreciate once you have lived with it.

How to Choose a Built-in Induction Cooker That Actually Matches Your Kitchen?

Choosing a built-in induction cooker is nothing like choosing a countertop model. A countertop unit gets bought, set down, plugged in, and put to work. A built-in unit has to be recessed into your kitchen structure. It has a hard physical fit with your countertop and a hard electrical fit with your power system. Skip the upfront checks and the most likely outcome is equipment arriving to a kitchen that cannot accept it — followed by emergency countertop rework or electrical upgrades that blow your budget and timeline.

Before looking at any product specs, answer two questions first. Can your countertop handle a recessed installation? Can your electrical system support a hardwired connection? Both must pass before you start comparing models.

First, Assess Whether Your Countertop Can Support Recessed Installation

Step one is not comparing wattage, brands, or prices. It is confirming that your countertop meets the basic conditions for recessed installation. Based on years of project work with foodservice clients worldwide, the ATRX engineering team uses a three-step check: countertop material, available surface area, and under-counter depth. If any one fails, the counter needs modification before the equipment ships. Here is what to verify:

1. Confirm the countertop material can handle a cutout. Stainless steel, granite, and quartz are all strong enough for the cut and can bear equipment weight and heat transfer over the long haul — they are the standard choices in commercial kitchens. But some thin engineered panels or low-strength composites are not suitable. Cut into them and the edges may chip or the surface may warp. Over time, sustained load can cause gradual sagging. Rule these materials out before you go any further.

2. Confirm the available countertop area is large enough. “Large enough” does not mean just the equipment footprint. It means the footprint plus mandatory safety clearances on all sides. Industry norms call for at least 150 mm of lateral clearance on each side and at least 200 mm at the rear for cable routing and airflow. So if a unit is 800 mm wide, you actually need 1,100 mm of continuous clear counter space.

Plenty of kitchens look spacious on a floor plan. Once you subtract the sink zone, corner dead spots, and space already claimed by other equipment, usable area shrinks fast. Measure on-site with a tape measure — do not rely on drawings alone.

3. Confirm the cabinet depth below the counter is sufficient. The body of a built-in restaurant induction cooktop has to sink entirely below the surface, so the cabinet underneath must be tall enough to swallow the unit’s full body height. On top of that, extra clearance is needed below the body for heat dissipation. Most of the heat goes into the cookware, but residual heat still has to exit through bottom and side fans.

If the under-counter space is too tight, long-term operation will overheat the body and shorten the equipment’s life. This check is unique to built-in models. Countertop cookers do not need it at all.

how to choose a built-in commercial induction cooker countertop checklist

If you have not locked in a specific model yet and need cutout dimensions to cross-reference against your site measurements, the ATRX OEM Built-in Induction Cooktop product range lists precise recessed dimensions for every unit and supports custom non-standard cutouts for project-specific needs.

Confirm That Your Electrical System Can Support Hardwired Installation

Countertop passed? Good. The second gate is electrical. Unlike a countertop model that plugs into a standard wall outlet, a built-in induction cooktop installation typically requires a dedicated 220 V or even 380 V line run straight from the distribution panel to the install point — hardwired, no socket in between. The reason is simple: commercial-grade built-in units commonly pull 3.5 kW or more per zone. Run multiple zones at once and total draw hits 14 kW, even 20 kW. A 10 A or 16 A household outlet cannot cope with that.

The table below lists every electrical condition to verify before ordering, what happens if it falls short, and how to fix it:

Inspection Item Specific Requirement Consequence of Non-Compliance Solution
Distribution Panel Total Capacity Existing total capacity must have enough headroom for the new equipment (typically 40–50 A of independent load space) Forced connection overloads the panel; other appliances running at the same time will trip breakers repeatedly Have a licensed electrician assess a panel upgrade or full replacement
Dedicated Circuit One spare dedicated circuit for this unit alone; no sharing with other high-power appliances A shared circuit trips overload protection during peak service, cutting off cooking mid-rush Run a new dedicated circuit from the panel with a matched breaker
Cable Run Distance Panel-to-install-point distance should stay within a reasonable range (generally no more than 20–25 meters) Excessive distance causes voltage drop — the unit underperforms or trips protective shutdown Use a heavier-gauge cable to offset voltage drop, or relocate the install point to shorten the run
Cable Specification Cable ampacity must match maximum power draw (e.g., a 20 kW / 380 V unit usually needs 6 mm² copper-core cable or larger) Undersized cable running chronically overloaded accelerates insulation aging — a serious safety risk Have an electrician calculate and lay compliant cable based on nameplate rating and run length

A real example shows why this step cannot be skipped. One of our Southeast Asian clients was fitting out a rented older shophouse. The distribution panel was over a decade old. We suggested he get a local electrician to inspect before ordering. The result: less than 20 A of remaining capacity — not even close to enough. He spent about two weeks upgrading the panel and wiring before the equipment arrived. Hardwired installation then went smoothly, and opening day stayed on schedule.

Had he ordered first and checked later, the unit would have sat in the kitchen with no way to connect it — and no practical way to send it back.

Electrical assessment is the most overlooked and most consequential step in the entire built-in selection process. A bad countertop costs you a rework fee at worst. A bad electrical match — forced into service — means constant breaker trips during rush hours at best and a genuine wiring-overload hazard at worst. Get a licensed electrician on-site to check panel capacity, circuit allocation, and cable condition. Get a clear answer. Then order. This prerequisite is unique to built-in units. Countertop cookers do not have it.

Built in commercial induction cooker wire connection

What Are the Hard Requirements for Installing a Built-in Induction Cooker?

Moving an induction cooker from “placed on top” to “recessed inside” looks like a small change in installation method. Behind it sits a full set of technical standards that must be followed to the letter. Miss any one of them and the minor outcome is cosmetic — visible gaps, an uneven surface. The major outcome is equipment failure or a safety hazard. Two areas below are the most critical and the most error-prone.

Countertop Cutout Precision Directly Determines the Final Result

Whether a recessed installation looks “seamless” depends most on the cutout. The commercial induction cooker countertop cutout must follow the equipment manual’s specifications exactly, with tolerances held within ±1 mm. This is not a soft suggestion — it is a hard line.

If the hole is too large, the unit sits with visible gaps, rocks under pressure, and may develop edge wear or rattling over time. If the hole is too small, the unit simply will not fit. Force it and you risk cracking the counter — especially brittle materials like natural stone or sintered stone, where even 1–2 mm of error can send stress fractures radiating from the corners.

Here are the hard requirements around the cutout step, one by one:

Choose the cutting method that matches your countertop material. Stainless steel — the most common commercial kitchen counter — typically gets laser-cut or plasma-cut, giving clean edges and millimeter-level precision. Natural stone and engineered quartz need waterjet cutting. Waterjet generates no heat, so the stone will not crack from localized overheating.

Keep the cutout far enough from surrounding structures. The opening must maintain safe clearance from the counter edge, any sink cutout, and any countertop seams. Too little distance weakens the structure around the hole. Over time, heavy loads or thermal expansion can cause cracking.

Install the sealing strip after the cutout is finished. A full loop of factory sealing strip or gasket goes along the cutout perimeter, between the unit and the counter. This keeps water, oil, and broth from seeping into the cabinet below during cooking.

Get the seal right and the cooking surface transitions smoothly into the counter — clean, flat, easy to wipe. Get it wrong and the gap collects grime. Worse, liquid seeping through over time can corrode the cabinet or damage the cooker’s underside electronics.

The Cabinet Must Provide Adequate Ventilation Space

Once the unit drops into the counter, its body is enclosed inside the cabinet below. Heat dissipation conditions get worse immediately — and this is the single most overlooked, most damaging issue in built-in installations. During operation, the coil and IGBT power modules produce continuous heat. The unit’s internal fans work to push that heat out. But if the cabinet is nearly sealed, the hot air has nowhere to go. Internal temperature climbs fast.

Most electronic components in these units top out at an ambient tolerance of 35–45 °C. Exceed that threshold and the unit triggers overheat protection, shutting itself down in the middle of peak service. Push it further and you burn out circuit boards or power modules outright. A countertop unit sitting in open air never faces this — intake and exhaust are unobstructed on all sides.

For high-power units or cabinets housing more than one cooker, natural airflow alone usually is not enough. Proper built-in induction cooker ventilation calls for auxiliary exhaust fans inside the cabinet, linked to the cooker so they start the moment the unit powers on. Before installation, run a thermal assessment based on actual heat output and cabinet volume. Do not just “leave a gap” and hope for the best.

The table below lists the key ventilation parameters and their minimums:

Ventilation Parameter Minimum Requirement Consequence of Non-Compliance
Clearance Between Unit Bottom and Cabinet Floor ≥ 50 mm Air cannot circulate beneath the unit; heat builds up and components overheat
Total Area of Cabinet Ventilation Openings ≥ Combined area of the unit’s intake and exhaust vents Not enough fresh air; cabinet temperature keeps climbing
Relative Positions of Intake and Exhaust Openings Must be on opposite sides of the cabinet (e.g., front/back or top/bottom) Hot exhaust recirculates into the intake — a thermal short circuit
Maximum Ambient Temperature Inside the Cabinet Must not exceed the limit in the equipment manual (typically 35–45 °C) Triggers overheat protection and auto-shutdown, or burns out power modules
Auxiliary Fans When Multiple Units Share a Cabinet Must be installed and linked to the equipment Natural ventilation cannot meet total cooling demand; failure risk multiplies

How to Maintain Long-Term Stability After Installation?

A commercial induction built-in cooker is not a set-and-forget appliance. Unlike a countertop unit sitting out in the open, a built-in cooker lives inside a cabinet and countertop structure. When something goes wrong in that enclosed environment, repairs are significantly harder than with a portable unit. The maintenance mindset is straightforward: keep problems on the outside; keep the interior dry and ventilated. Two routines below are non-negotiable from day one of operation.

The Seam Between the Counter and the Cooker Is the First Line of Defense

After installation, a narrow seam runs around the perimeter where the unit’s edge meets the cutout. A sealing strip does the job of blocking liquid from getting through. That seam looks like a minor detail. It is actually the most failure-prone spot in the entire built-in structure.

Every day in a commercial kitchen, broth, sauces, and soapy water wash over the counter and find their way into the seam. Once the strip ages, hardens, or cracks, liquid passes straight through to the cabinet below — right onto electronic components and wiring terminals. Small-scale result: component corrosion. Large-scale result: short-circuit failure.

ATRX after-sales engineers have seen this pattern repeat. In one case, a built-in cooker about eight months into service started throwing frequent error codes. When the cabinet panel came off, green copper-oxide residue was already visible along the control board edge. Root cause: the sealing strip had hardened and cracked prematurely under daily exposure to high heat and cleaning chemicals. Washdown water had been seeping in through the cracks for weeks. Replacing the strip and drying out the interior got the cooker running again — but the corroded control board had to be swapped out entirely.

Here is how to stay ahead of the problem:

Check the seam every day at closing. Run a dry cloth along the gap between the cooker and the counter. Make sure no liquid is sitting in it. The side closest to the sink gets the most soapy-water exposure — pay extra attention there.

Do a dedicated strip inspection every three to six months. Press the strip with a finger. Does it still bounce back? Look for fine cracks or discoloration. If the strip is stiff or cracked, replace it right away — do not wait.

Clean the channel when swapping in a new strip. After pulling the old strip out, wipe the channel with an alcohol pad to remove leftover adhesive and grime. Then lay the new strip in. A clean channel means a full seal with no gaps.

Keep high-pressure water guns away from the cooker area. Hosing down the floor after closing is standard. But a high-pressure stream aimed at the seam can force water under the strip even if the strip is still in good shape. For the countertop zone, wipe with a damp cloth instead.

This entire maintenance need exists only because the cooker is recessed. A countertop unit sits above the surface. There is no sealed seam and no path for liquid to drip downward. Whether you installed a drop-in commercial induction cooktop or a flush mount unit, the principle is the same — built-in installation means seam-seal checks go on the daily maintenance list. It is the first line of defense for long-term reliability.

The Ventilation Openings Inside the Cabinet Must Be Cleaned Regularly

With the unit enclosed, the intake and exhaust vents are its only air-exchange channels. All cooling depends on this pathway. The problem is that commercial kitchen air is far dirtier than normal environments. Oil-smoke particles from wok tossing, fine flour dust, seasoning powder — all of it gets pulled into the vents by airflow and gradually coats the grille and duct surfaces with a sticky, oily grime.

Once blockage reaches a certain point, intake drops, heat cannot escape, and internal temperature keeps climbing. The unit starts triggering overheat shutdowns. Long-term operation in elevated heat also shortens the life of capacitors, control boards, and other core electronics — sometimes drastically.

Break the cleaning into tiers by frequency. The table below maps out the schedule:

Frequency Inspection Point Specific Action Purpose
Weekly Outer grille of ventilation openings Soft brush or compressed air to clear visible dust and grease from the surface Stop grime from building up and choking the intake
Monthly Cabinet walls around the exhaust vent Damp cloth to wipe off condensed oil-smoke residue Prevent secondary contamination dropping back onto vents and equipment
Quarterly Internal air ducts and cooling fan Open the cabinet panel; check ducts for blockage and fan blades for grime; wipe clean as needed Keep fan speed normal and internal airflow unobstructed
Every Six Months Fan operation and noise check With power on, listen for unusual noise or speed drop; check if bearings need lubrication or replacement Catch fan aging early before the cooling system fails without warning

This habit directly decides whether the equipment can hold a safe operating temperature inside a closed cabinet over the long run. For any recessed induction cooker commercial operators depend on day after day, the ventilation system is its lifeline — its only way to “breathe” in a confined space. Cleaning the vents is not optional. It belongs on the kitchen’s fixed maintenance checklist, right alongside hood-filter cleaning and grease-trap emptying.


About the author
ATRX Logo
ATRX Team| 18 Years Commercial
Induction Cooker Manufacturer in China

Related Posts

commercial induction wok cooker

Industrial Induction Wok Burners (15 kW–30 kW): How They Differ from Standard Commercial Models

07/07/2026
commercial induction wok range

Commercial Induction Wok Burners: Countertop vs. Built-In vs. Freestanding — Which Fits Your Kitchen layout?

07/06/2026
commercial induction cooker kitchen project 18

Commercial Induction Wok Range: What to Cook at Every Power Level (3.5 kW–30 kW)

07/05/2026
food truck

How to Choose the Best Commercial Induction Cooktop for Food Truck | 3-Step Guide

07/04/2026
commercial food truck

Generator Can’t Power Commercial Induction Cooktop on Food Truck? — How To Fix It

07/03/2026
Commercial induction cooker

Commercial Induction Cooktop Operating Instructions: A Complete Guide for Professional Kitchens

07/02/2026
commercial induction soup cooker

How to Choose a Commercial Induction Soup Cooker — A Buying Guide for Restaurant Owners

07/02/2026
commercial induction pasta cooker

Commercial Induction Pasta Cooker: The Ultimate Buying Guide

07/01/2026
RICE STEAMER VS SEAFOOD STEAMER

Commercial Induction Steamer Buying Guide: How to Choose Between Rice Steamers and Seafood Steamers

06/30/2026
Built in commercial induction cooker

Commercial Induction Built-in Cooker: The Complete Guide to Seamless Kitchen Integration

06/29/2026

learn more

Please let us know the products you want to know and the information you need to know, and we will contact you as soon as possible.