

Commercial Induction Cooktop Operating Instructions: A Complete Guide for Professional Kitchens
07/02/2026
Estimated reading time: 2 minutes

IN THIS ARTICLE
Complete Operating Steps from Startup to Shutdown
The operating logic of a commercial induction stove is straightforward. But in a professional kitchen where speed and safety both matter, every step needs to happen in the right order. Whether you are a new hire learning the ropes or a veteran brushing up on standard procedures, a clear operating workflow helps you avoid the most common headaches — error codes flashing on the panel, dry-burning that ruins cookware, or a tripped breaker that knocks out power mid-service. Below is the full sequence from pre-power-on checks all the way through to final shutdown.
Step-by-Step: From Power On to Power Off
1. Turn on the main power switch. Close the dedicated air switch or residual current device (RCD) assigned to the unit in your distribution box. The power indicator light on the panel should come on, which means the machine is now in standby. Don’t touch any buttons or knobs yet. First, take a quick look to make sure the indicator is steady and no fault codes are flashing.
2. Confirm the power control switch is in its default position. Check the power adjustment switch — slider, rotary knob, or push-button — and make sure it sits at “OFF” or “0.” If the previous operator forgot to reset it, some models will throw an error code like E5 and refuse to start. A two-second visual check before every startup prevents the most common “it won’t heat up” complaint.
3. Place compatible induction-ready cookware. Set the pot or pan in the center of the ceramic glass heating zone. The bottom should be flat, and the diameter should match the induction coil underneath. If the cookware is off-center, warped, or made from a non-magnetic material like aluminum or ceramic, the unit will beep and show a “no pot” warning — usually code E1 — and heating will not start.
4. Activate heating and select the power level. On a rotary knob model, turn the knob slowly away from the 0 mark. The heating indicator will light up with a short beep — heating has started. On a push-button model, press the “ON/OFF” key first, then use “+” and “−” to pick your level. Start at a medium-low setting and work your way up. Jumping straight to maximum power can cause oil to splatter or food to heat unevenly.
5. Adjust power levels freely during cooking. You can raise or lower the power at any time while cooking. There is no limit on how many times you adjust. The one thing to avoid is rapidly flipping between “on” and “off.” Pointless start-stop cycling stresses the internal electronics. A good rule of thumb: wait at least 3 seconds between a shutdown and the next startup.
6. Press the shutdown button or return the knob to zero. When you are done cooking, bring the power switch back to “OFF” or “0.” On a knob model, rotate it back to its starting position. On a push-button model, hit the shutdown key. Heating stops right away. Remove the cookware from the surface so residual heat does not keep cooking the food.
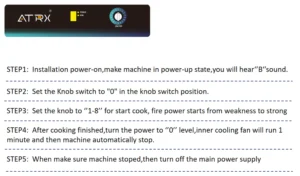
7. Wait for the cooling fan to stop before disconnecting power. This is the step people skip most often — and the one that matters most. After shutdown, the internal cooling fan keeps running for 1 to 3 minutes to push out heat built up around the coil and power module.
During remote installation sessions with overseas clients, the ATRX engineering team always flags this point multiple times.If your machine is a knob-type induction cooker, I think the following operation diagram from ATRX can help you solve this problem very clearly.
How to Adjust Power and Temperature During Operation
Power and temperature are the two settings chefs touch most during commercial kitchen induction cooking, and together they control the quality of every dish that leaves the pass. Most commercial-grade units display power as numbered levels — typically 0 to 8 or 0 to 10 — with each number tied to a specific wattage output. Some mid-to-high-end models add a temperature dial that lets you lock in a target anywhere from 30°C to 230°C (86°F to 446°F).
Here is the difference in plain terms. Induction cooktop power settings control how hard the coil pushes energy into the pan — “how much fire.” Temperature settings tell the machine “heat to this number, then hold it there.” A built-in sensor reads the real-time temperature at the pot bottom. Once the target is reached, the unit dials back or pauses output automatically to stay at that temperature.
If you only set a power level and skip the temperature target, the machine heats continuously at that level and the pot just keeps getting hotter. If you set both, the power level becomes your “how fast do I get there” dial — higher power reaches the target faster, and then the unit shifts to intermittent heating to hold steady.
Which setting to use depends on what stage of cooking you are in. The table below maps out the most common kitchen scenarios with recommended power and temperature ranges:
| Cooking Stage | Recommended Power Level | Temperature Setting | Key Operating Points |
|---|---|---|---|
| Heating oil / Boiling water | Level 7–8 (high power) | No temperature set; manual control | Goal is speed. Drop the level as soon as the oil shimmers or the water hits a rolling boil. |
| High-heat stir-frying | Sustained Level 7–8 | No temperature set; manual control | Keep it high the whole time. Toss ingredients fast after they hit the wok to lock in wok hei. |
| Pan-frying / Deep-frying | Level 5–7 | Set to 170°C–190°C (338°F–374°F) | Temperature-control mode shines here. The unit holds oil temp steady so you don’t have to babysit the dial. |
| Medium-heat braising / Stewing | Level 3–5 | Can set to 95°C–100°C (203°F–212°F) | Keep the pot at a gentle simmer. Too much power boils off liquid fast or burns the bottom. |
| Low-heat reducing / Holding warm | Level 1–3 | Can set to 60°C–80°C (140°F–176°F) | Go slow. Watch the pot and kill the heat the moment the sauce hits the consistency you want. |
One practical tip on the controls: most push-button commercial induction hob units let you “short press” or “long press” the “+” and “−” keys. A short press nudges the level up or down by one — good for fine-tuning. A long press scrolls through levels continuously. Need to jump from level 3 to level 8 before stir-frying? Hold the button for two to three seconds and you are there. No need to tap eight times. Rotary knob models are even more intuitive — turn further, get more heat. The feel is close to a gas valve, so experienced cooks pick it up instantly.
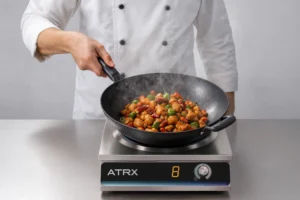
No matter which control type you use, the principle stays the same: read the pot, then respond. Push the power up when you need heat, pull it back when you don’t. The one habit worth breaking is leaving the unit locked at max power for long stretches without adjusting. That wastes electricity and — more importantly — can trigger the built-in over-temperature protection. When that kicks in the machine shuts itself down mid-cook, and the disruption to your service line costs far more than the few seconds you saved by not adjusting.
What to Get Right Before Operating Your Induction Equipment
How well a commercial induction burner performs in practice depends heavily on what you do before you turn it on. Commercial equipment is pickier than household units about cookware, power supply, and where it sits. Miss any one of these prerequisites and you will run into problems once service starts.
If the basic working principles, equipment types, and selection logic are still new to you, it helps to start with our complete guide to commercial induction cooking equipment for the big picture, then come back here for the hands-on steps. Below, we break the pre-operation checklist into two parts: cookware and hardware environment.
Choosing the Wrong Cookware Will Directly Affect Operating Performance
An industrial induction cooktop heats by generating an alternating magnetic field through a coil. That field creates eddy currents in the ferromagnetic metal at the bottom of the pot, and the pot itself produces the heat. The machine never gets hot on its own — all the thermal conversion happens at the cookware. So the material and physical condition of your pots and pans are literally the first gate to a normal cooking session.
In B2B kitchen rollouts, cookware mismatch is the single biggest reason a unit gets labeled “broken” when it is actually working fine. Here is what to check before you start cooking:
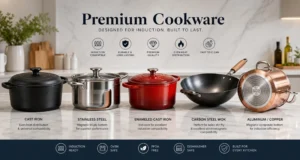
- Confirm the cookware material is ferromagnetic. Materials that work well include cast iron, carbon steel, and stainless steel with a ferromagnetic layer — usually labeled “induction-compatible” or “18/0 stainless.” Pure aluminum, pure copper, glass, and ceramic pots will not be detected at all. The panel will keep flashing “no pot” or simply refuse to heat. The sneakiest trap is composite-bottom stainless steel. Two pots can look identical on the outside, but if the aluminum cladding on the bottom is too thick or the magnetic layer too thin, you get weak attraction, sluggish heating, and random shutdowns during use.
- Do a quick magnet test. Grab a magnet and stick it to the center of the pot bottom. If it locks on and stays, the pot has enough magnetic pull and should work. If it barely clings and slides around, the ferromagnetic layer is too thin — expect unstable power during operation. ATRX’s pre-sales team routinely walks overseas clients through this test on video calls before equipment ships out. It takes 30 seconds per pot and prevents the unpleasant surprise of finding out half your cookware is incompatible after everything is installed.
- Check that the pot bottom diameter fits the unit’s range. The induction coil has a fixed sensing diameter. If the pot bottom is too small to cover the active zone, the unit either won’t detect it or will only push out a fraction of its rated power. Rule of thumb: countertop models usually need a minimum bottom diameter of 12 cm (about 5 inches). High-power freestanding models often need 22 cm (about 9 inches) or more. Check the manual for exact numbers.
- Make sure the pot bottom is flat. A warped bottom creates a gap between the pot and the glass surface. That gap kills electromagnetic coupling, and you lose real power to the pan. High-heat dry-burning and sudden temperature swings are the usual culprits behind warped bottoms — both are everyday events in a busy commercial kitchen. Quick check: flip the pot upside down on a flat counter. If it rocks, it is warped.
Power Supply and Placement Environment Checklist
A professional induction cooker draws far more power than a household unit, and where you put it matters just as much as how you wire it. These two factors are the most commonly overlooked during kitchen buildouts — and once they cause a problem, the problem keeps coming back.
On the electrical side, here is the core rule: commercial models above 8 kW typically need a 380V three-phase supply (208V/240V in North America). Each unit should run on its own dedicated circuit with its own breaker. Do not share a circuit with other heavy-draw equipment. If total capacity is tight or multiple machines share a line, expect tripped breakers, voltage swings that make power output unstable, or the unit’s built-in undervoltage/overvoltage protection shutting things down in the middle of service.
Before any equipment goes in, confirm the kitchen’s supply type, total circuit capacity, whether a dedicated line is available, and whether the wiring terminals match the unit’s specs.
If your setup revolves around individual cooking stations, buffet counters, or temporary prep areas, countertop single-burner models in the 3.5 kW to 8 kW range are a more flexible option. They run on a single-phase dedicated circuit — no three-phase rewiring needed. You can browse the ATRX portable commercial induction cooktop product range for specific power ratings and model choices.
On the placement side, ventilation clearance and a solid countertop are what matter most. A commercial induction stove has power modules and cooling fans inside that generate heat continuously during operation. Air needs to flow freely through the intake and exhaust vents. Push the unit flush against a wall or pile things around it, and internal temperature climbs fast — triggering over-temperature protection that cuts power or shuts the machine down.
The countertop needs to be level and sturdy. A wobbly surface means wobbly cookware, which is both a safety risk and a heating-efficiency killer because the pot bottom loses contact with the glass.
| Item to Confirm | Specific Requirements | Typical Problems If Ignored |
|---|---|---|
| Power supply voltage type | Models above 3 kW typically require 380V three-phase power (208V/240V in North America); must match the equipment nameplate rating | Voltage mismatch causes the equipment to fail to start or triggers protective shutdown |
| Independent circuit and breaker configuration | Each unit should have a dedicated air switch and independent circuit, not shared with other high-power equipment | Shared circuits lead to frequent breaker trips and power fluctuations |
| Outlet / wiring terminal specifications | The rated current of the outlet or wiring terminal must be greater than or equal to the equipment’s maximum operating current | Overloaded terminals overheat, posing an electrical safety risk |
| Clearance at the rear and sides of the unit | A minimum of 10–15 cm (4–6 inches) of ventilation clearance is recommended; intake and exhaust vents must not be obstructed | Poor heat dissipation triggers over-temperature protection, causing automatic power reduction or shutdown |
| Countertop levelness and load capacity | The countertop must be level, stable, and able to support the combined weight of the equipment and a fully loaded pot | Tilted or wobbling cookware compromises operating safety; poor pot-to-surface contact reduces heating efficiency |
| Ambient environmental conditions | Operating environment temperature should generally be between −5°C and 40°C (23°F to 104°F), with humidity not exceeding 90% | Excessively high ambient temperature or humidity accelerates component aging and increases failure probability |
Common Signal Indicators During Operation
While you are using a commercial induction hob, the machine talks to you through indicator lights, beeps, and on-screen codes. These signals tell you what state the unit is in and whether something needs your attention. In a loud, fast-paced commercial kitchen, being able to read them at a glance makes the difference between a smooth service and a scramble. Below is a breakdown of the two main categories: lights and sounds, then screen codes.
What Do the Common Indicator Lights and Audible Alerts on the Panel Mean?
A typical commercial induction burner panel carries several indicator lights and alert tones. Each one maps to a specific equipment state. Here they are in the order you are most likely to encounter them:
1. Power indicator light stays on steadily. Power is connected and the main switch is on. The light confirms the unit is in standby. The induction coil has not fired up yet — the machine is waiting for your next move.
2. Operating indicator light turns on or flashes. You have selected a power level through the knob or touch panel. The light means the coil is active and sending heat to the cookware. On some models, this light blinks briefly when you switch between levels. That is normal — just the panel confirming the change.
3. Cookware detection indicator light flashes continuously. If this light keeps blinking while the operating indicator stays dark, the unit cannot find a suitable pot on the surface. Check that the cookware is centered, made of a ferromagnetic material (cast iron, induction-compatible stainless steel), and has a flat bottom with the right diameter.
4. Residual heat warning light turns on. After you shut down, this light stays on if the panel surface is still hot. It is telling you not to touch the glass. Once the temperature drops to a safe level, the light goes off on its own. No action needed from you.
5. A single short “beep” sound. This is your confirmation tone. It fires at key moments — startup, shutdown, level changes — to let you know the unit received and executed your command. ATRX verifies the responsiveness of these confirmation tones at every power level during factory testing, so operators can pick them out clearly even in a noisy kitchen.
6. Continuous buzzing sound. Something is sitting on the control area — a utensil, a spill, or pressure from a leaning arm. Clear the panel or wipe up the liquid and the buzzing stops. If it continues after cleanup, disconnect power for 30 seconds and reconnect.
7. Intermittent short beeping. Short, repeating beeps after startup usually mean no cookware is on the surface, or whatever is there is not being recognized. Place a suitable magnetic flat-bottomed pot on the heating zone and the beeping stops. This is by far the most common alert in day-to-day use — and in most cases the fix is simply swapping to the right pot. We have seen kitchens troubleshoot for 20 minutes only to discover the crew was using a pure aluminum pan. One swap to ferromagnetic stainless steel and everything worked instantly.
What Do the Common Induction Cooktop Error Codes Displayed on Screen Mean?
The letter-plus-number codes that pop up on screen are the unit’s way of telling you exactly what is going on. Specific definitions can vary slightly between brands, but the mainstream models on the market share a very similar code logic. The table below covers the codes you are most likely to see. Print it out and stick it on the wall next to the unit — your team will thank you during a busy shift.
| Code | Meaning | Recommended Action |
|---|---|---|
| E0 | No cookware detected, or cookware material/size is incompatible | Check whether cookware is on the surface; confirm it is ferromagnetic (cast iron, induction-compatible stainless steel, etc.) with a flat bottom and correct diameter |
| E1 | Supply voltage too high | Do not force continued operation. Check whether the kitchen power supply is stable, then restart after voltage returns to normal |
| E2 | Supply voltage too low | Same response as E1. On some models E1/E2 both mean “abnormal supply voltage” — check your equipment manual |
| E3 | Induction coil area temperature too high | Shut down and let the unit cool fully before restarting. If it keeps happening, contact your supplier |
| E4 | Voltage underload or temperature sensor circuit anomaly | Check power supply first. If the code stays after ruling out voltage issues, call a technician |
| E5 | IGBT module temperature too high; unit has stopped heating to protect the circuit | Shut down and make sure bottom and side vents are clear. Cool fully, then restart. Frequent occurrences may point to a fan failure or IGBT issue — get a technician to look |
| E6 | Cooktop surface sensor short circuit | If a restart does not clear it, contact the supplier for professional repair |
| E7 | Overall cooktop surface overheating | Stop cooking. Let the unit cool down before resuming |
| E8 | Internal temperature sensor short circuit | Contact the supplier or a professional technician |
| E9 | Internal temperature sensor open circuit | Contact the supplier or a professional technician |
| F1/F6 | Heating zone overheated; unit has shut down to protect the panel | Let the electronics cool, then restart |
| F3/F4 | Induction coil temperature sensor malfunction | Contact the supplier for repair — do not attempt a DIY fix |
| F9/FA | IGBT temperature sensor malfunction | Contact the supplier for repair. This is a core component — do not open the unit yourself |
The table above reflects the code logic shared by most commercial-grade induction equipment on the market. That said, individual brands may define the same code slightly differently. Always treat the manual that ships with your unit as the final word, and use this table as a general quick-reference.
When a code pops up, stay calm. These codes are just the machine’s way of saying “here is what is happening right now.” Most of them point to things you can fix on the spot — wrong pot, unit needs to cool down, power supply hiccup. Only the sensor-fault and component-failure codes (E6, E8, E9, F3/F4, F9/FA) call for a professional. Quickly sort the code into “I can handle this” or “I need to call someone,” and you keep disruption to the service line at a minimum.
Mastering the standard operating flow is the foundation of efficient and safe commercial kitchen induction cooking. From checking cookware and power before you flip the switch, to dialing in induction cooktop power settings while you cook, to letting the fan run down before you cut power — every step has a clear standard and a signal to confirm it. If you are sourcing equipment for a kitchen project or want hands-on operating support, the ATRX team is available to provide tailored equipment recommendations and remote guidance for your specific setup.
We have also released a dedicated operation manual on the Manuals platform for ATRX. It provides step-by-step guidance on how to operate. If you are interested, you can take a look.
Common Questions People Ask
Our kitchen staff have never used induction equipment before. Does learning to operate a commercial induction cooktop require a long training period?
Not at all. The operating logic is simpler than a gas range — no ignition, no gas valve. The core routine is four steps: power on, pick a level, adjust as you cook, power off. In practice, most kitchen teams can handle daily cooking independently after a single 15- to 30-minute hands-on demo.
The two details that need the most reinforcement are confirming cookware compatibility and waiting for the fan to stop before cutting power. Set up one focused training session when the equipment arrives, and print the induction cooktop error codes table from this article as a wall-mount quick-reference card. That combination covers virtually every situation your crew will face day to day.
Our kitchen currently uses gas ranges exclusively. After switching to an industrial induction cooktop, will the difference in operating habits be significant? Will it affect service speed?
There is a short adjustment window, but the gap is smaller than most people expect. Two things feel different. First, electromagnetic heating responds almost instantly — raise or lower the level and the pot temperature follows right away. Chefs used to gas need to get comfortable with that immediacy instead of waiting for heat to travel through a flame.
Second, there is no visible flame to eyeball for heat level. Instead, you read the level number on the panel and watch how the food behaves in the pot. Most experienced cooks make the switch within two to three days of regular use. After that, service speed typically goes up, not down, thanks to faster heat-up times and tighter temperature control.
About the author

ATRX Team| 18 Years Commercial
Induction Cooker Manufacturer in China
Induction Cooker Manufacturer in China
Related Posts

Best Commercial Induction Cooktop: Types &Buying Guide
10/09/2026
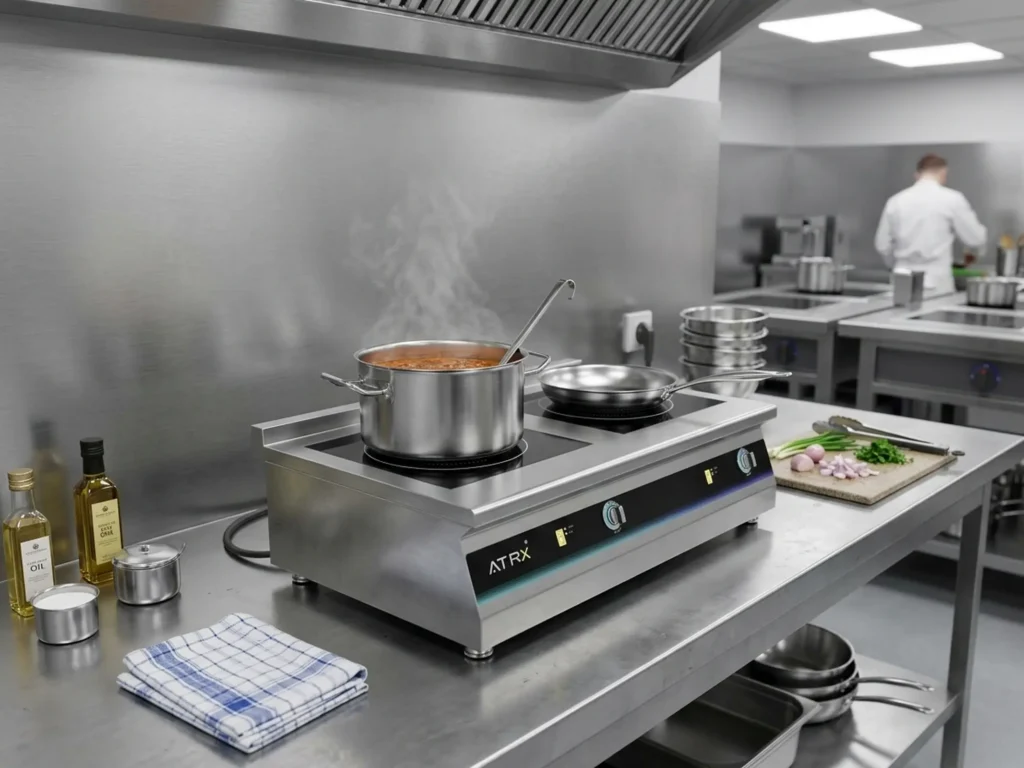
Commercial Double Hob Induction Cooker | Types, Power, and Installation Guide
10/05/2026
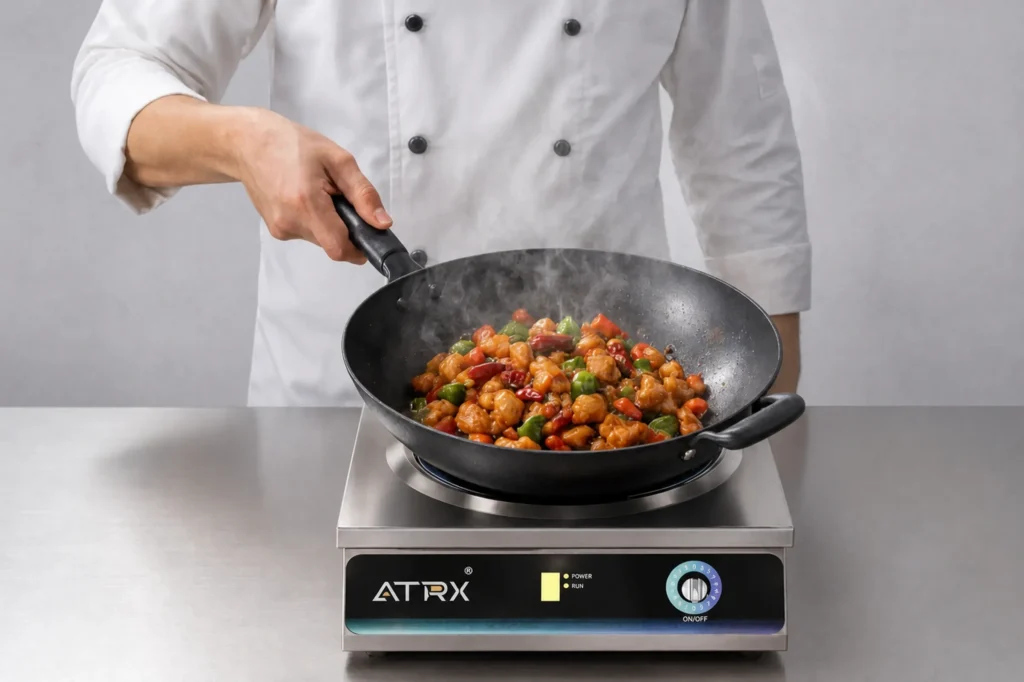
Commercial Induction Cooker 3500W: Model Selection, Commercial Power and Installation
09/29/2026
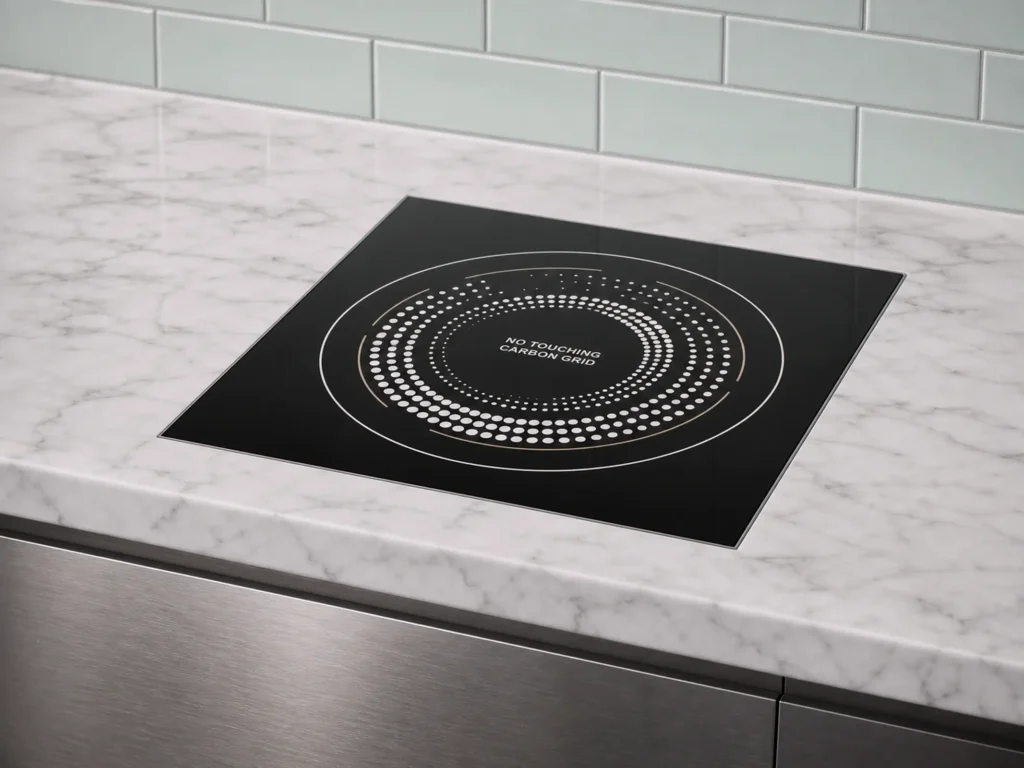
How to Install a Built-In Induction Cooktop: A Step-by-Step Guide
09/17/2026
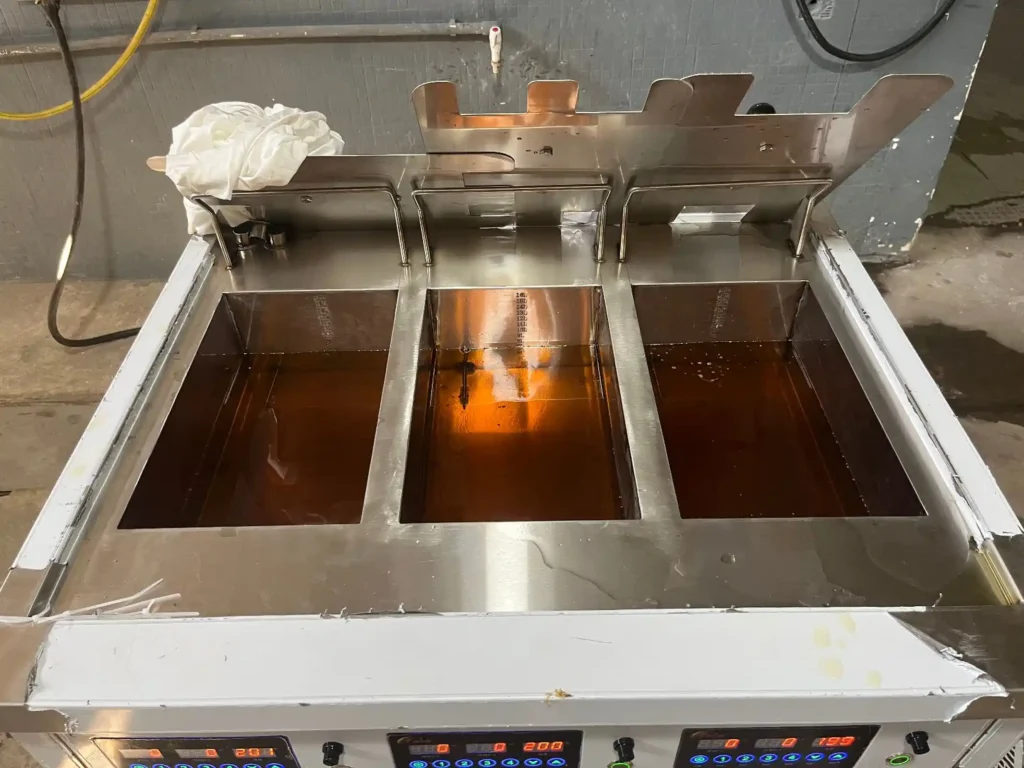
How to Clean a Commercial Deep Fryer: A Step-by-Step Guide
09/13/2026
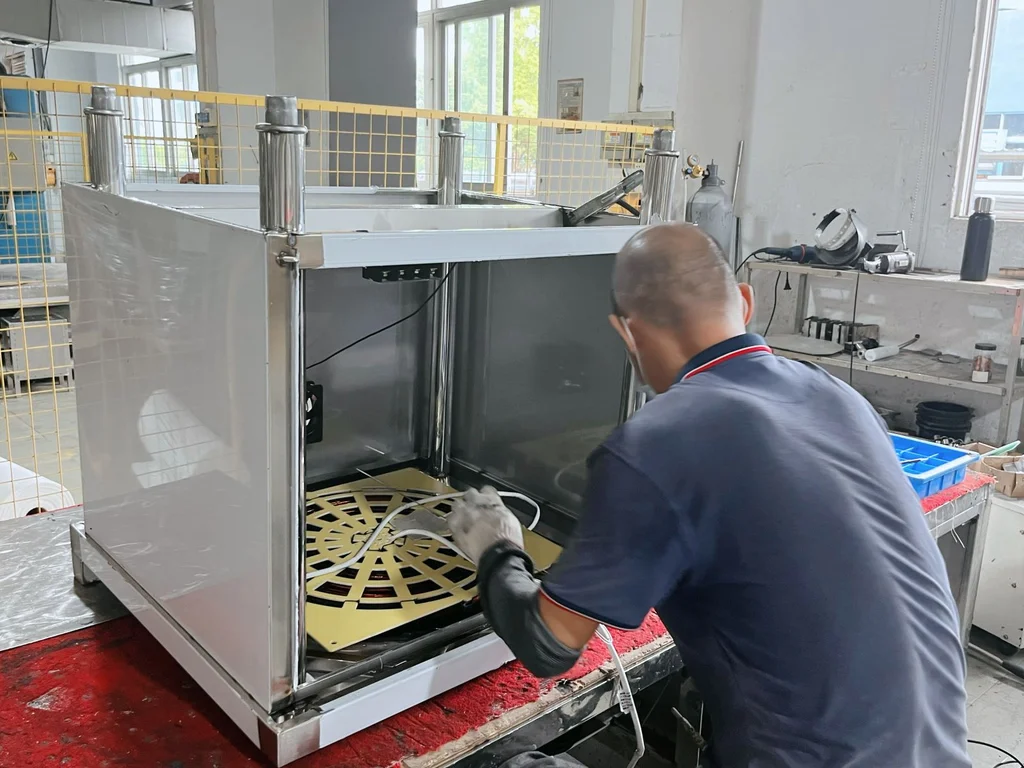
High Quality Commercial Induction Cooker Manufacturer
09/09/2026
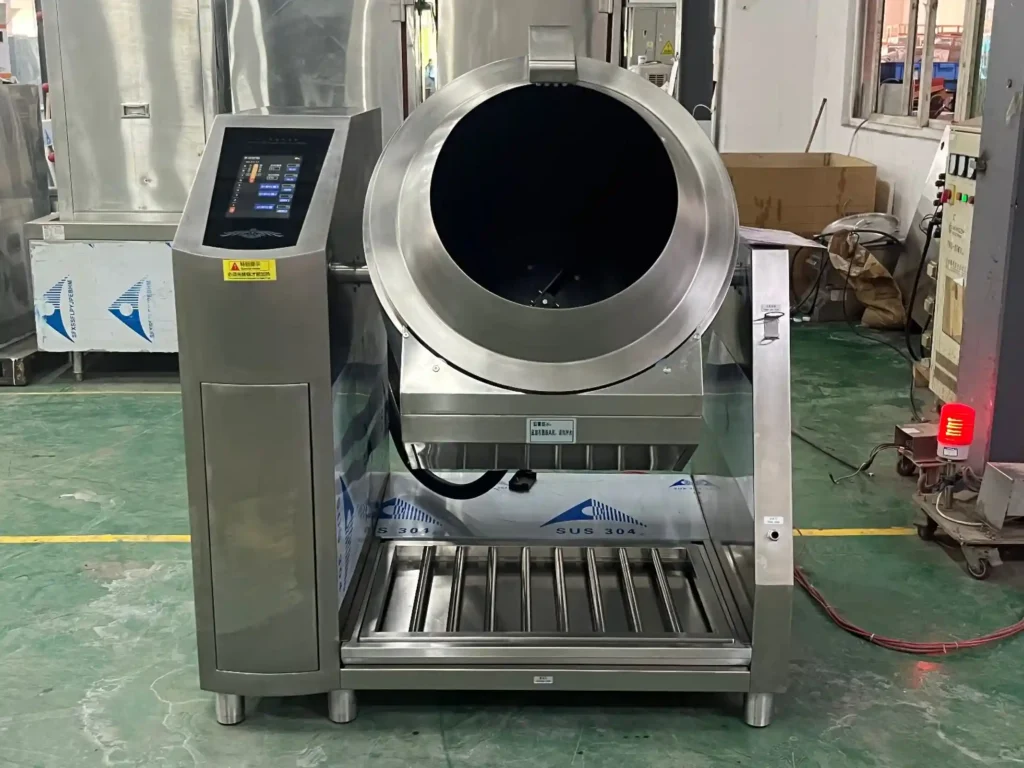
Automatic Wok Machine: Types, Specifications, Applications and Buying Guide
08/18/2026
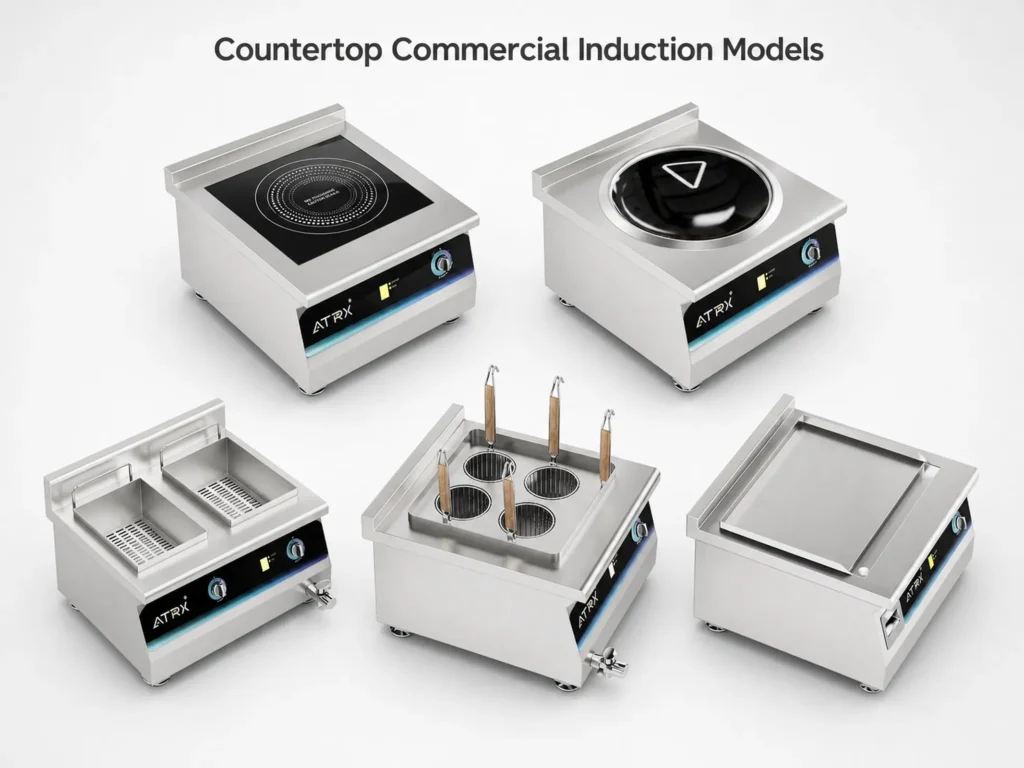
Commercial Induction Range: How to Choose the Right Size, Power, and Configuration for a Commercial Kitchen
08/15/2026
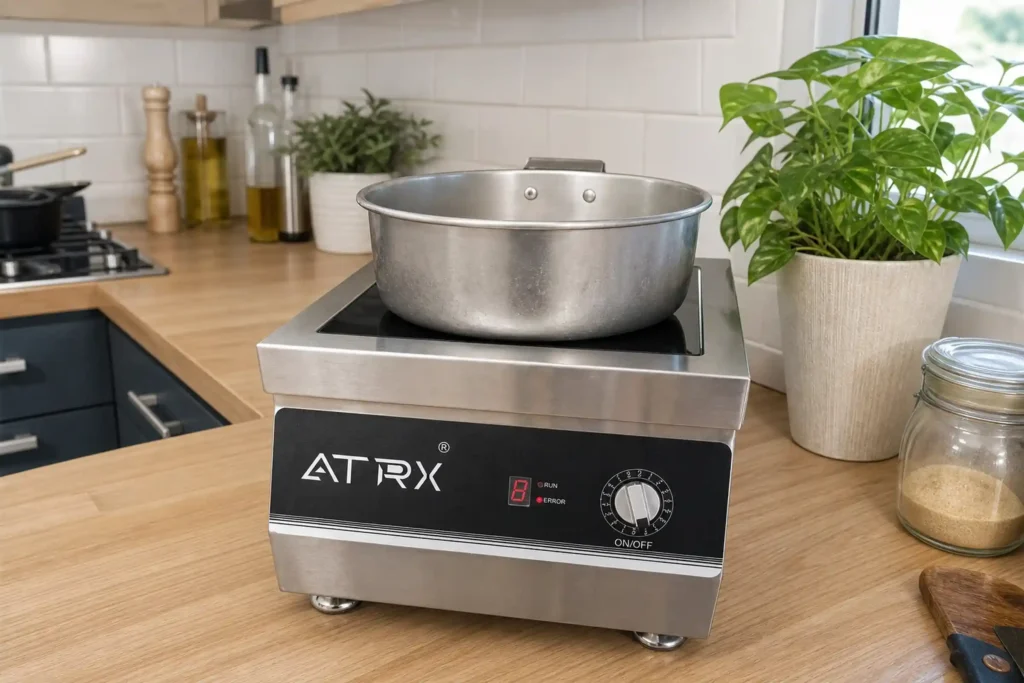
What Is a Commercial Induction Cooker and How Does It Work
08/13/2026
Commercial Induction Range for Hotel Kitchens: How to Choose the Right Model
08/11/2026