

How to Choose a Commercial Induction Cooker
05/09/2026
Estimated reading time: 2 minutes

You’ve already decided to buy a commercial induction cooker. No need to explain how induction heating works or compare it with gas. The only question left is: which unit actually fits your kitchen? There are a lot of models out there. This guide walks you through the selection process in the order decisions should be made — step by step, so you can narrow things down and buy with confidence.
IN THIS ARTICLE
- Step One in Choosing a Commercial Induction Cooker: Decide Which Installation Type You Need First
- How to Choose the Right Power Rating for Your Commercial Induction Cooker
- Check If Your Cookware Works with This Induction Machine Before You Order
- How to Tell If a Machine Is Worth Buying from Its Build Quality and Materials
- How to Check Its Power Stability
- How to Read the Certifications on a Commercial Induction Cooker
- Pre-Order Checklist
Step One in Choosing a Commercial Induction Cooker: Decide Which Installation Type You Need First
Most buyers jump straight to wattage and price. That’s the wrong starting point. The first thing to lock in is the installation type. Get the type wrong, and every other spec becomes irrelevant. Buy a drop-in unit, find out your countertop can’t be cut — and you’re processing a return.
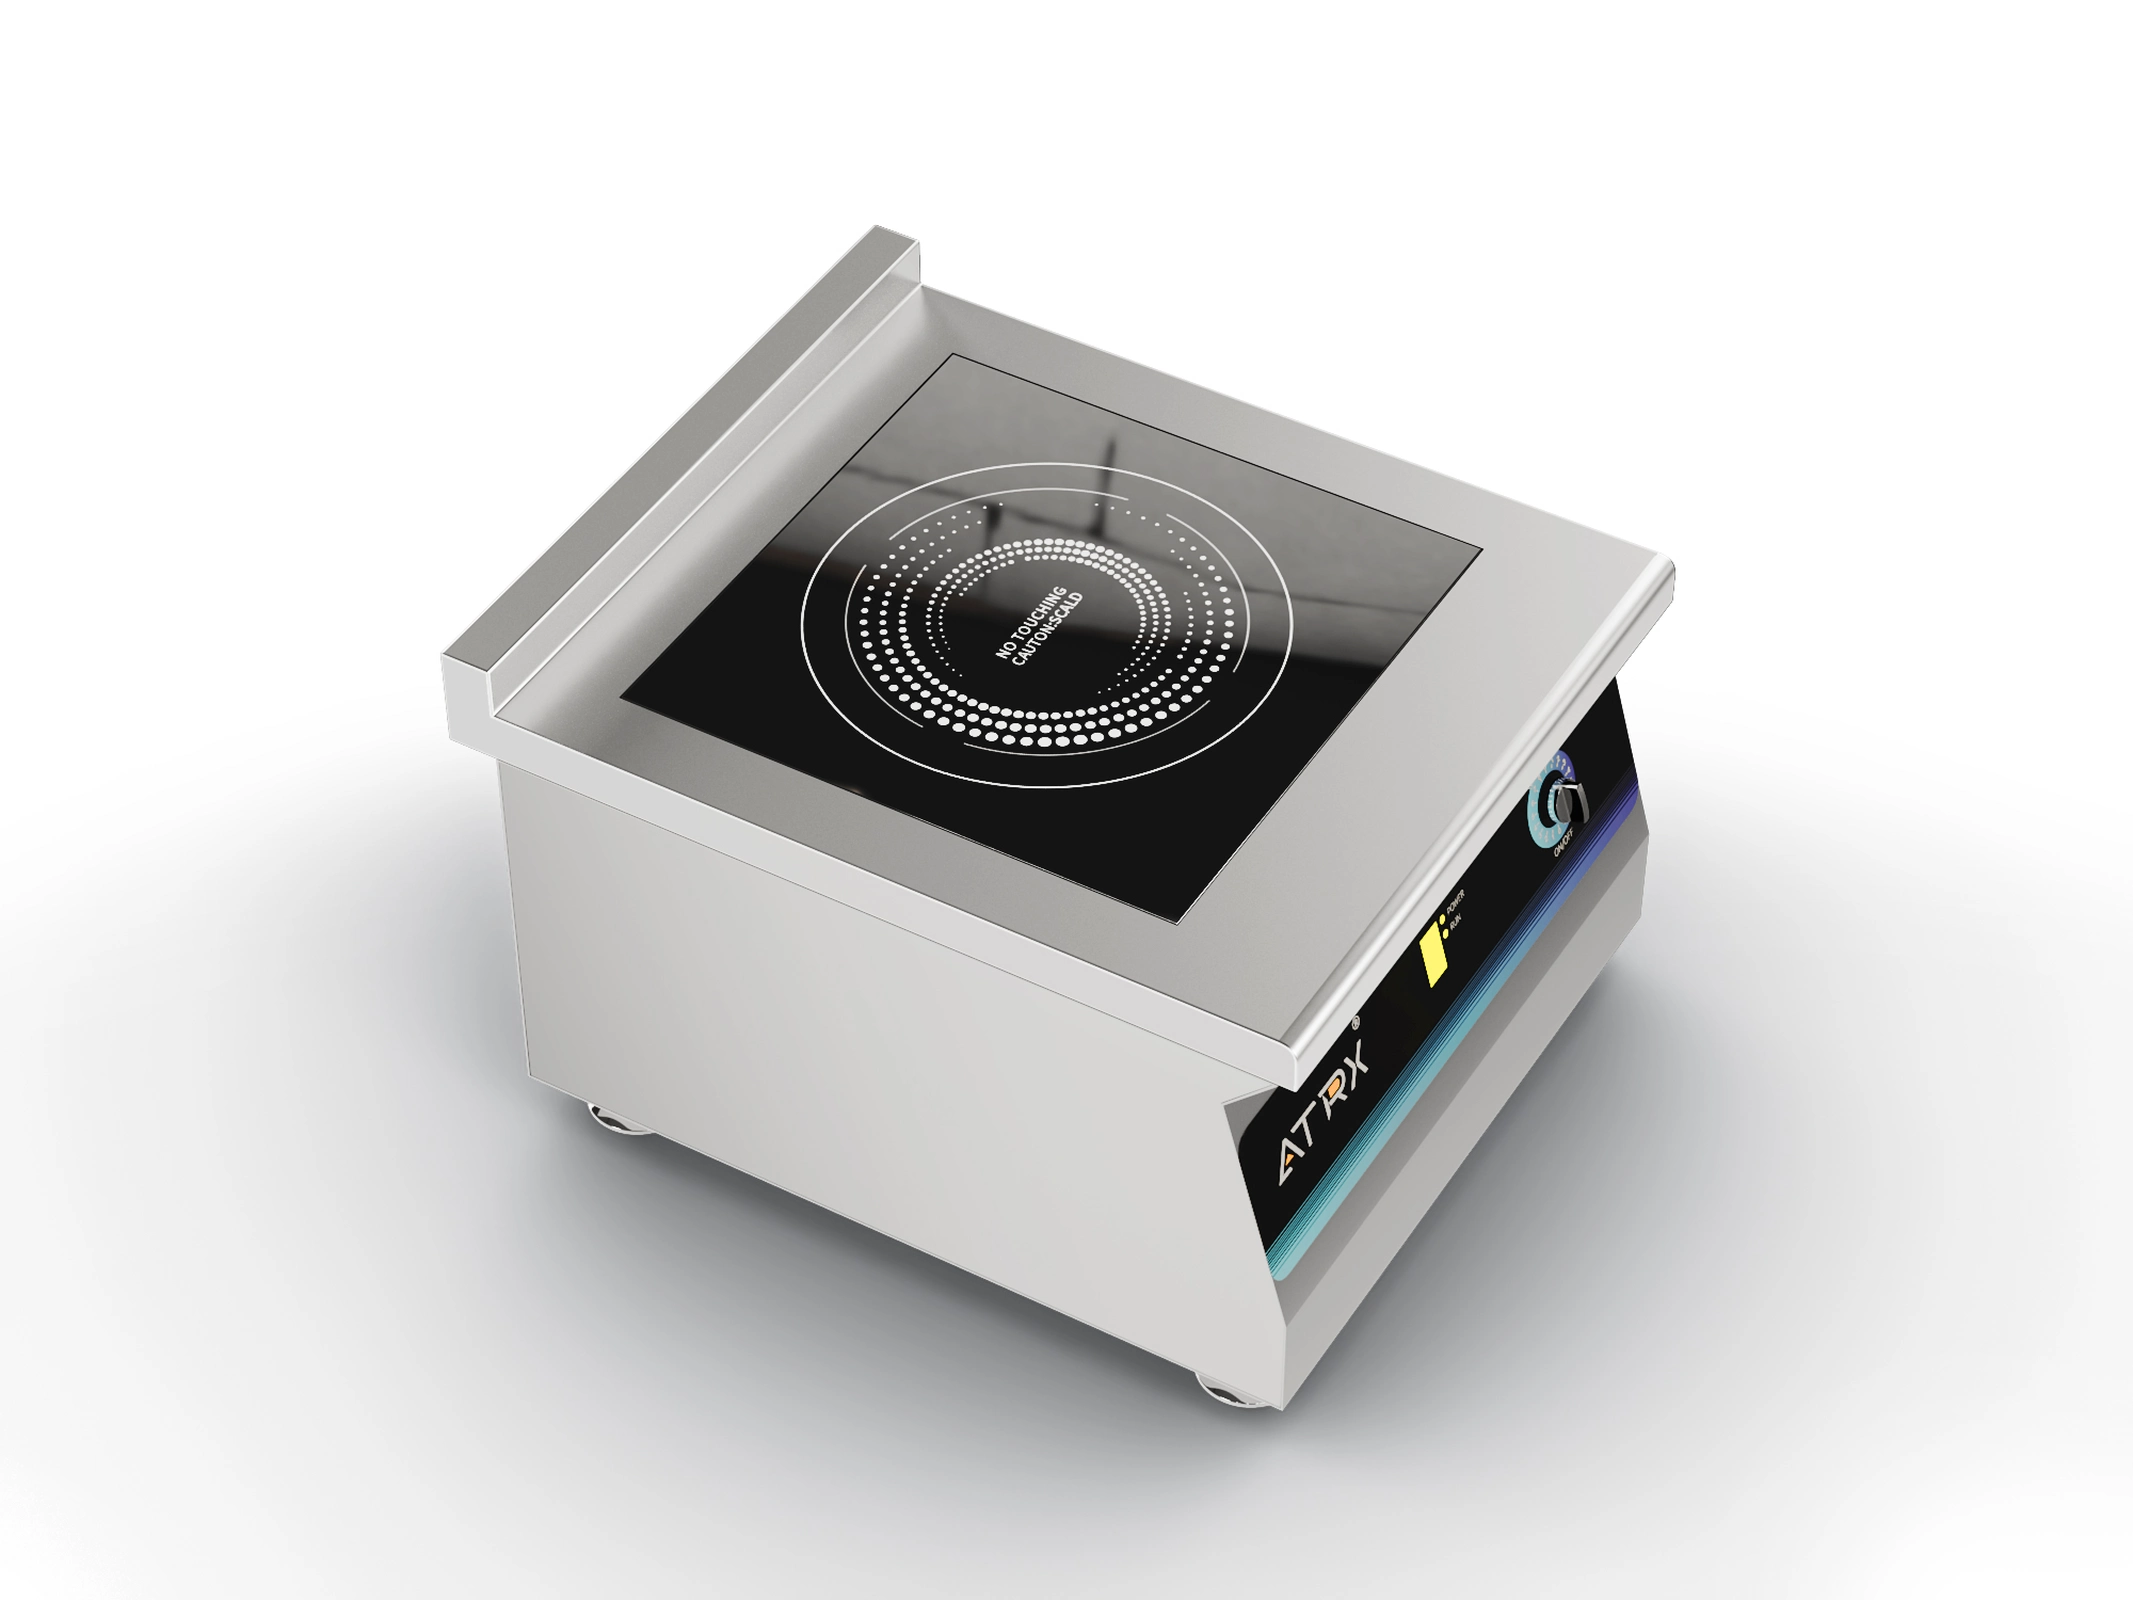
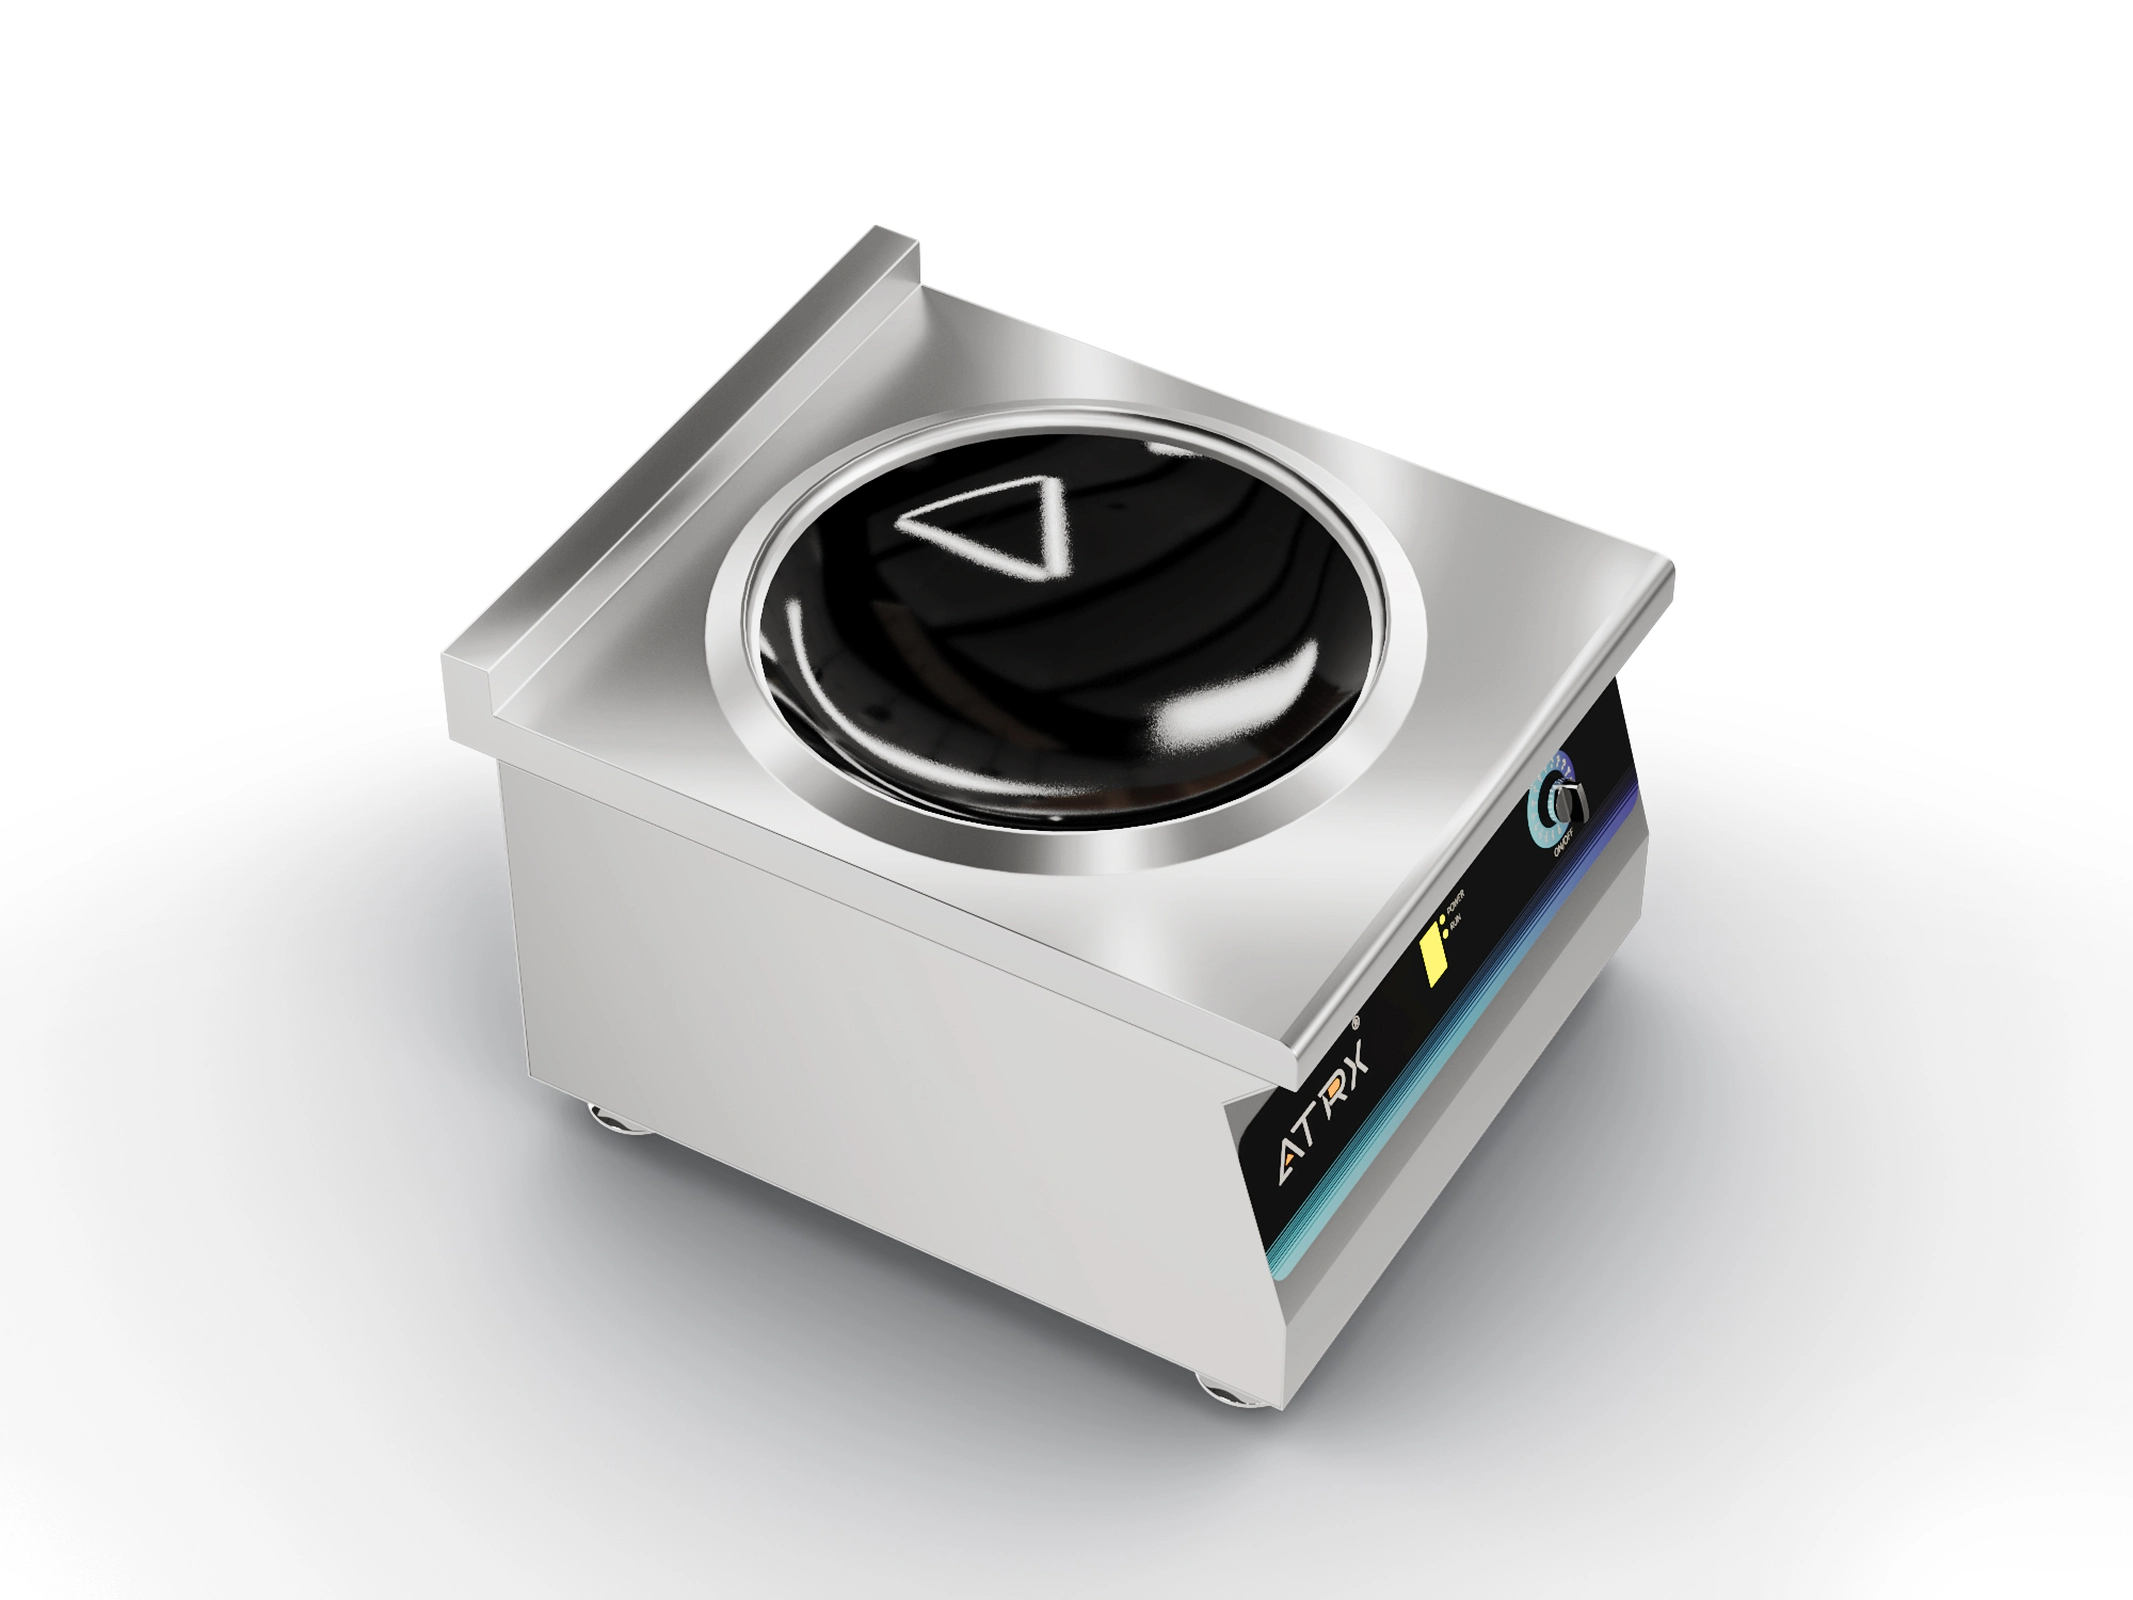
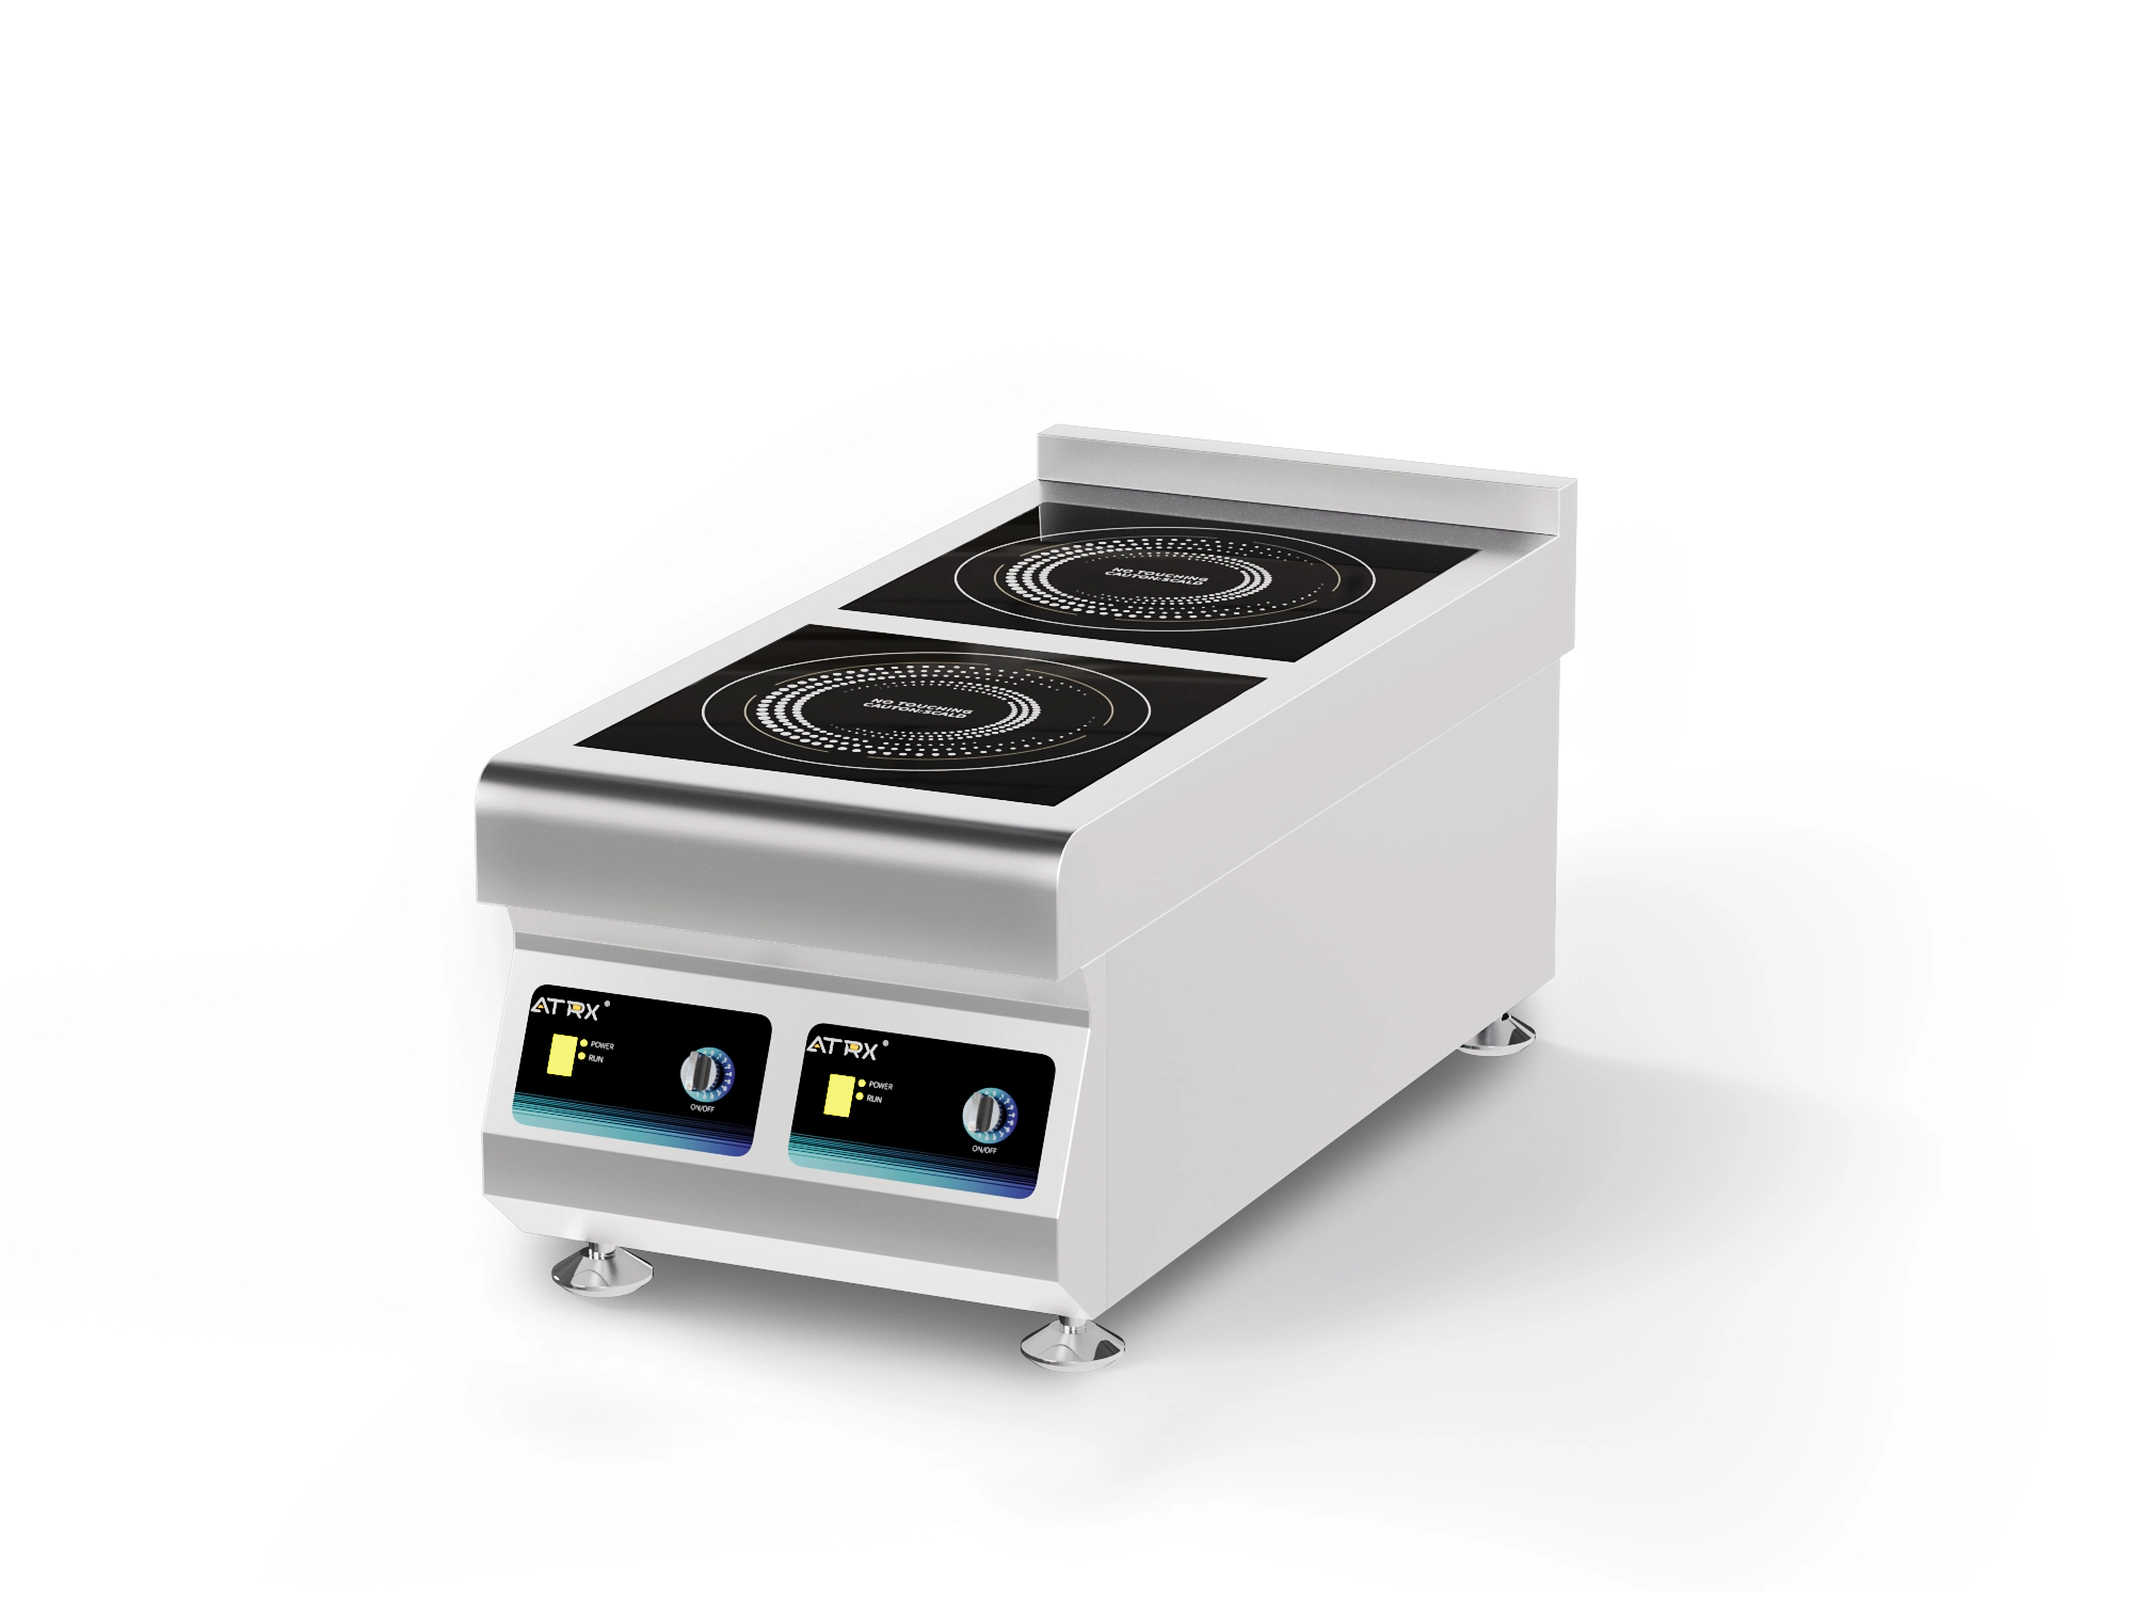
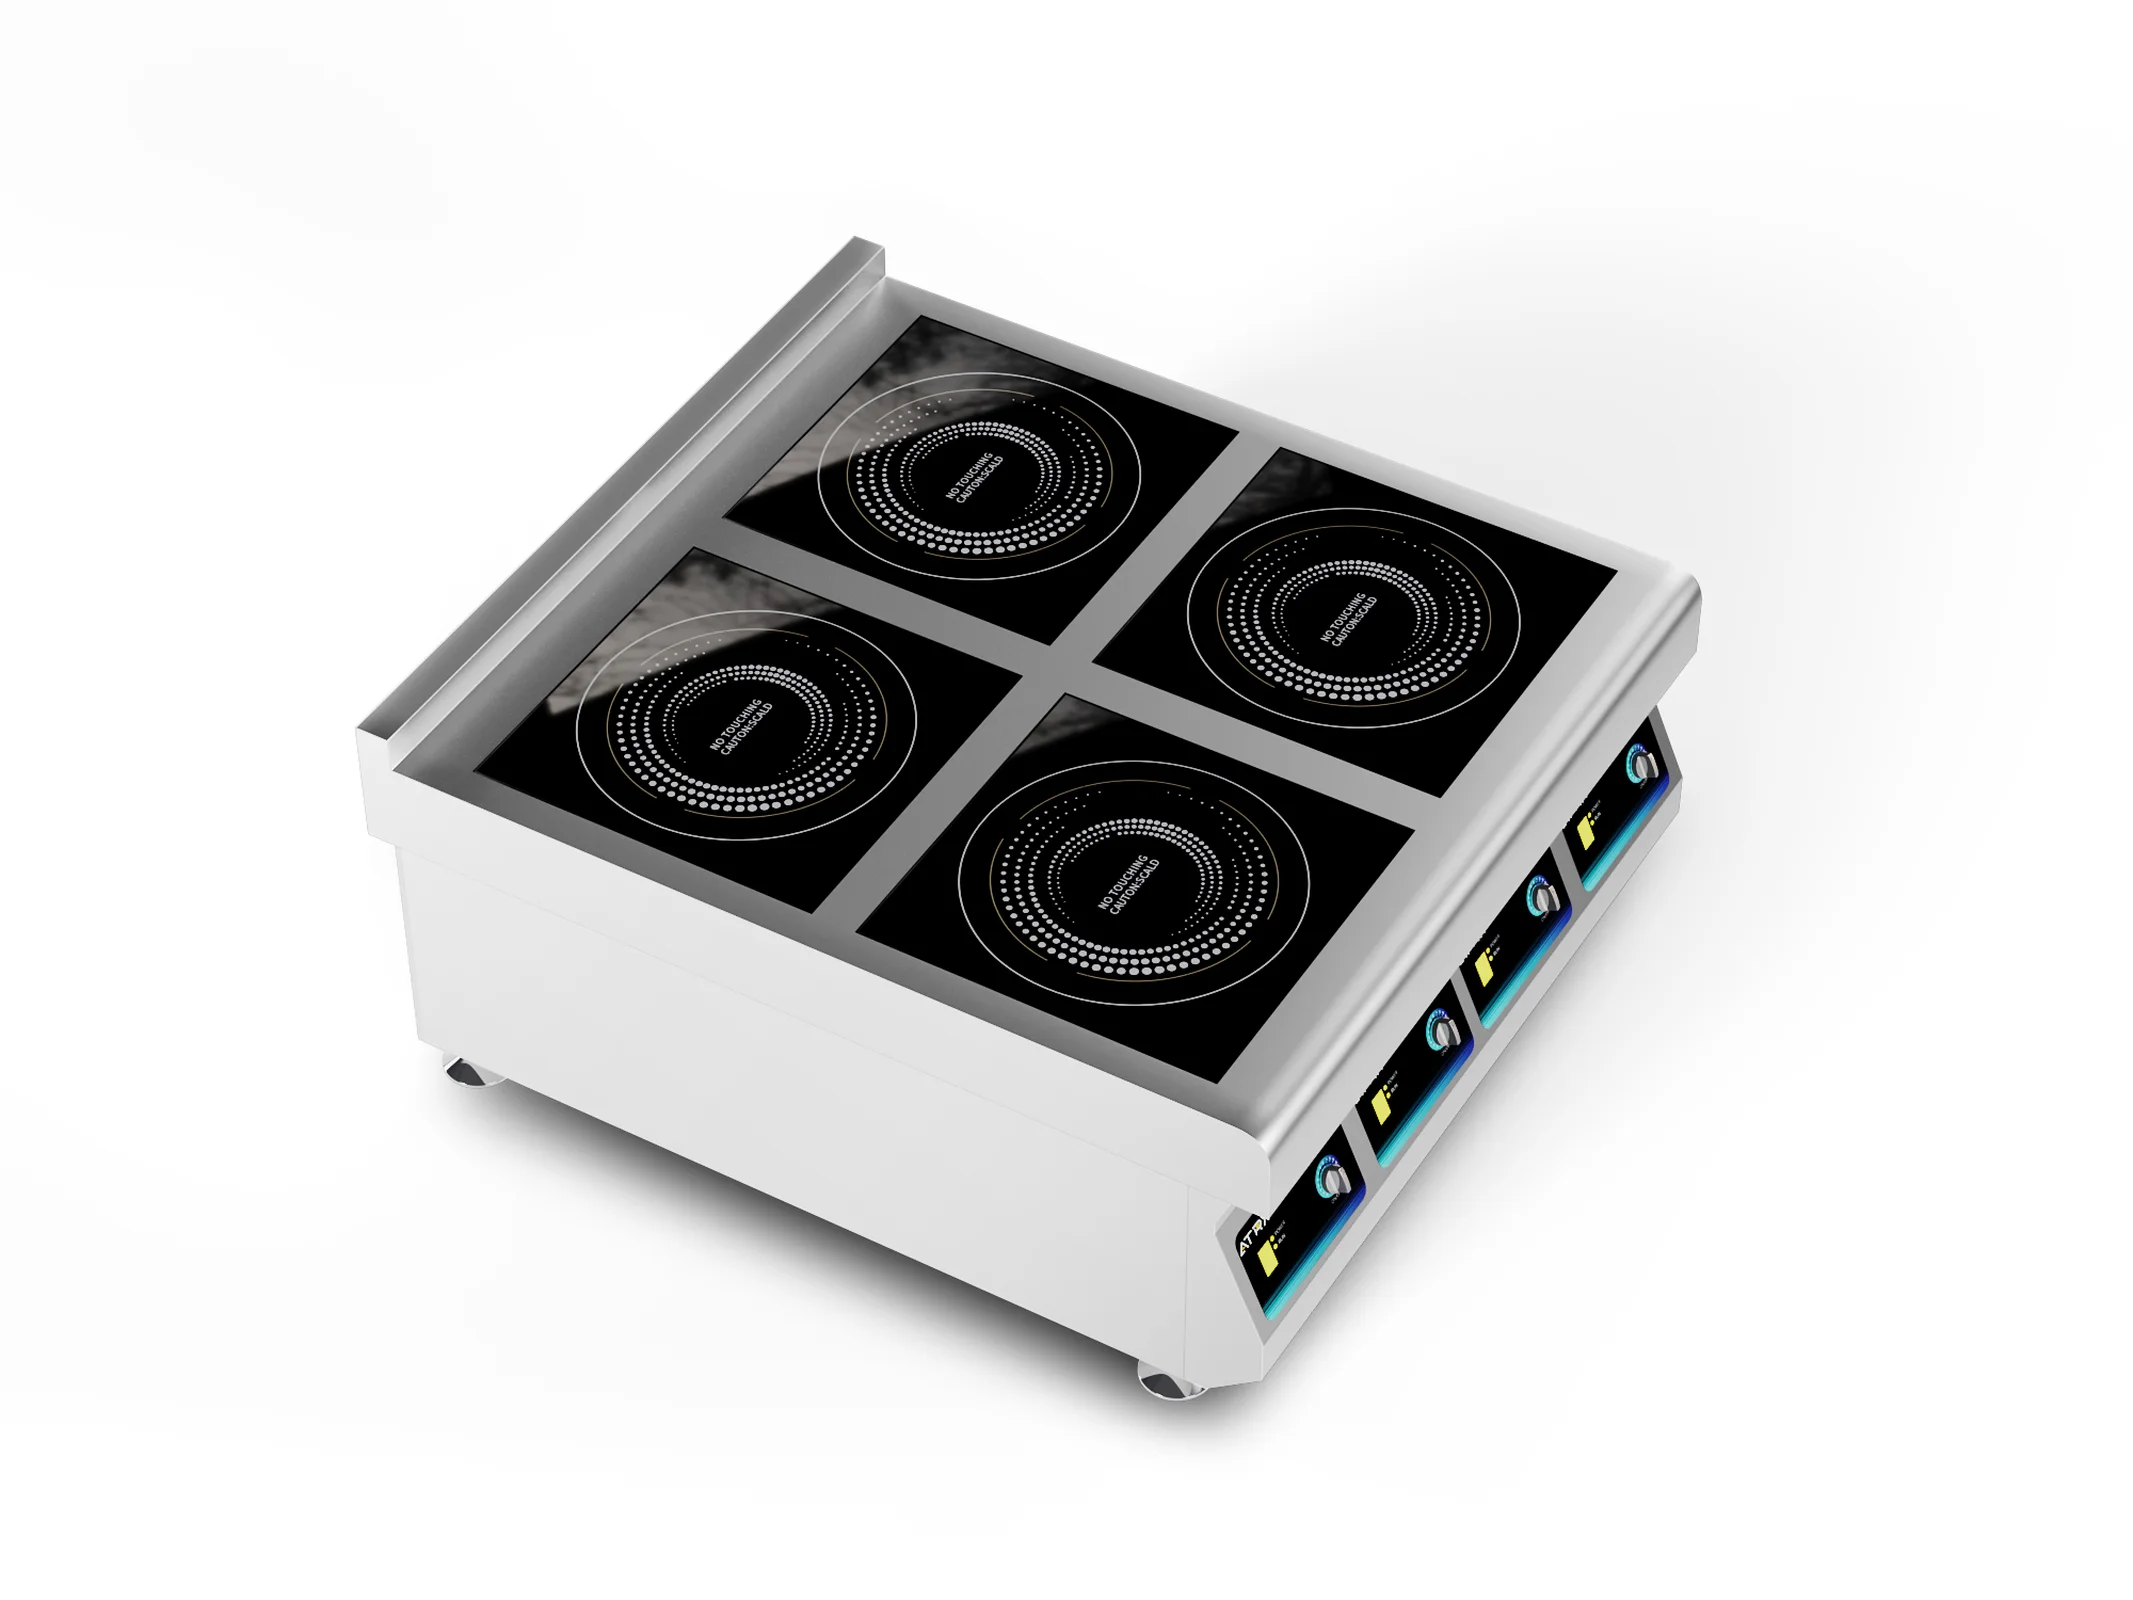
Commercial induction cookers come in three types: countertop, drop-in, and freestanding. Each one solves a different problem.
Countertop
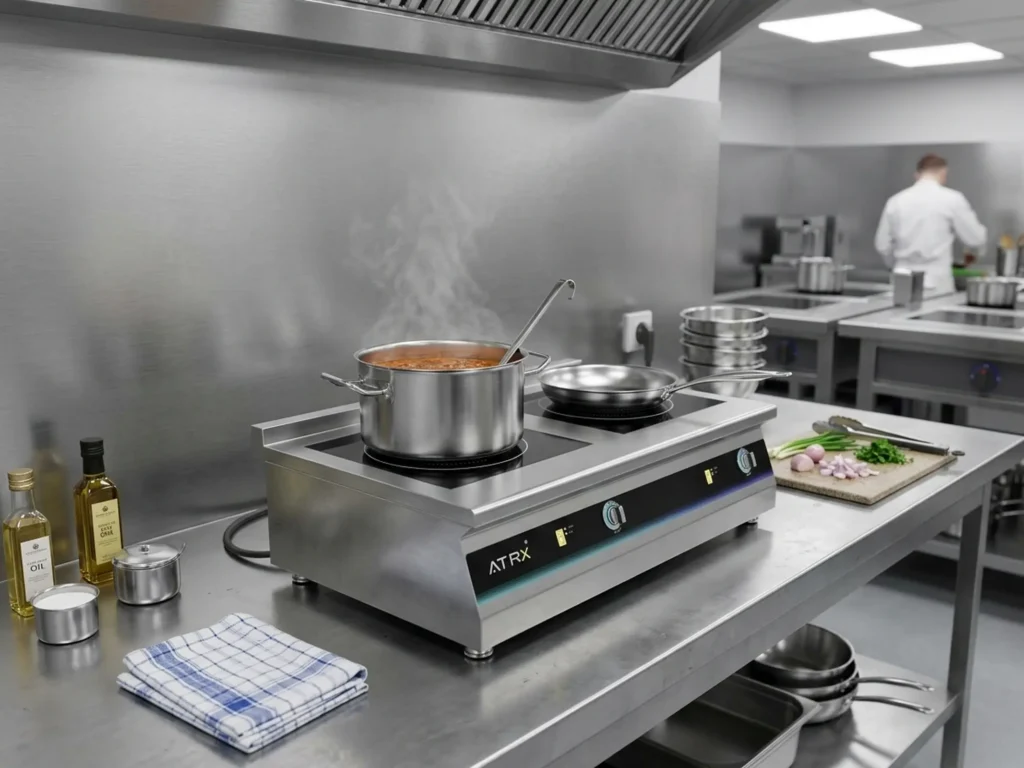
A countertop unit sits right on your work surface. No modifications, no cutting. Plug it in and go.
The biggest advantage is flexibility. Station A today, Station B tomorrow, off-site catering next week. If your kitchen layout isn’t finalized yet, or you need a temporary station during peak hours, countertop is the lowest-risk way to start.
Three things to confirm before buying:
- Can your table handle the weight? A 5 kW unit plus a loaded pot can easily hit 30 kg. Standard stainless steel prep tables handle this fine. A makeshift table? Check first.
- Is there clearance underneath for airflow? The bottom has air intake vents. If the unit sits flat with no gap, airflow gets blocked, the machine overheats, and it shuts itself down. Most models need at least 15–20 mm of clearance underneath.
- Is the power enough for your needs? Countertop models typically run 3.5–5 kW. That covers sautéing, simmering, boiling, and light frying. But if you need serious wok heat or sustained high-output cooking, a countertop unit won’t cut it. That’s when freestanding comes in.
Something we see often at client sites: Southeast Asian restaurants adding a 3.5 kW countertop unit during the lunch rush as a dedicated fried rice station. It takes pressure off the main burners. No wiring changes needed — the unit goes live the day it arrives.
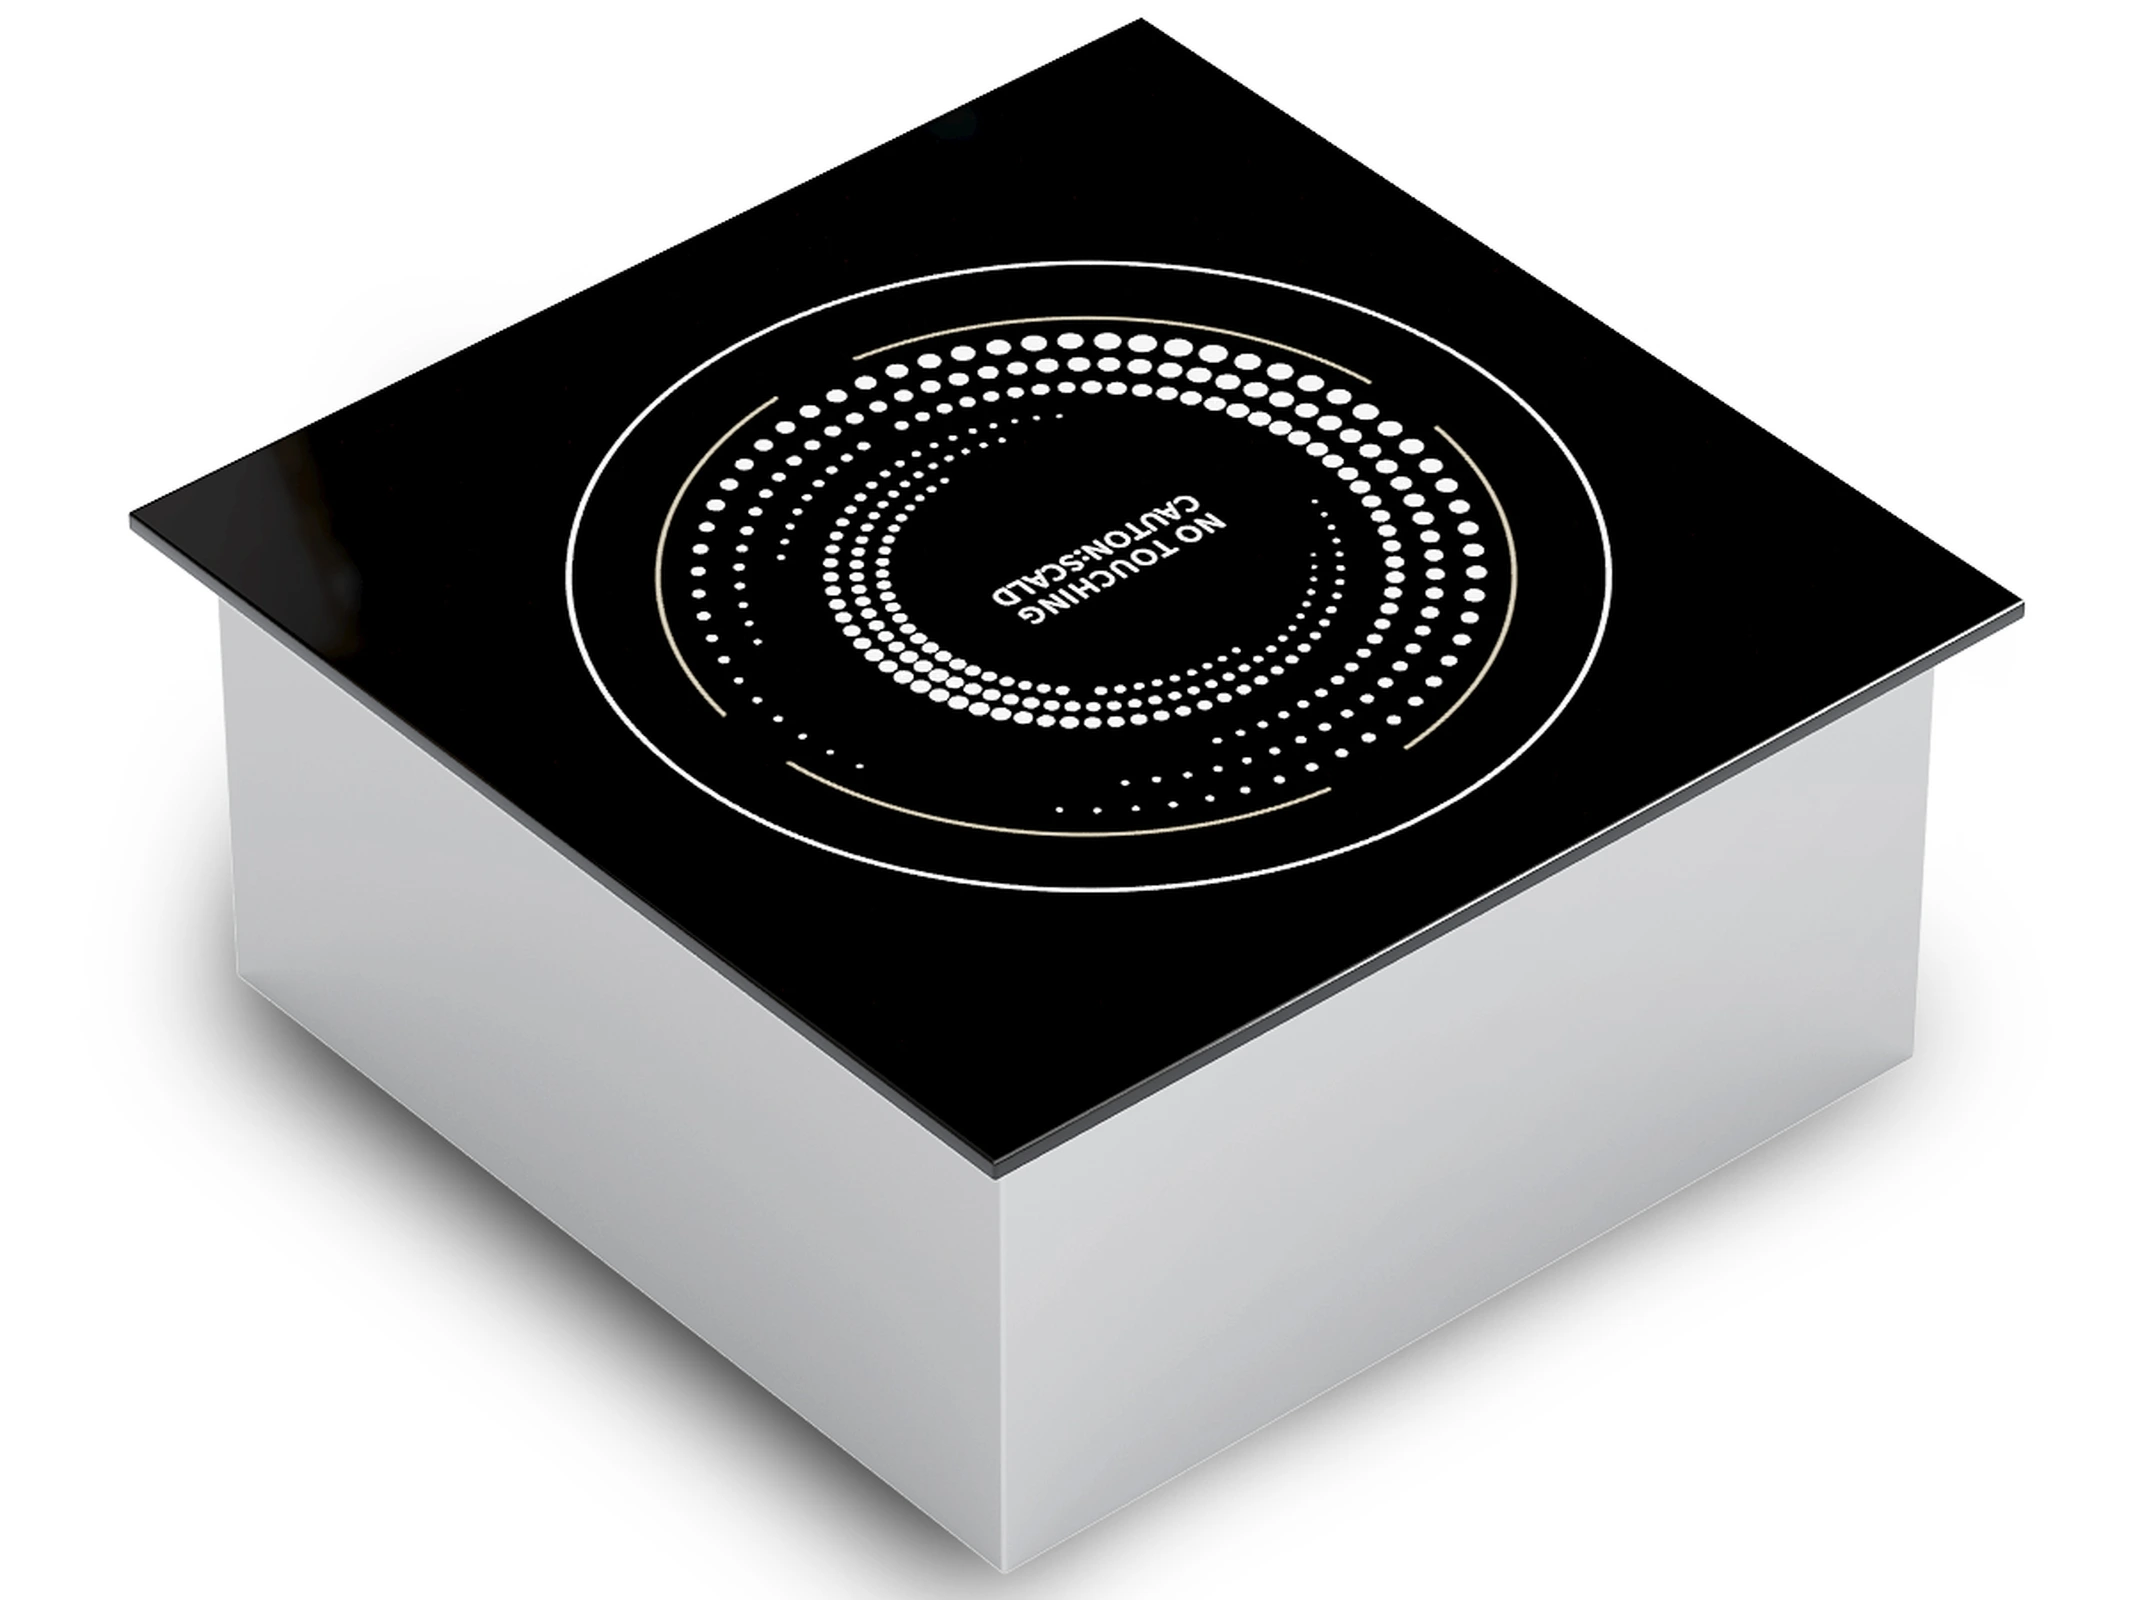
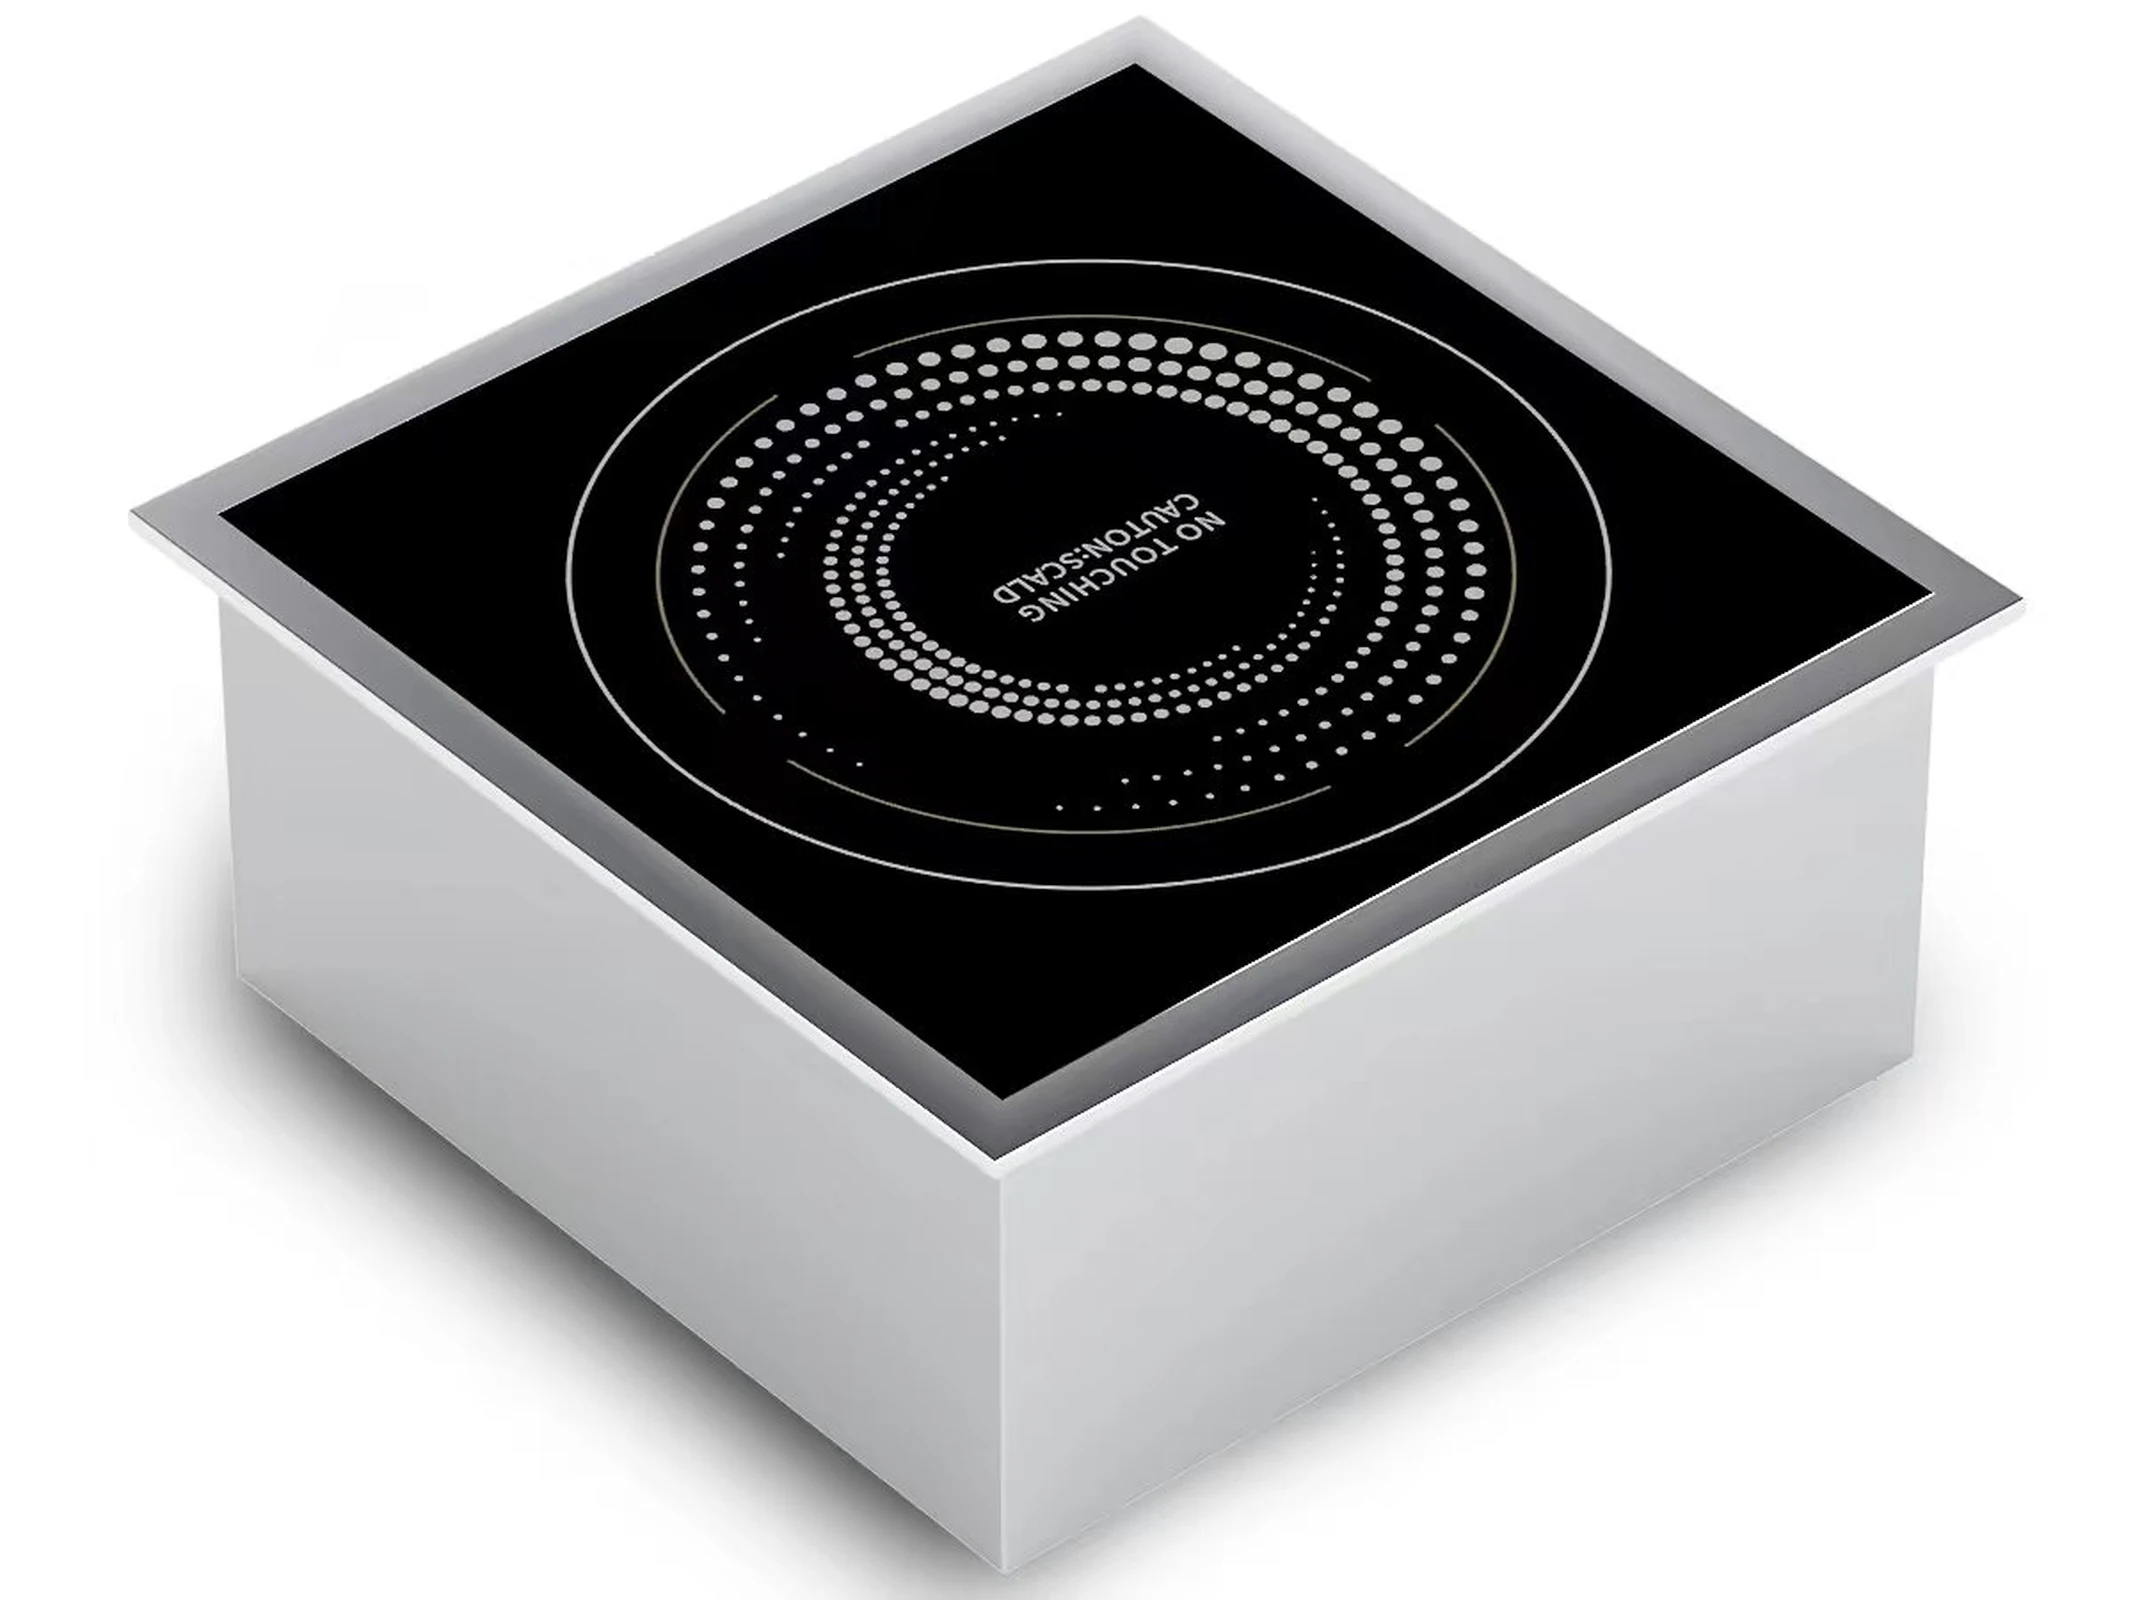
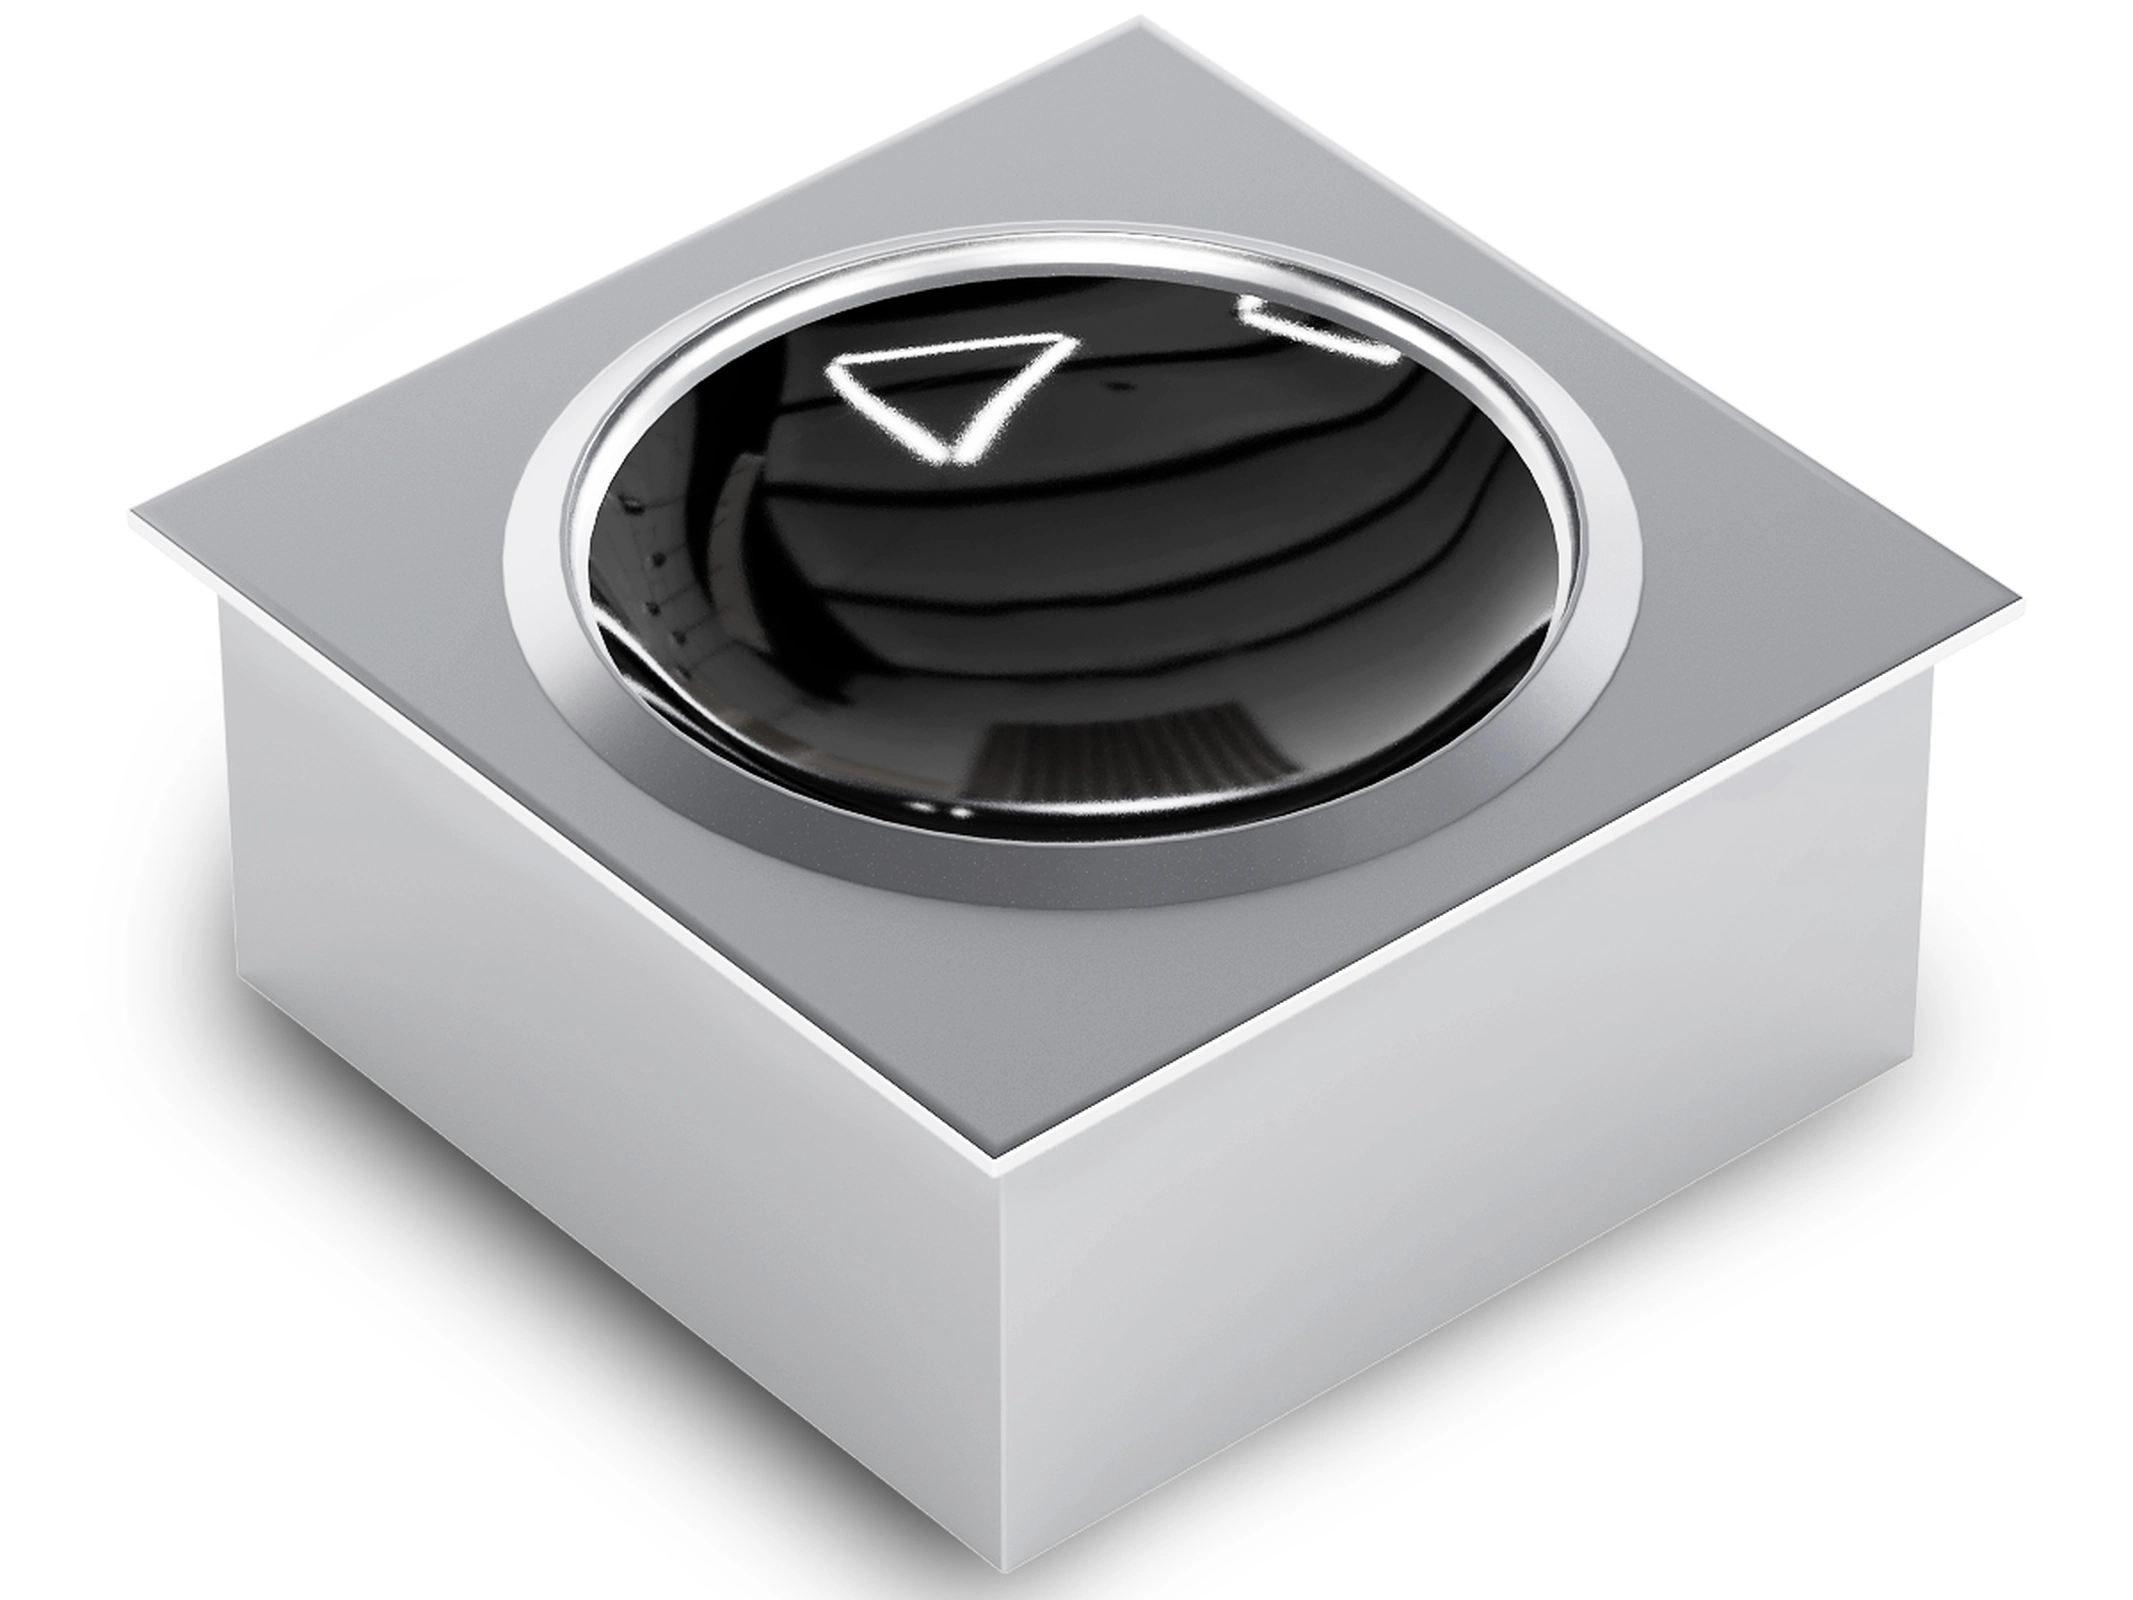
Drop-In (Built-In)
A drop-in unit sits inside the countertop, flush with the surface. No edges sticking up. Wipes clean in seconds.
It works best in kitchens where the layout is already set — hotel buffet lines, open kitchens, live-cooking stations. When guests can see the kitchen, a flush-mounted cooker looks a lot more polished than a box sitting on the counter.
The trade-off is flexibility. Once it’s in, it stays in. If it needs repair or replacement, you’re pulling the whole unit out of the countertop.
Three things to confirm before buying:
- Get the exact cutout dimensions. Every brand sizes things a little differently. Off by a few millimeters and the unit won’t fit — or the gap is too wide. Ask the supplier for a cutout template and hand it to your contractor.
- Make sure there’s ventilation below the counter. Drop-in units push heat downward. If the cabinet underneath is sealed shut, heat builds up and the unit trips its thermal protection over and over. Some models need extra vent holes cut into the cabinet. Others need a small fan added. A lot of buyers miss this step and only find out there’s a problem after installation.
- Think about what happens when it breaks. A countertop unit can be shipped back for repair. A drop-in unit means tearing into the countertop. If your kitchen runs tight, ask yourself: can this station afford to be offline for a day or two?
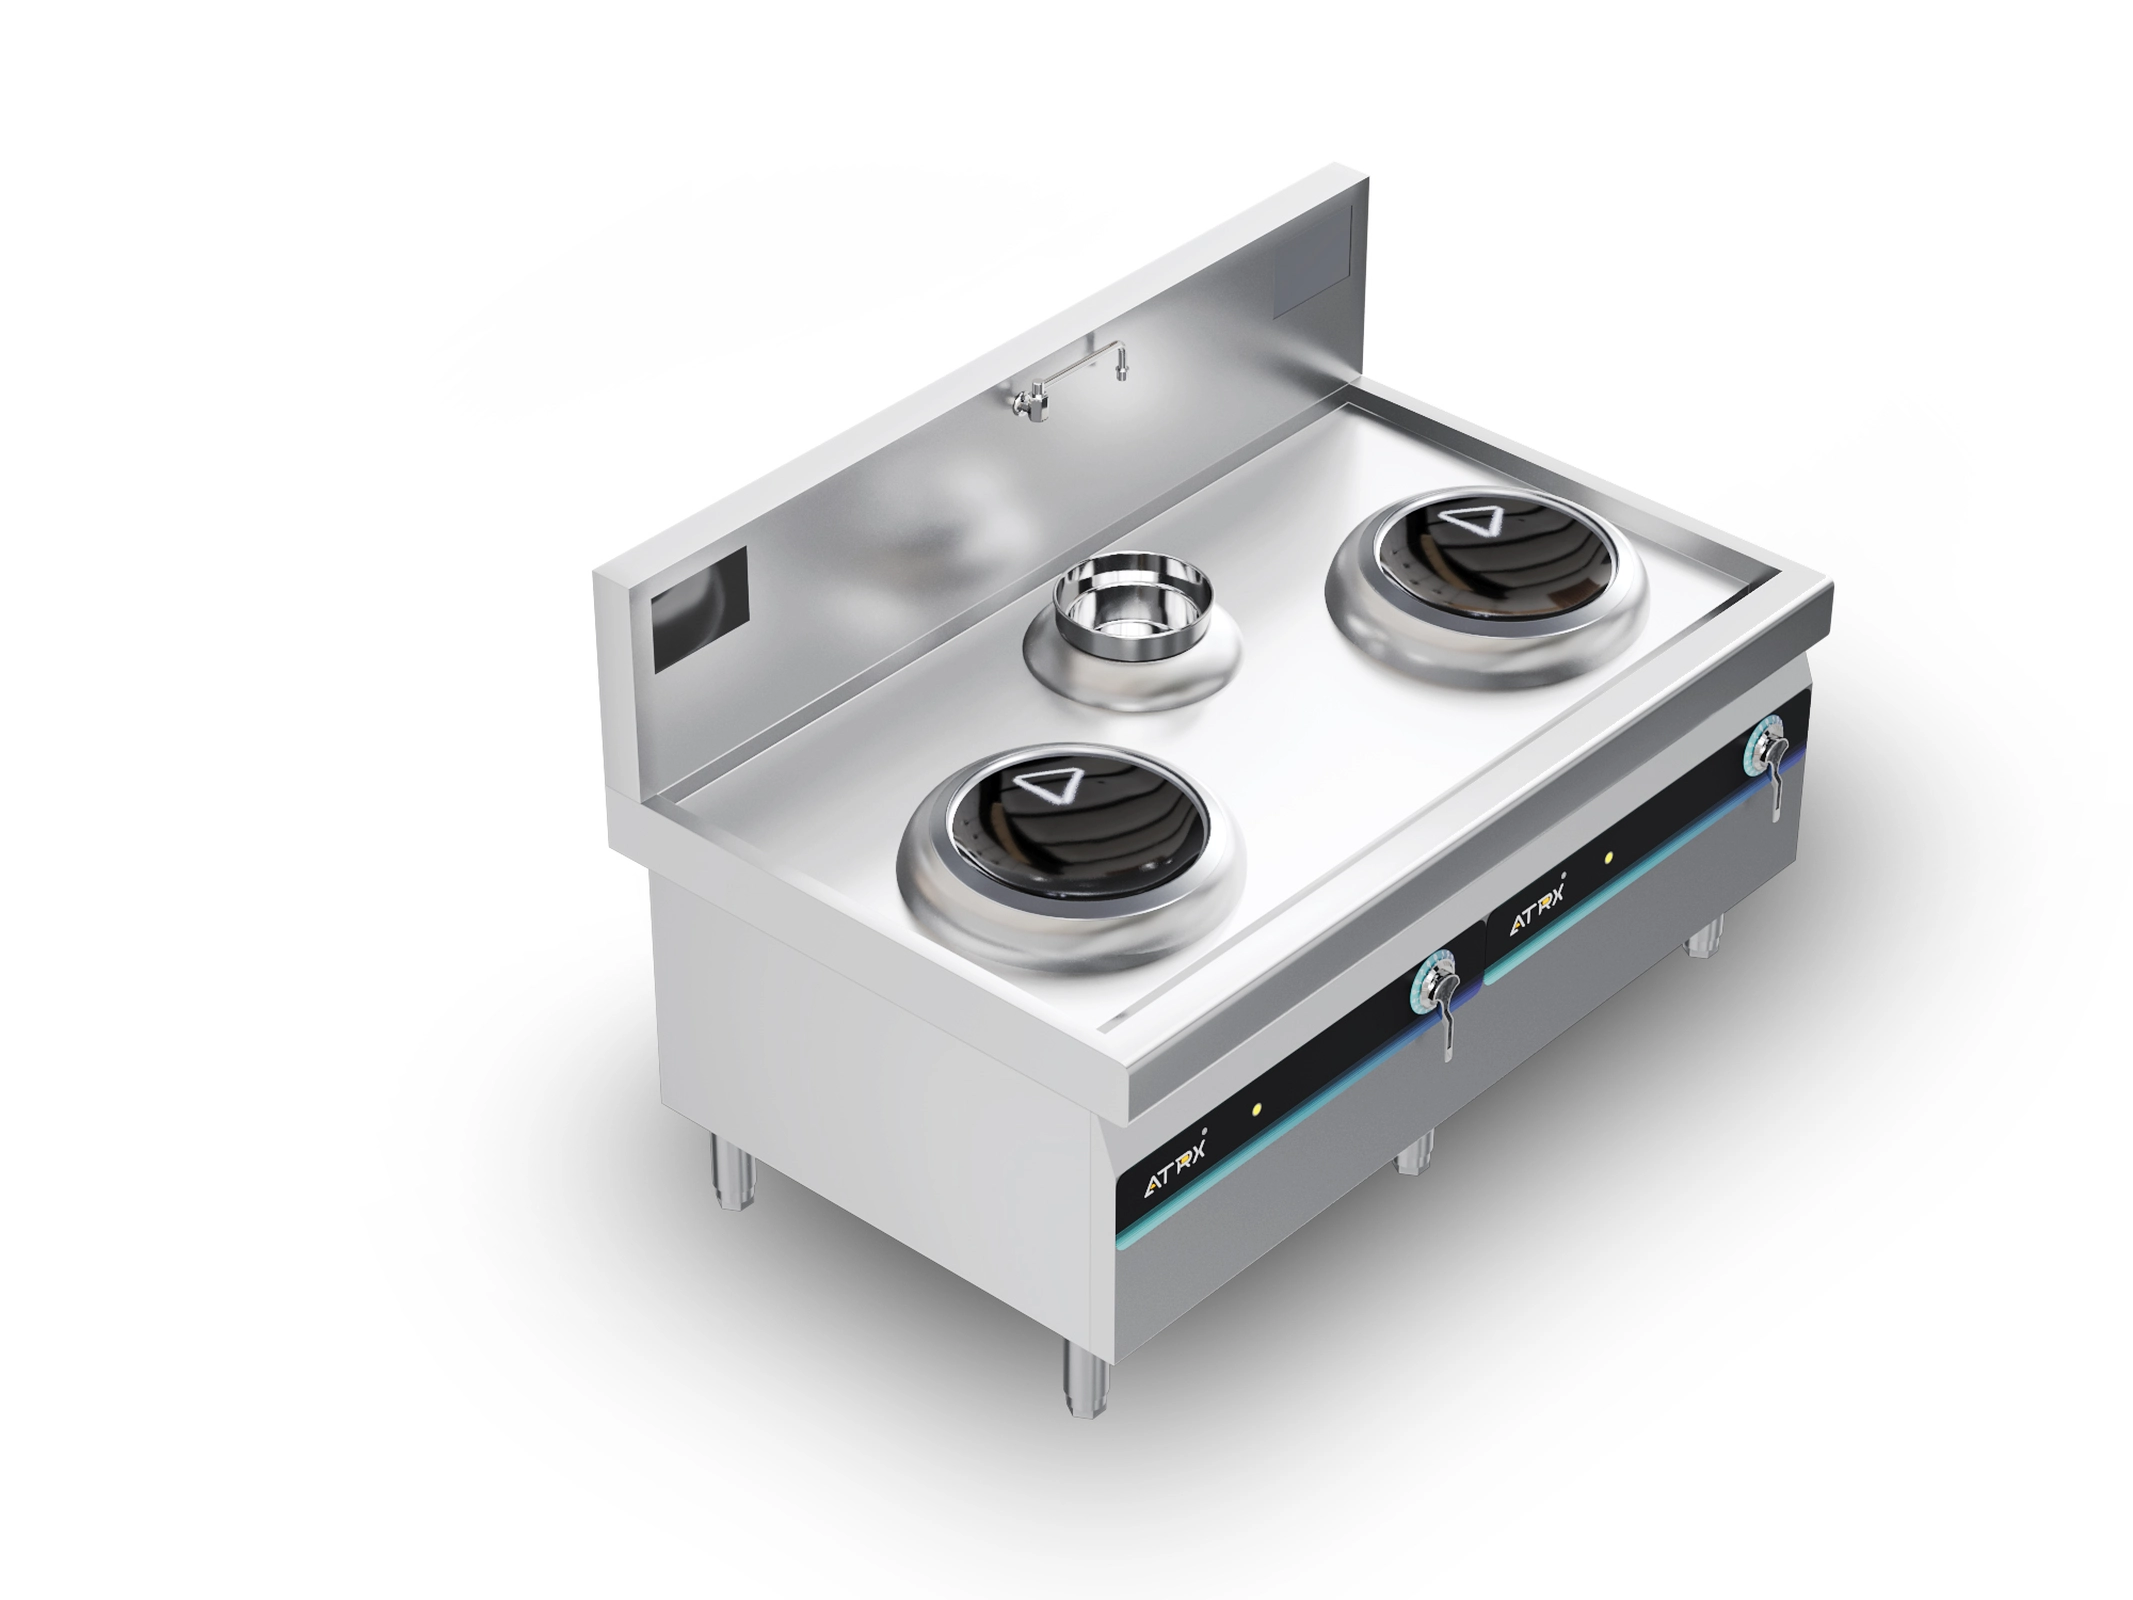
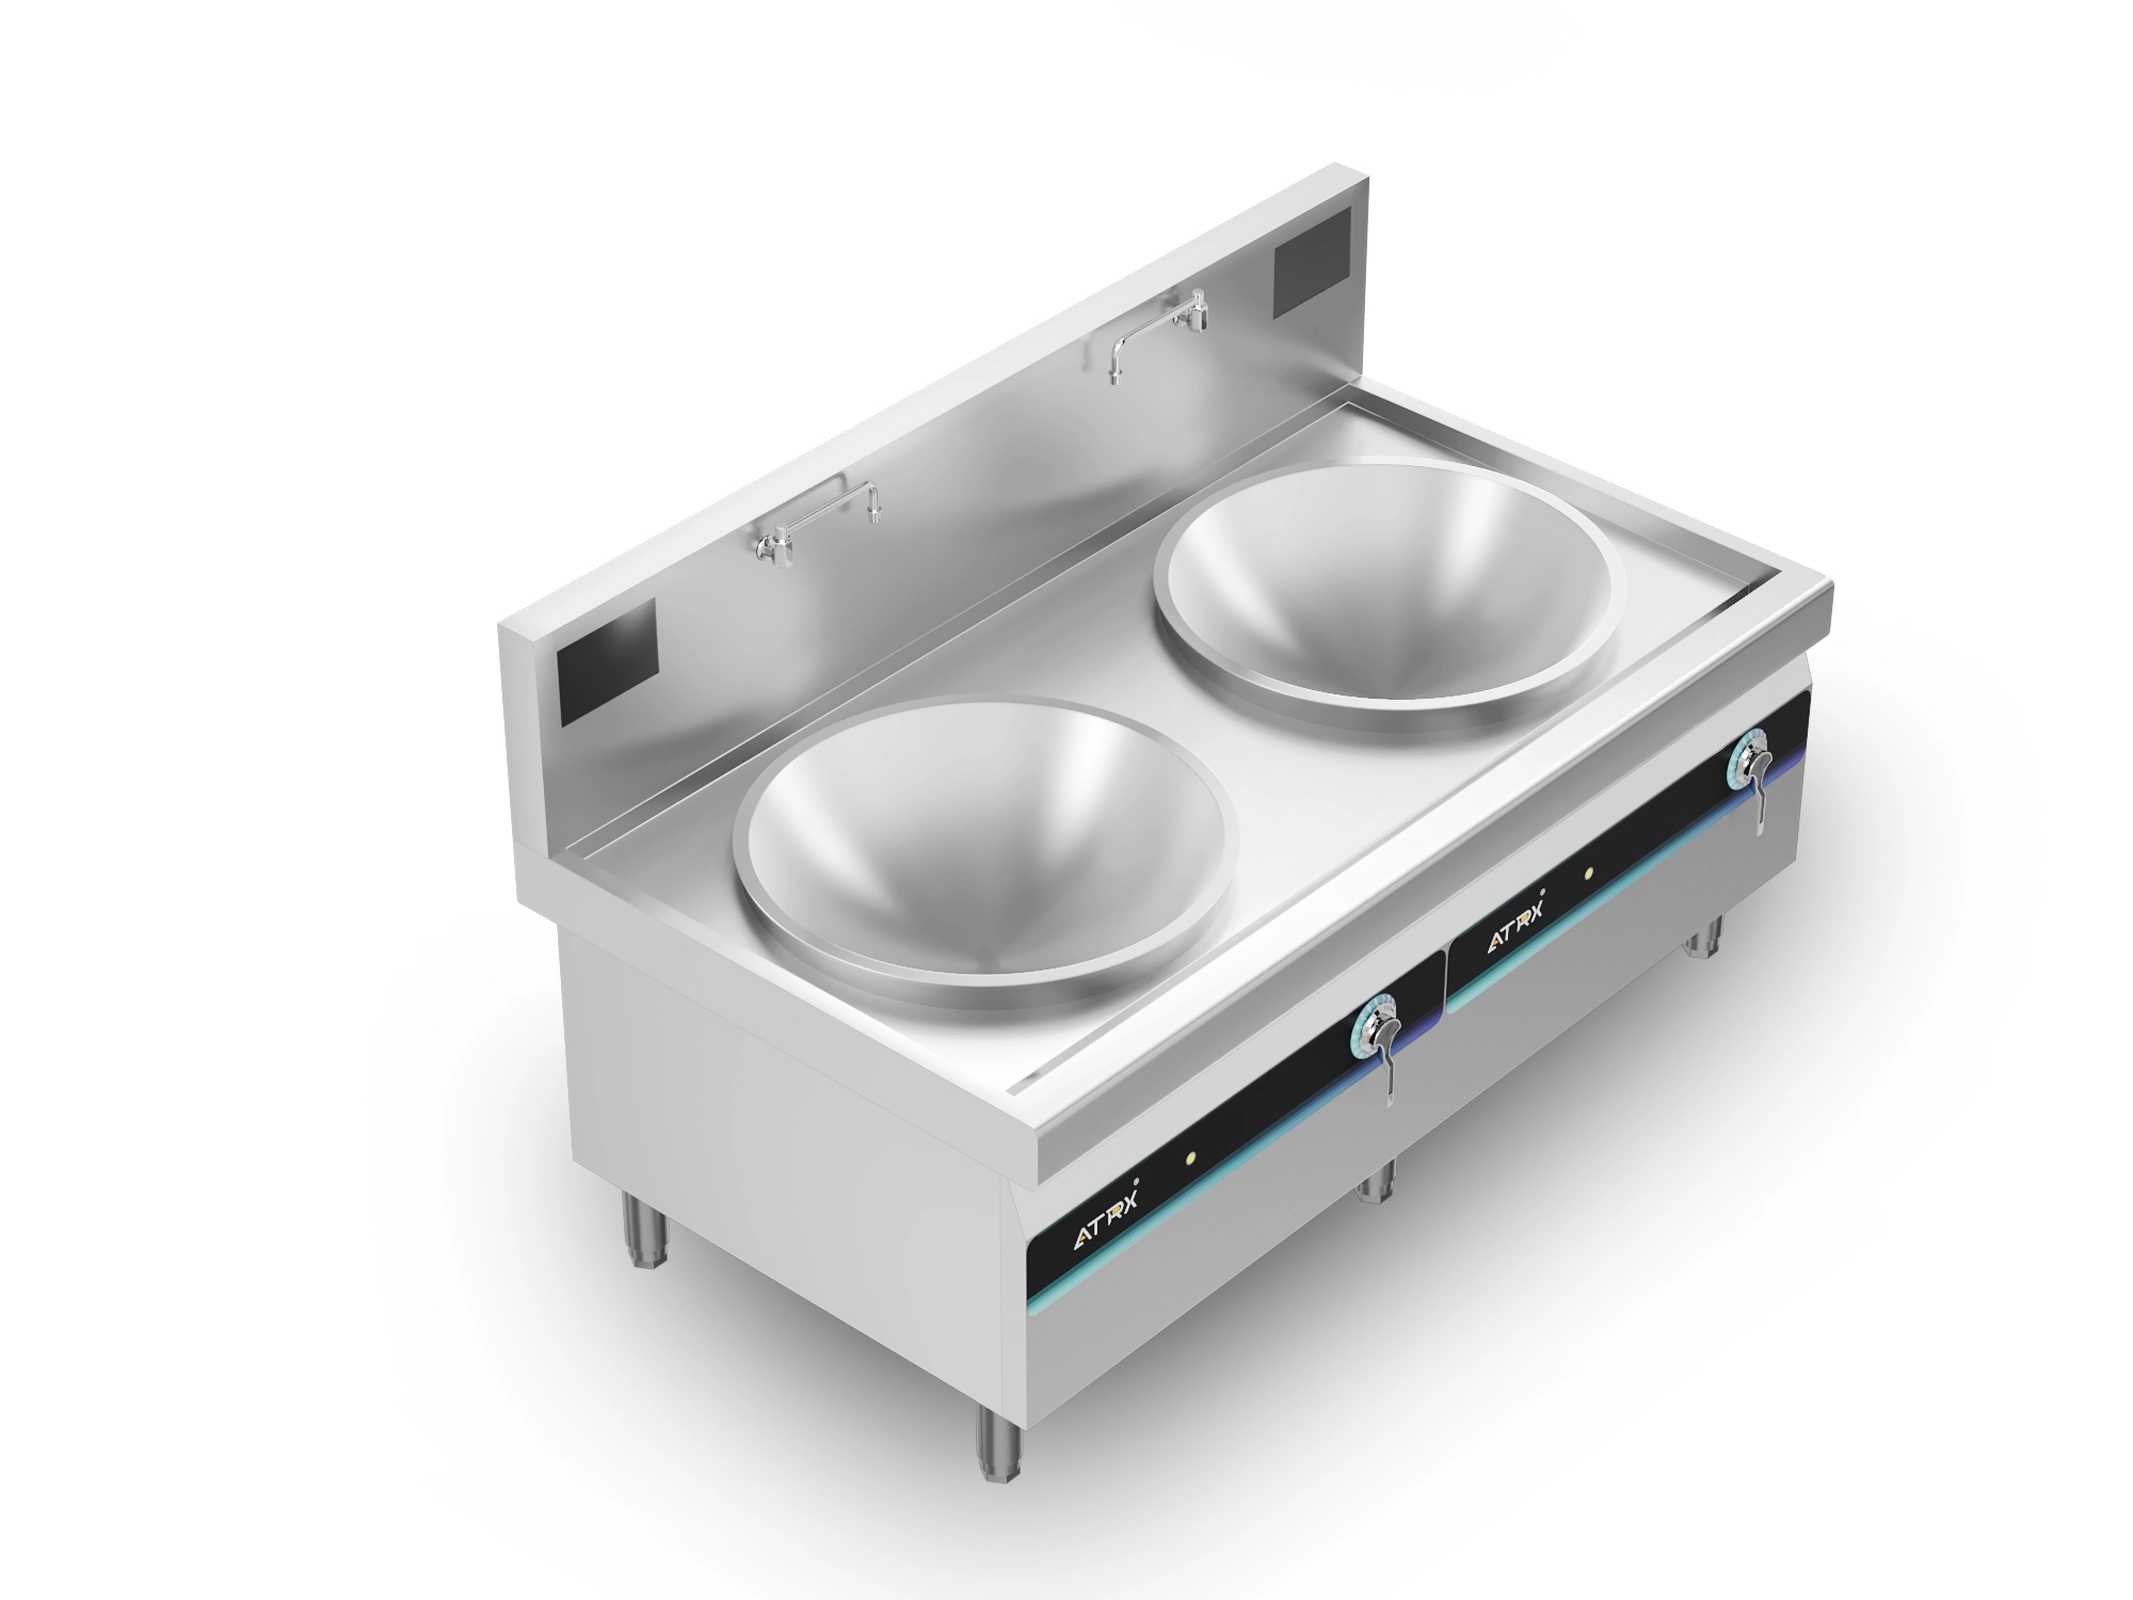
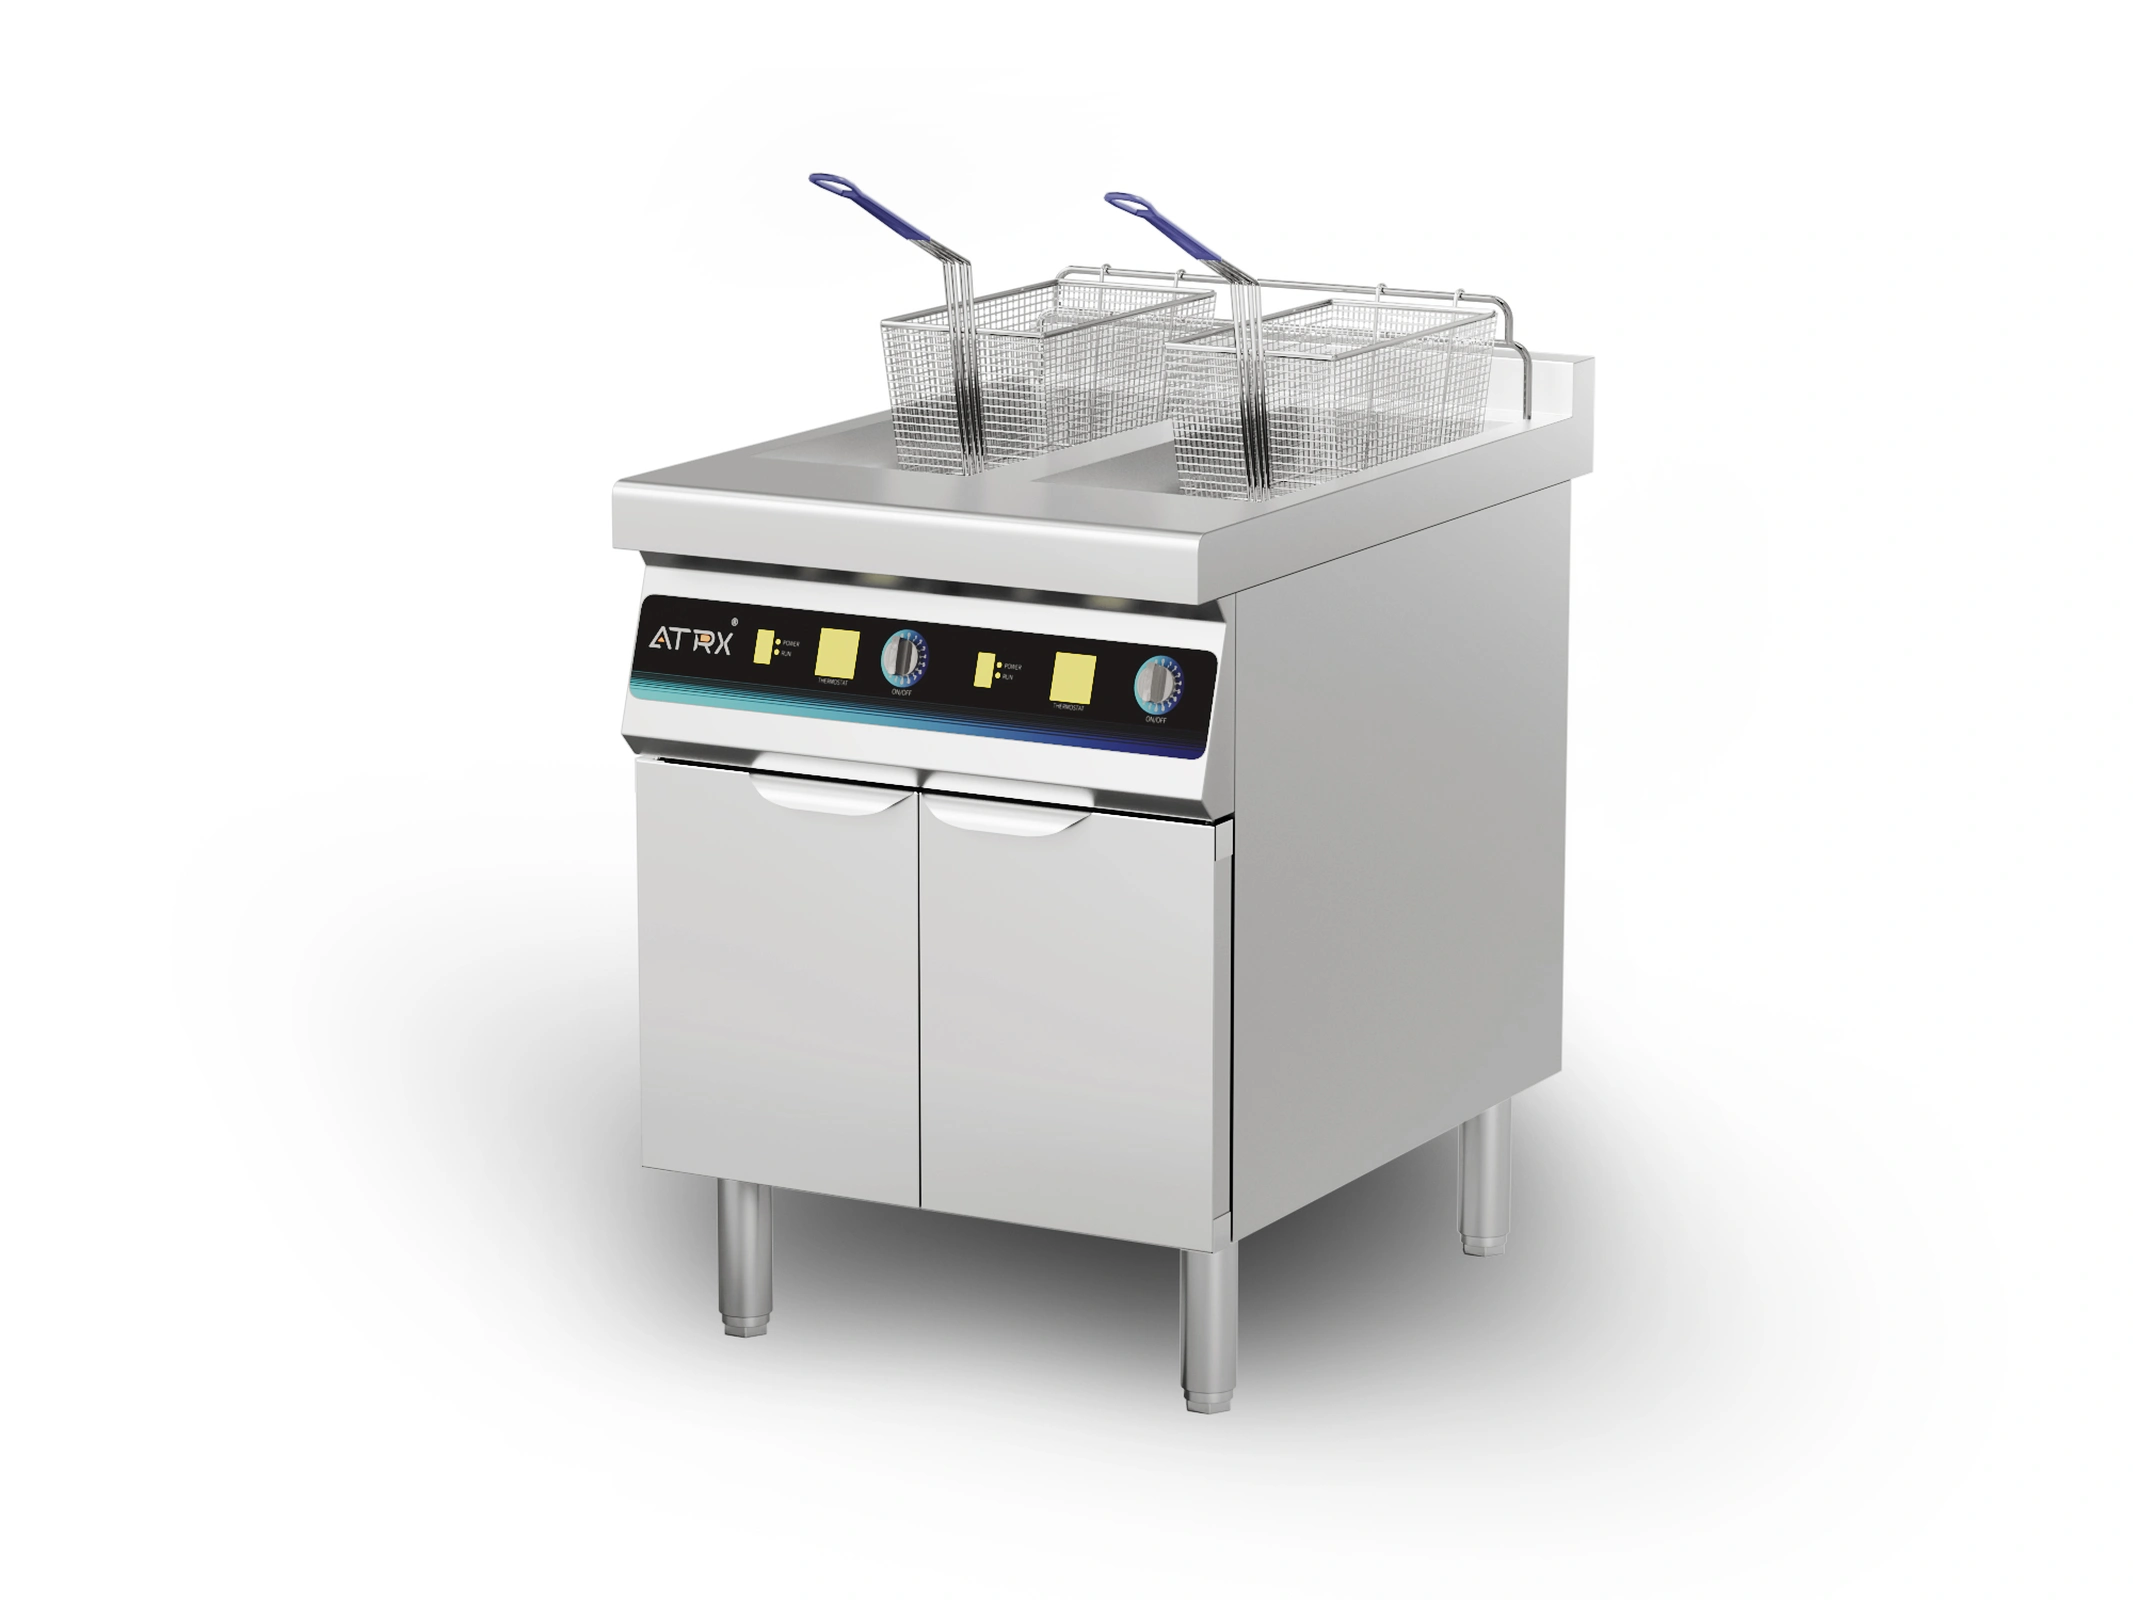
Freestanding
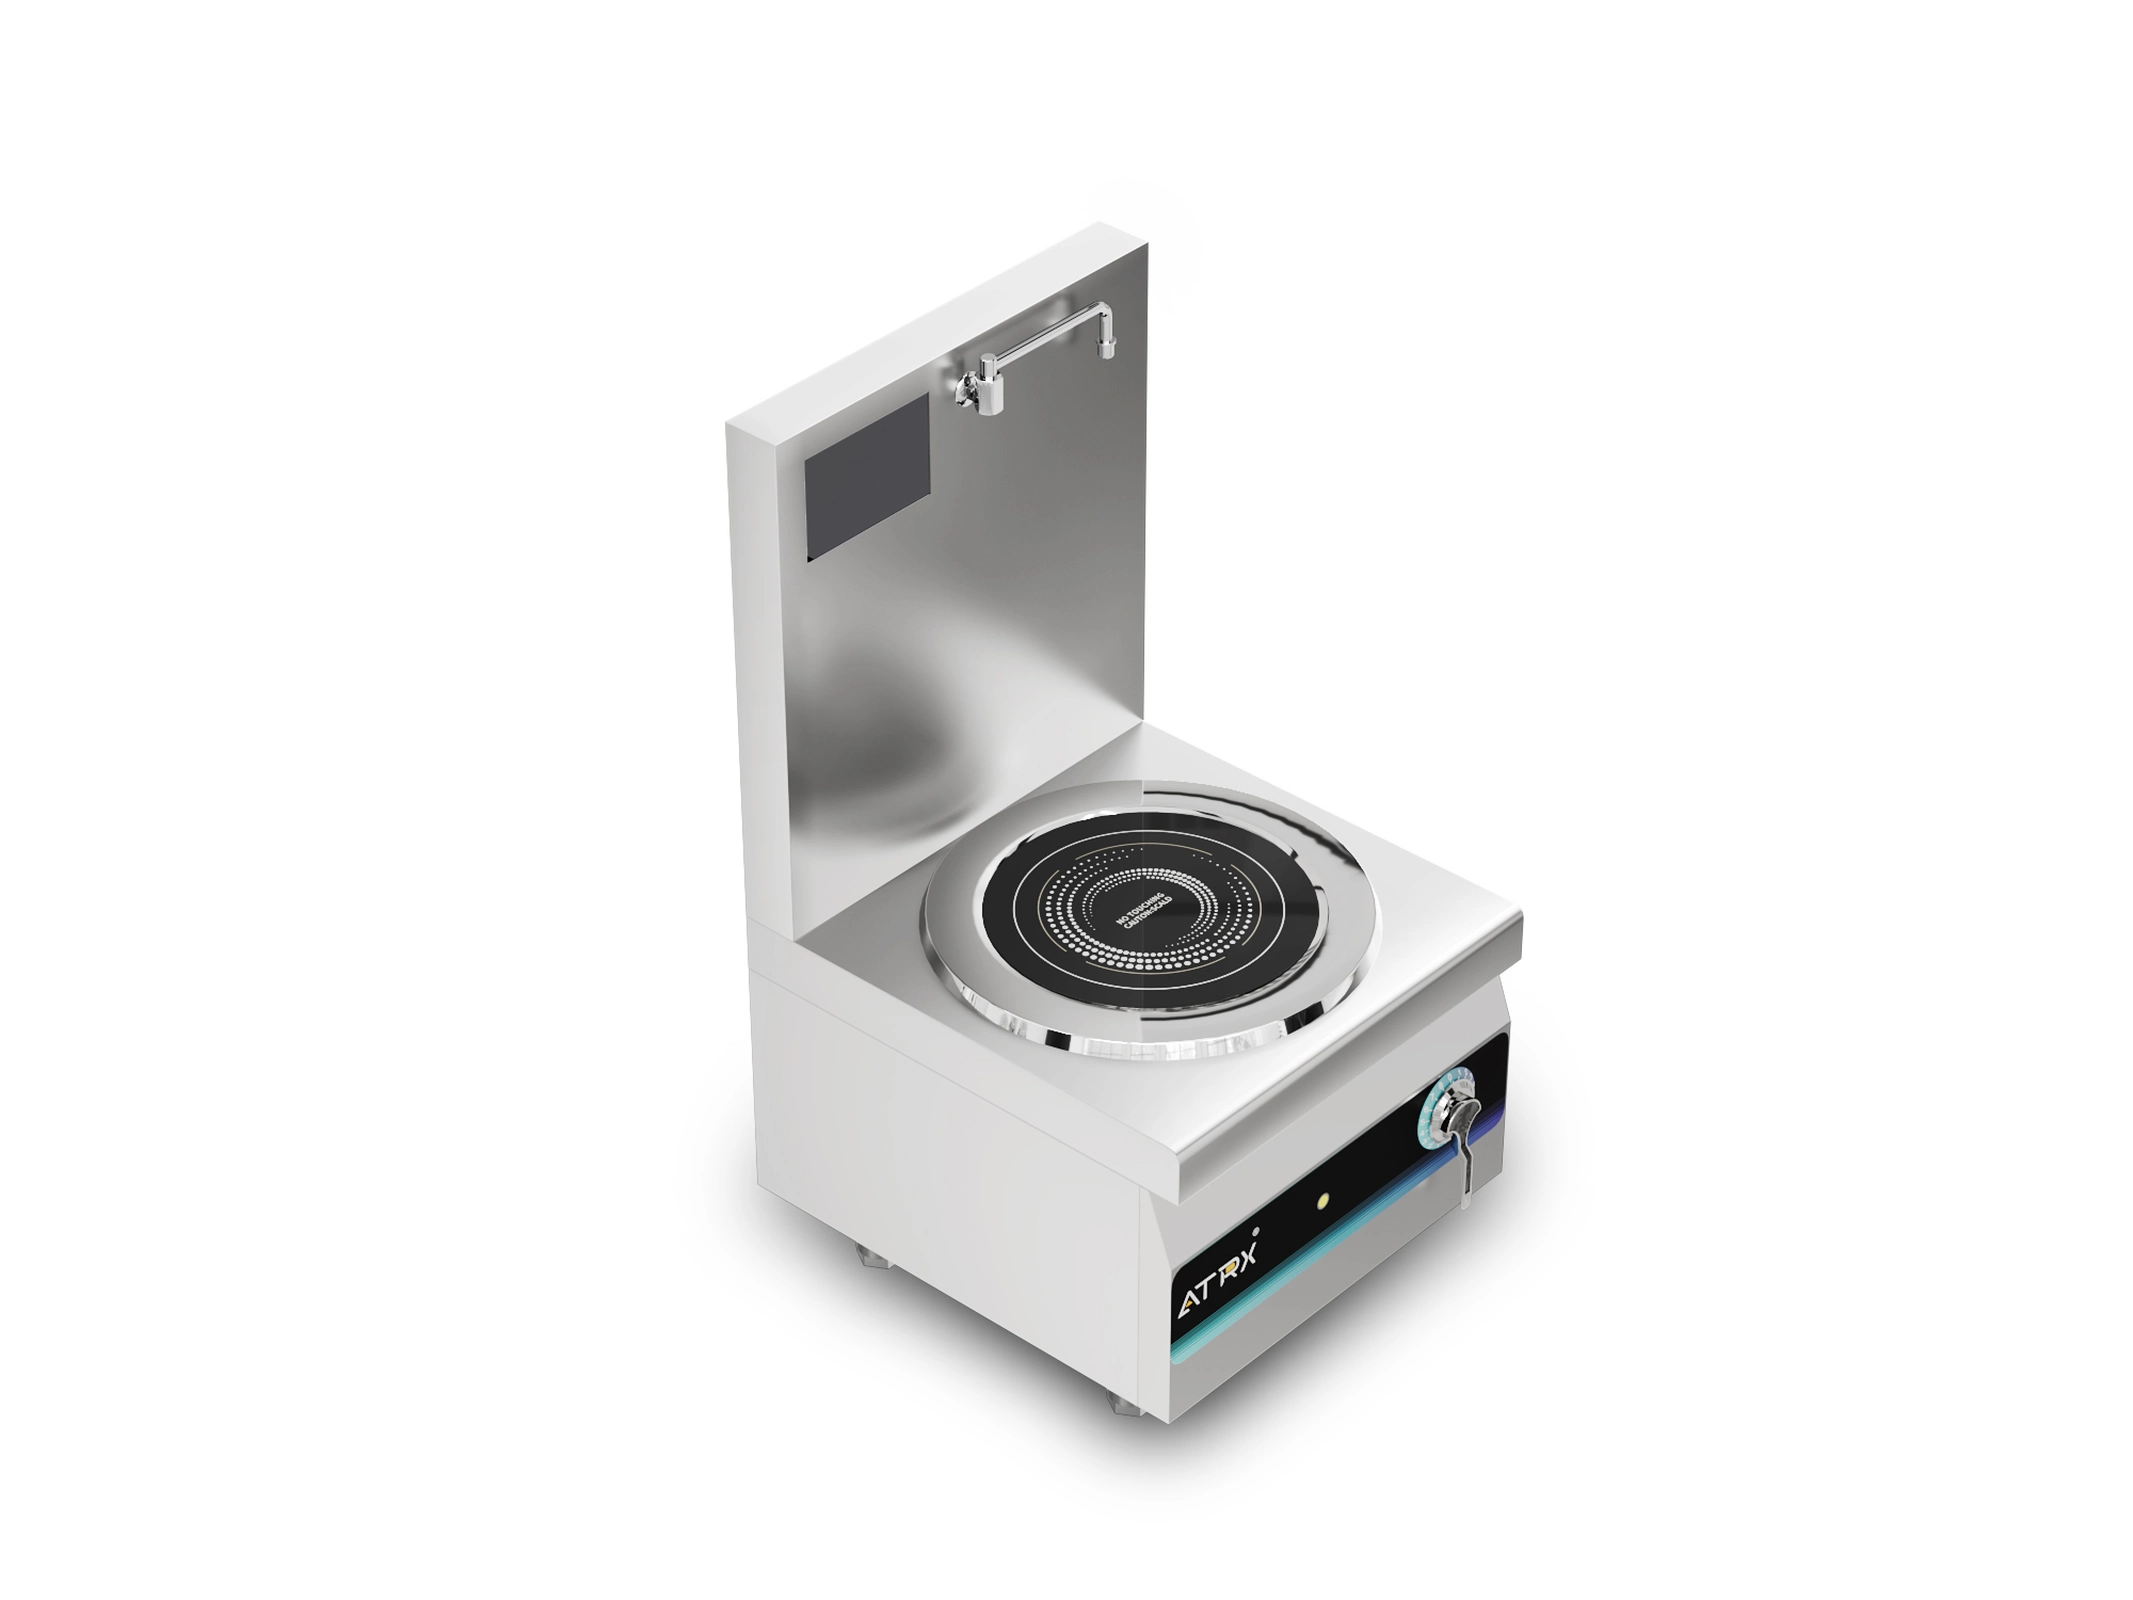
A freestanding commercial induction cooker stands on its own on the floor. It usually has multiple burner zones. Some models include an oven underneath. Its job is straightforward: replace a full row of gas burners and handle the main production line’s output.
If your kitchen pushes out hundreds or thousands of meals a day, needs multiple burners firing at once, and you’ve committed to induction — freestanding is the only type that can handle that volume.
It’s also the biggest commitment. Think it through before buying:
- Space. These units have a large footprint and basically don’t move once placed. Measure your kitchen. Make sure aisle widths still meet fire code requirements.
- Electrical supply. Multi-burner freestanding units almost always need three-phase power (380V). If you only have single-phase 220V, you’ll need to apply for an upgrade with your power utility. That usually takes 2–4 weeks.
- Actual power per burner when all zones run at once. A four-burner unit might be rated at 20 kW total. But when all four burners run full blast, does each one still get its full share? Ask this directly. Some machines advertise “single burner max × number of burners” but can’t actually deliver that simultaneously.
Quick comparison of the three types:
| Comparison | Countertop | Drop-In | Freestanding |
|---|---|---|---|
| Easy to relocate? | Yes — plug in and go | No — fixed in the countertop | No — floor-mounted |
| Best for | Flexible stations, catering, live cooking | Fixed kitchens, buffet lines, open kitchens | Main production lines, high-volume output |
| Typical power range | 3.5–5 kW | 3.5–8 kW | 8–20 kW+ |
| Electrical requirements | Single-phase 220V usually enough | 220V-1 phase/380V-3phase | Almost always three-phase 380V |
| Installation difficulty | Almost zero | Needs cutout + under-counter ventilation | Needs coordinated electrical + space planning |
Pick the type first. Then move on to specs. Reverse the order and you’ll waste a lot of time.
How to Choose the Right Power Rating for Your Commercial Induction Cooker
Type decided. Next question: how many watts? A lot of buyers default to “bigger is safer.” But higher wattage means heavier electrical requirements, a more expensive unit, and higher daily electricity bills. Buy too much and you waste money. Buy too little and you can’t keep up. The goal is to get it right.
Match Power to Your Menu
Power depends on what you cook — not how big your kitchen is or how upscale your restaurant looks.
Two 50-seat restaurants. One does slow-simmered soups and stews. The other does flash-fried wok dishes and deep frying. Completely different power needs. The first runs fine in the mid range. The second needs burst capacity for high-heat stir-frying and deep frying.
A simple way to back into the right wattage from your menu:
| Main cooking tasks | Recommended power | Typical use |
|---|---|---|
| Holding, warming, light pan-frying | 300–1800W | Buffet warming lines, egg stations |
| Stir-frying, boiling noodles, medium-pot simmering | 2600–5000W | Fast-casual, noodle shops, standard wok stations |
| Large-pot braising, high-temp frying, intense wok cooking | 5000W+ | Central kitchens, banquet kitchens, heavy-duty wok stations |
Start with your highest-volume dish. Figure out how much heat it needs and what pot size it uses. Those two answers will lock in your power range.
Match Power to Your Service Pace
“Just enough” power and “actually enough” power are separated by one thing: recovery speed.
A dish finishes. The next batch of cold ingredients hits the pan. Temperature drops instantly. A unit with barely-enough power takes several seconds — sometimes over ten — to recover. During peak service, that delay stacks up dish after dish. The line falls behind and never catches up.
Real example from a client: a Southeast Asian restaurant chain was using 3.5 kW for fried rice. During the lunch rush, each order took over 4 minutes. Tickets piled up. After switching to 5 kW, single-dish time dropped under 3 minutes and the kitchen stopped falling behind. The issue wasn’t whether the machine could cook the dish. It was whether it could keep up when cooking nonstop.
Two signals that you need a power buffer:
- One station fires more than 10 dishes in a row during peak hours without a break. If yes, go at least one tier above “just enough.”
- Your pot is noticeably wider than the induction coil. The part of the pot beyond the coil gets no heat. Your effective power is reduced. Either use a smaller pot or pick a higher-wattage unit to compensate.
Whether your electrical supply can actually support the wattage you’ve chosen is a separate question. Confirm with an electrician after you decide on wattage but before you order. If you’re still working out exactly how many watts you need, this guide to choosing commercial induction cooker power walks you through it by kitchen type and menu structure.
Check If Your Cookware Works with This Induction Machine Before You Order
Before placing your order, run three quick tests on your existing pots. Takes two minutes. Tells you whether you need new cookware.
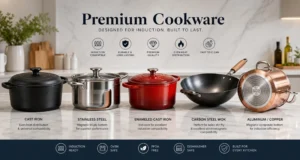
Test one: the magnet test. Stick a fridge magnet to the bottom of the pot. Sticks? It works. Doesn’t stick? Replace it. Cast iron and most stainless steel are fine. Aluminum, copper, and ceramic won’t work. Some stainless steel has a non-magnetic base — looks the same, but the magnet tells you right away.
Test two: pot base size vs. coil size. The heating zone is set by the internal coil. A pot base much smaller than the coil wastes power. A pot base much larger than the coil means the outer area gets no heat — food cooks unevenly. Best practice: keep the pot base within ±2 cm of the machine’s listed compatible range.
Test three: is the pot base flat? Induction works through close contact between the pot bottom and the cooker surface. Warped or uneven bottoms create gaps. Gaps mean weaker heating and uneven temperature.
If you already own pots, bring one to the supplier and test it on the actual unit. That tells you more than any spec sheet. For a full breakdown of which materials work, which don’t, and how they perform differently on induction, see this induction cookware compatibility and selection guide.
How to Tell If a Machine Is Worth Buying from Its Build Quality and Materials
Every brand can make spec sheets look good. The real difference is in the materials you can see on the outside and the components you can’t see on the inside.
Housing and Surface Panel
Housing material. Commercial kitchens are humid, greasy, and scrubbed with strong chemicals. 304 stainless steel is the baseline — it resists corrosion, handles chemical cleaners, and doesn’t rust. Some budget units use 201 stainless steel or painted carbon steel. They look identical when new. Over time in a wet environment, the difference shows.
Quick check: look at the nameplate on the back or bottom. Ask the supplier, “Is this 304 or 201?” A supplier who answers clearly usually has confidence in their materials.
Surface panel. Two main options: ceramic glass and tempered glass. Ceramic glass handles heat better, is harder, and resists scratches from pot bottoms — it’s the standard for commercial units now. Tempered glass costs less, but doesn’t hold up as well under long-term high heat.
How to tell them apart: ceramic glass is usually matte or semi-matte. Tempered glass is usually shiny. Not sure? Ask the supplier for panel material documentation.
Internal Component Configuration
The parts hidden inside are often what decide whether the machine lasts two years or five. You don’t need to be an engineer. But asking the supplier these three questions — and watching how they answer — is a filter in itself.
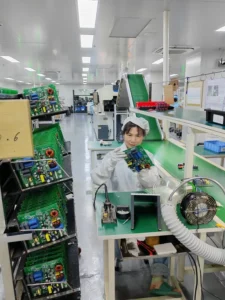
“What brand is the IGBT module?” The IGBT is the core power component. It’s the heart of the machine. International brands like Infineon and Fuji have a clear edge in stability and lifespan. If the supplier can’t name the brand, or just says “imported chip” without being specific, that’s a red flag.
“How many layers is the coil, and what’s the wire gauge?” More layers and thicker wire mean more uniform heating and better efficiency — but they also cost more. A supplier who shares these numbers openly is one who trusts their own product.
“What kind of bearing does the cooling fan use?” Ball-bearing fans last longer and handle high temperatures better. Sleeve-bearing fans are cheaper but wear out faster in hot environments. If the fan dies first, the machine will keep triggering overheat protection. At that point, it’s half-dead.
You don’t need to understand the engineering. Just ask. A supplier who answers clearly is probably making a solid machine. One who dodges deserves extra caution.
How to Check Its Power Stability
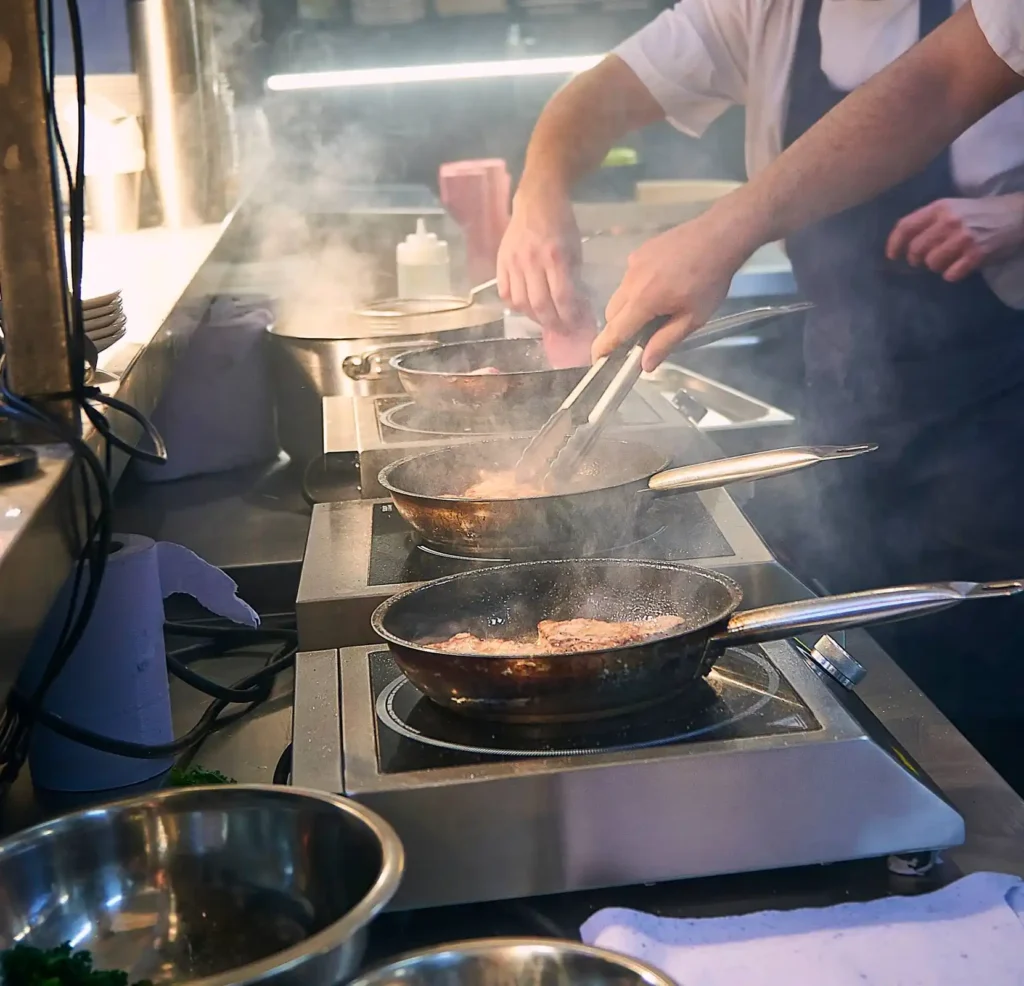
The biggest number on the spec sheet is usually the max power — 5000W, 8000W, 15000W. But in daily kitchen work, chefs spend most of their time at low-to-mid settings. Reducing sauces. Simmering stocks. Gentle pan-frying. Warming oil. Max power sets your ceiling. Low-power stability sets your everyday experience.
A machine with poor low-power control does one very obvious thing: pulse cycling. You set it to the lowest level. Instead of steady heat, it flickers on and off — two seconds on, one second off, repeat. Sauces bubble then go cold. A fried egg burns on one side and stays raw on the other. At home, that’s annoying. In a commercial kitchen, it wrecks consistency.
The easiest test: ask the supplier to set the machine to its lowest level with a pot of water. Watch the surface. If the water holds a gentle, steady simmer, the low-power control is solid. If it rolls and then goes flat, then rolls again — that’s pulse cycling. No tools needed. Two minutes tells you everything.
A discussion on r/AskCulinary put it simply: a residential induction unit swings wildly around a set temperature, while a commercial unit keeps the fluctuation tight. You won’t see that difference on a spec sheet. You can only see it in a live demo.
How to Read the Certifications on a Commercial Induction Cooker
Commercial induction cookers carry all kinds of certification marks. Not all of them matter to you. Which ones count depends on your market and local regulations. Here are the most common ones and what each actually covers.
NSF (National Sanitation Foundation). Covers hygiene and cleanability. Are the materials food-safe? Is the design easy to clean? Are there crevices that trap grime? In the U.S., many health inspections specifically look for the NSF mark on kitchen equipment.
UL / ETL (U.S. safety certifications). Cover electrical safety. Sound circuit design, no leakage or overheat risks, manufactured to safety standards. UL and ETL are different bodies, but they carry the same regulatory weight in the U.S. Many insurance companies also require UL or ETL on kitchen equipment.
FCC (Federal Communications Commission). Covers electromagnetic interference — whether the unit’s EMI stays within legal limits. Often overlooked, but it matters. Too much interference can disrupt other electronics in your kitchen.
CE (European Conformity). The baseline for the European market. Covers safety, health, and environmental compliance. If your equipment is heading to Europe or your region recognizes CE, this is the entry ticket.
A practical note: not every unit ships with every certification from the factory. Some manufacturers carry CE on the complete unit, UL on key components like the power module, and handle other certifications to order based on the buyer’s target market. That’s normal in this industry.
Three questions to ask the supplier: What certifications does the complete unit hold right now? Do core components carry their own certifications? If I need something extra, can you support the application?
Verification is simple. Look up NSF by product model on the NSF website. Search UL/ETL in UL’s certification directory. For CE, request the certificate number and issuing body from the supplier and verify. Don’t just look at stickers on the machine. Anyone can print a label. What counts is a certificate number that checks out.
Pre-Order Checklist
Everything above covered the reasoning. Here it’s compressed into one checklist. Run through it before you place your order. Whatever’s missing, go back and fill it in.
| Item | What to Confirm | Done? |
|---|---|---|
| Installation type | Countertop / Drop-in / Freestanding — chosen based on your kitchen setup | ☐ |
| Power rating | Wattage matched to menu and volume, with peak-hour buffer | ☐ |
| Cookware compatibility | Existing pots passed the magnet test; base size matches the coil | ☐ |
| External materials | Housing confirmed as 304 stainless steel; panel confirmed as ceramic glass | ☐ |
| Core components | Asked supplier about IGBT brand, coil specs, fan bearing type | ☐ |
| Low-power performance | Supplier demonstrated lowest setting; no pulse cycling observed | ☐ |
| Certifications | Unit and key component certifications confirmed and verified online | ☐ |
| Electrical supply | Electrician confirmed voltage, wire gauge, breaker capacity, remaining load | ☐ |
One last thing: if the supplier offers a sample unit or a factory demo, take them up on it. Spec sheets only go so far. Put your own pot on the machine. Set it to the power level you’d actually use. Cook a dish. Two minutes of hands-on testing is worth more than ten pages of product manuals.
Common Questions People Ask
Q1: I’m on a tight budget. One high-power unit or two lower-power ones?
Depends on your workflow. If you only have one wok station and it carries the entire peak-hour load, a single 5 kW unit beats two 3.5 kW units — faster recovery, no bottleneck. But if you need two stations running different tasks at the same time (soup on one, frying on the other), two lower-power units give you more throughput. Map out your stations and task assignments first. Then decide how to split the wattage.
Q2: The supplier offered a free sample unit. What should I test?
Don’t just boil water and call it done. Test three things. First, cook your most common dish with your own pots at the power level you’d normally use — run a full service cycle. Second, fire 10+ dishes back to back and watch if recovery speed drops off. Third, run the unit at minimum power for at least 15 minutes and check for pulse cycling. These three tests catch problems no spec sheet will show you.
Q3: I’m opening overseas where the voltage is different. How do I avoid buying the wrong unit?
Start with your location’s voltage standard and plug type. North America runs 120V/208V. Europe is 230V. Most of Southeast Asia is 220V–240V. Ask the supplier directly: what voltages does this unit support? Can you build it to match my market?
Some manufacturers can switch the voltage configuration during production, but you must specify before ordering — it can’t be changed after. Also check local commercial electrical certification requirements ahead of time. A machine that powers on and a machine that passes inspection are two different things.
About the author
ATRX Team| 18 Years Commercial
Induction Cooker Manufacturer in China
Induction Cooker Manufacturer in China
Related Posts
Best Commercial Induction Cooktop: Types &Buying Guide
10/09/2026
Commercial Double Hob Induction Cooker | Types, Power, and Installation Guide
10/05/2026
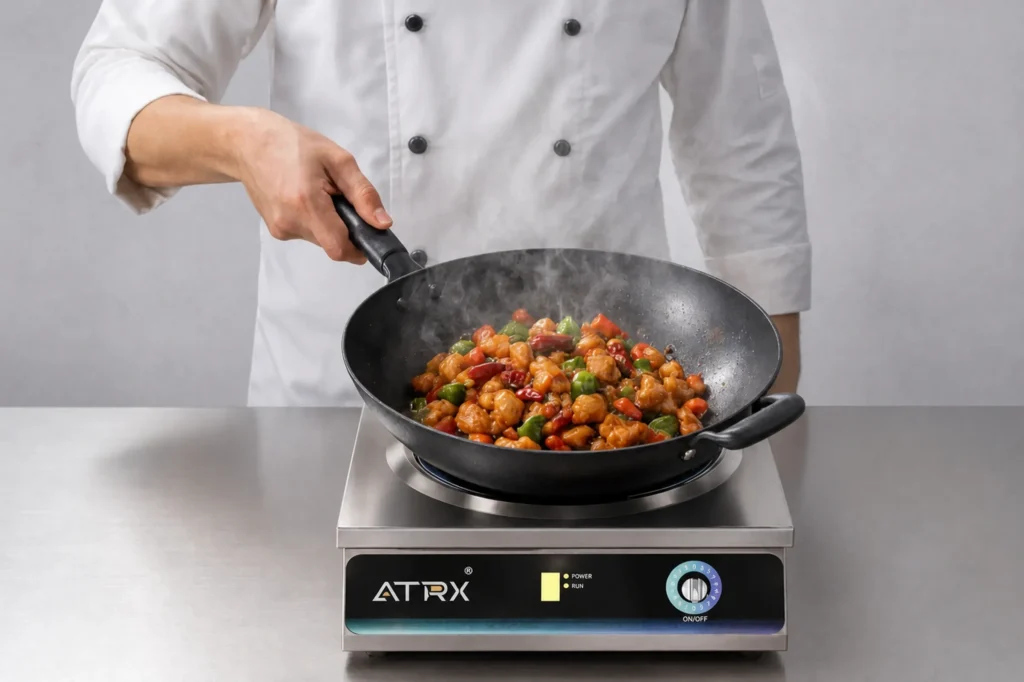
Commercial Induction Cooker 3500W: Model Selection, Commercial Power and Installation
09/29/2026
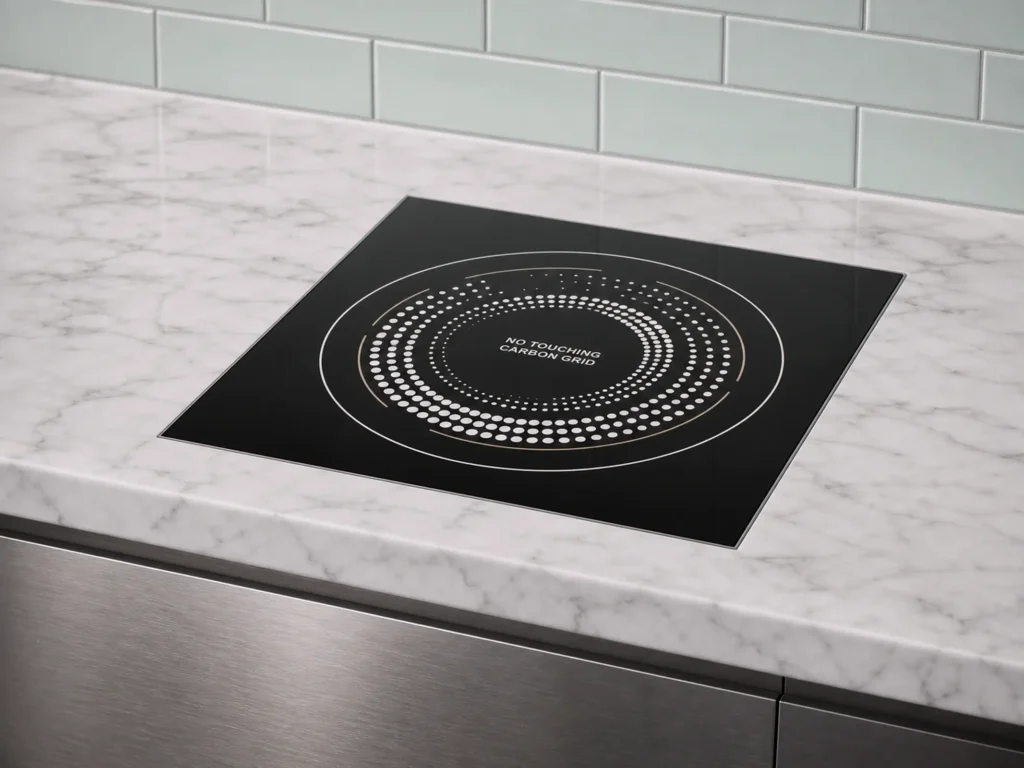
How to Install a Built-In Induction Cooktop: A Step-by-Step Guide
09/17/2026
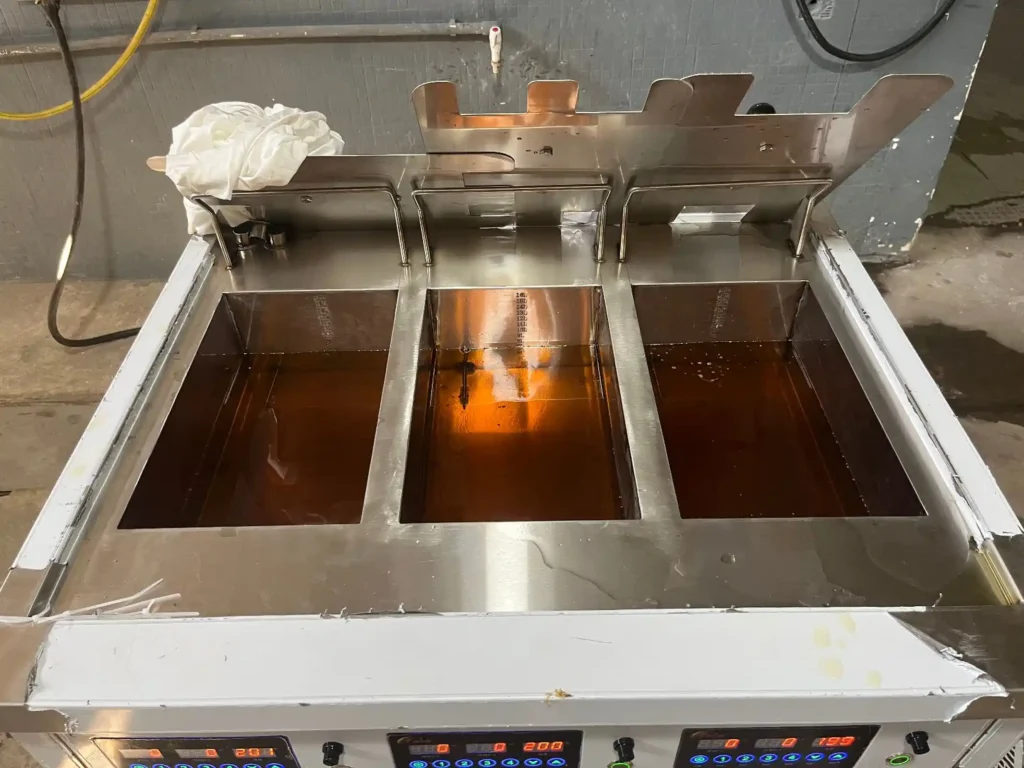
How to Clean a Commercial Deep Fryer: A Step-by-Step Guide
09/13/2026
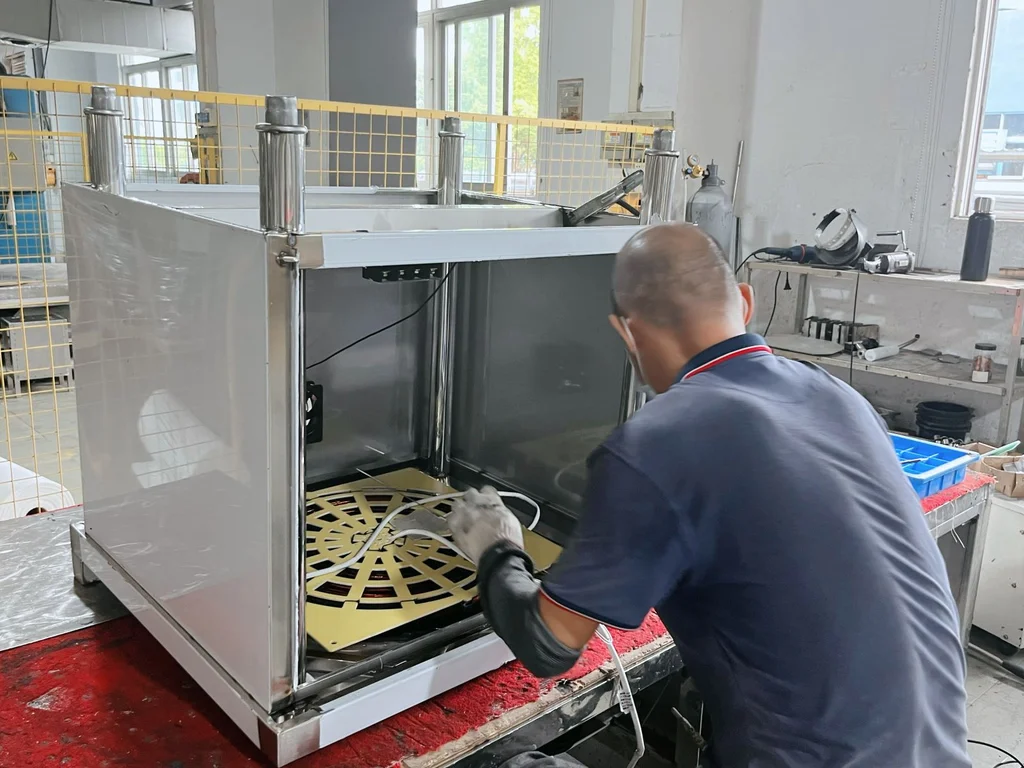
High Quality Commercial Induction Cooker Manufacturer
09/09/2026
Automatic Wok Machine: Types, Specifications, Applications and Buying Guide
08/18/2026
Commercial Induction Range: How to Choose the Right Size, Power, and Configuration for a Commercial Kitchen
08/15/2026
What Is a Commercial Induction Cooker and How Does It Work
08/13/2026
Commercial Induction Range for Hotel Kitchens: How to Choose the Right Model
08/11/2026